Fully Finishing the Cross-Stitched Pears
If you watch Floss Toss or follow me on Instagram, you may know about my pears project. I first learned about these beautiful 3-D cross-stitched pears from Katherine Adrian on her Floss Tube, “Stitching in Costume.” On one episode, she shared her own Pear “journey,” and I immediately went to the blog she mentioned to learn more.
Marly, of “Samplers and Santas Blog” generously shares several of her gorgeous pear designs on her blog. I downloaded my two favorite and stitched them up. I loved how fast the pears stitched up (I seem to only gravitate to huge designs - was so nice to wip this one out quickly!).
As is the case when I’m unsure about how do something, the project got set to the side for about a month. Finally, on one snowy Sunday, I mustered up my courage and dove right in. I couldn’t find much to help me on the internet, so I took pics along the way in hopes of helping others who are trying to finish their own pears.
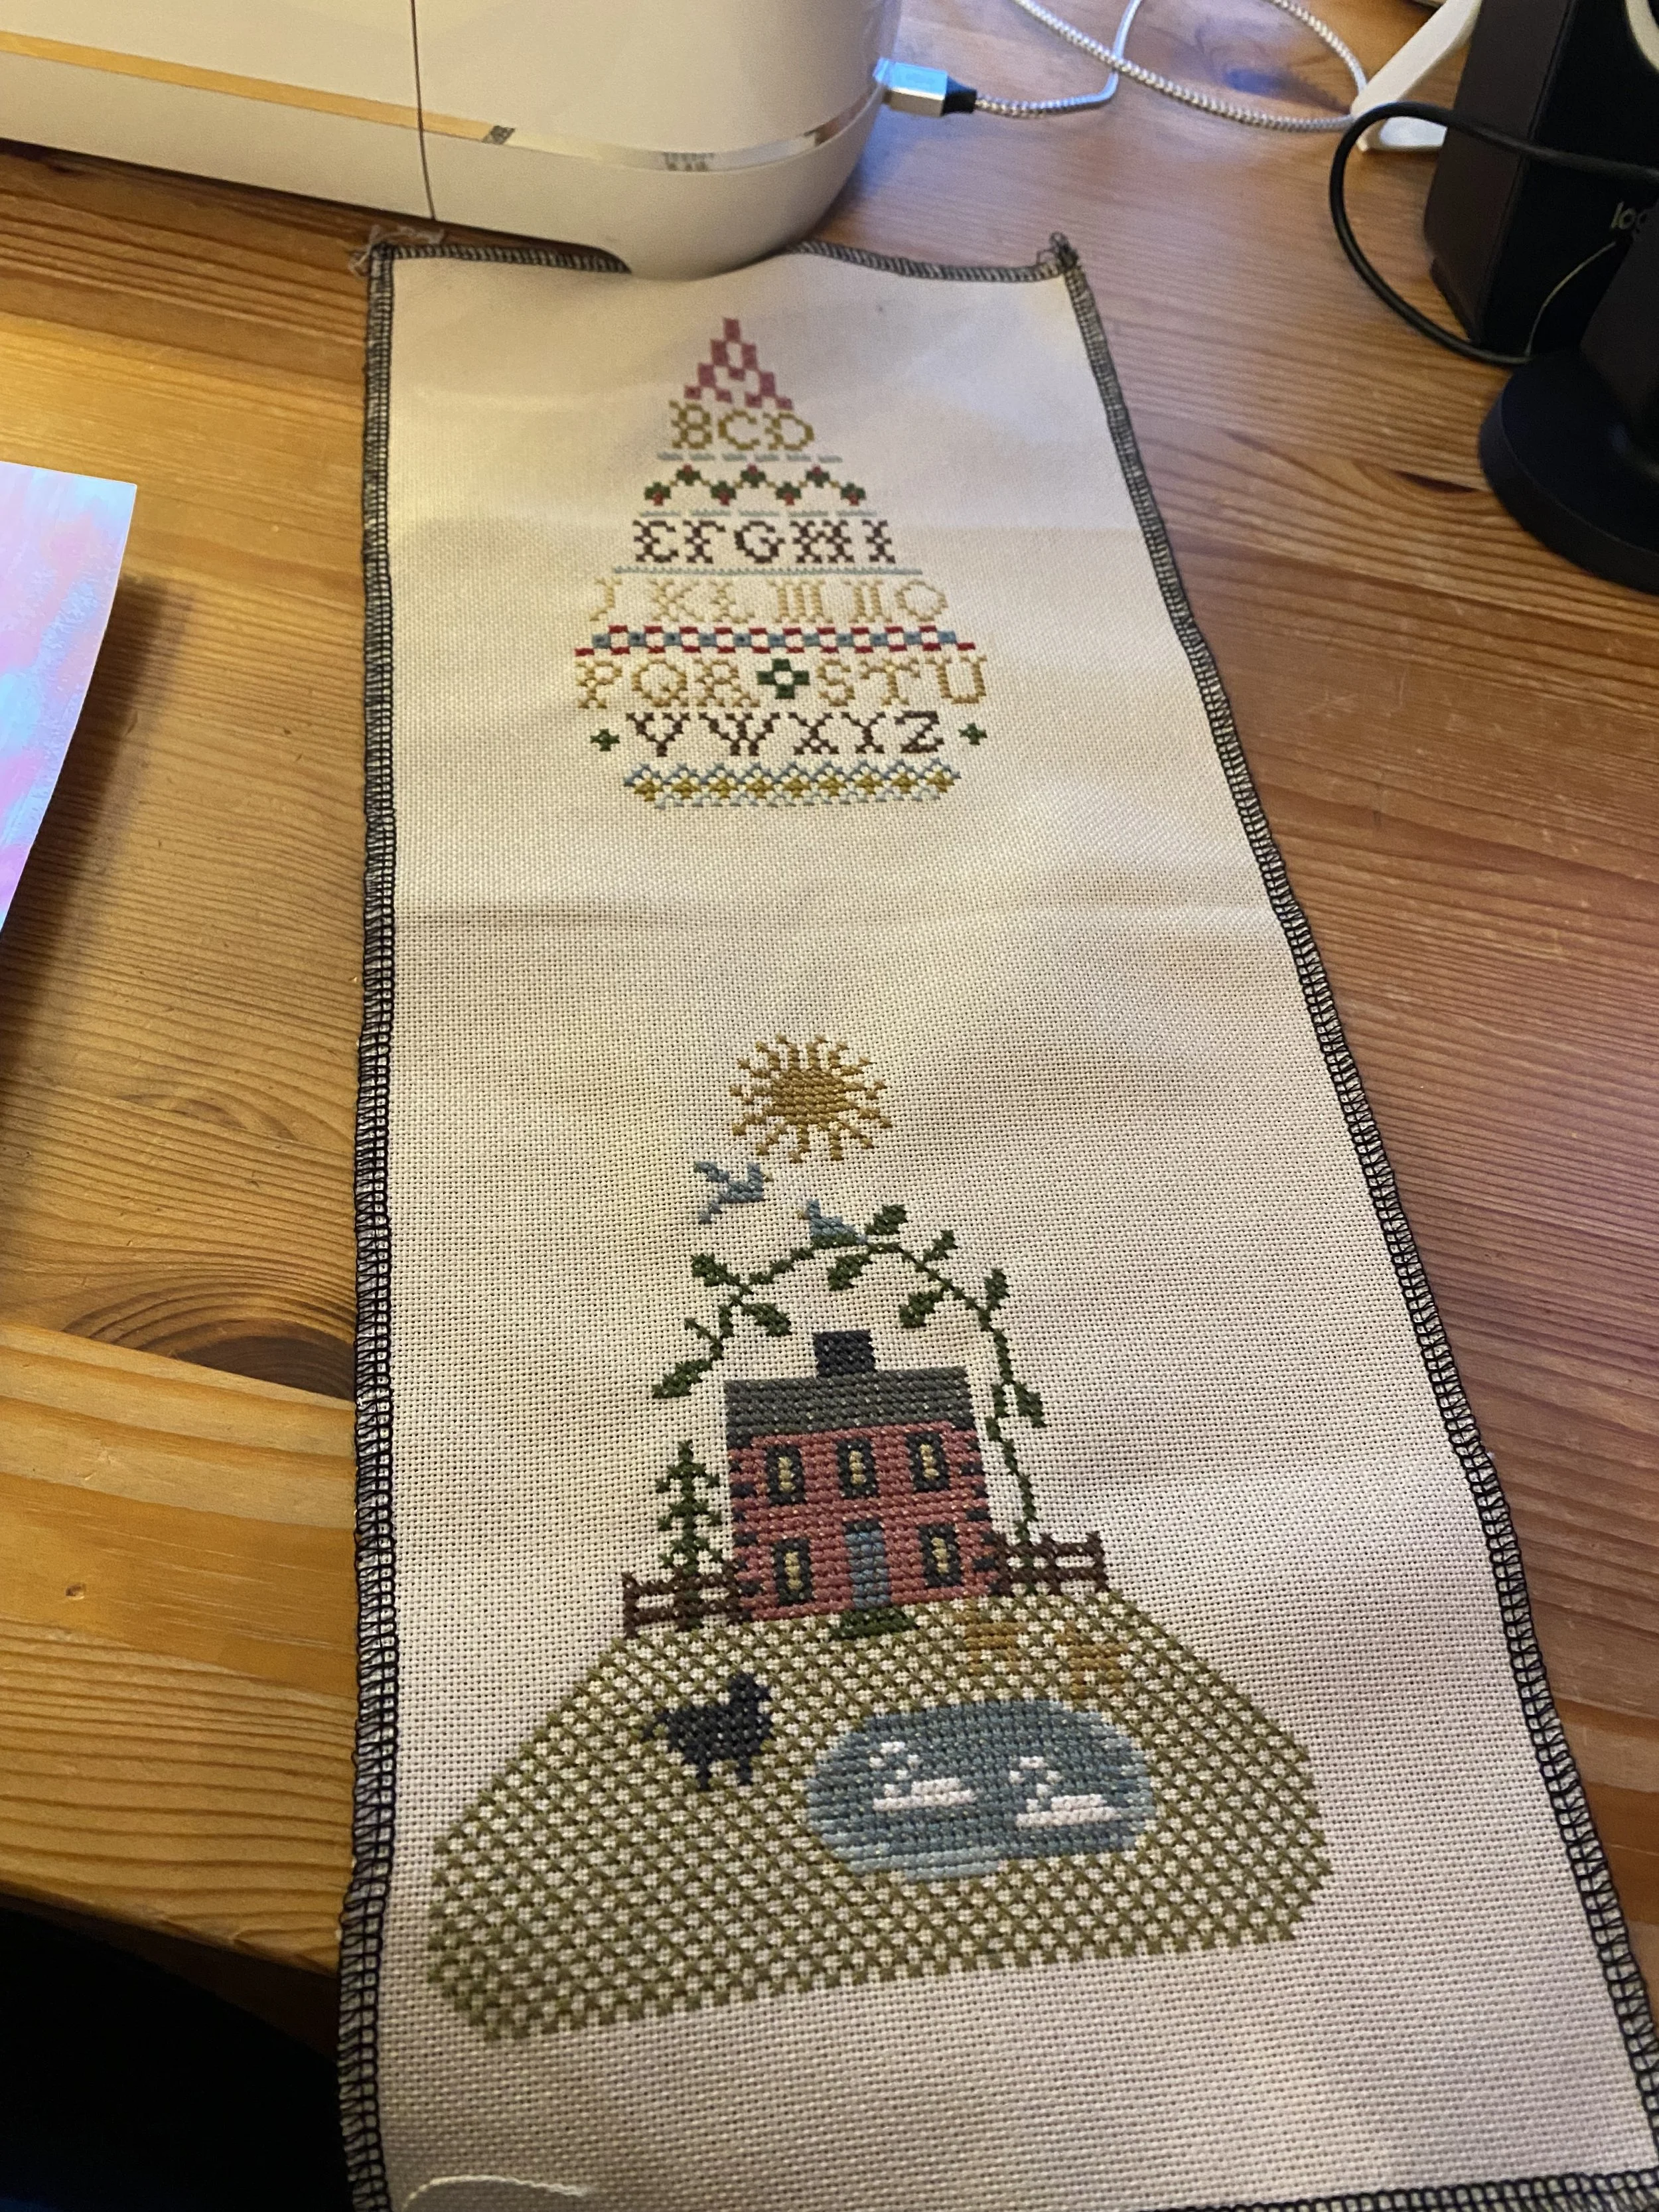
My FO needing some FFO’ing
1. Cutting the Fabrics
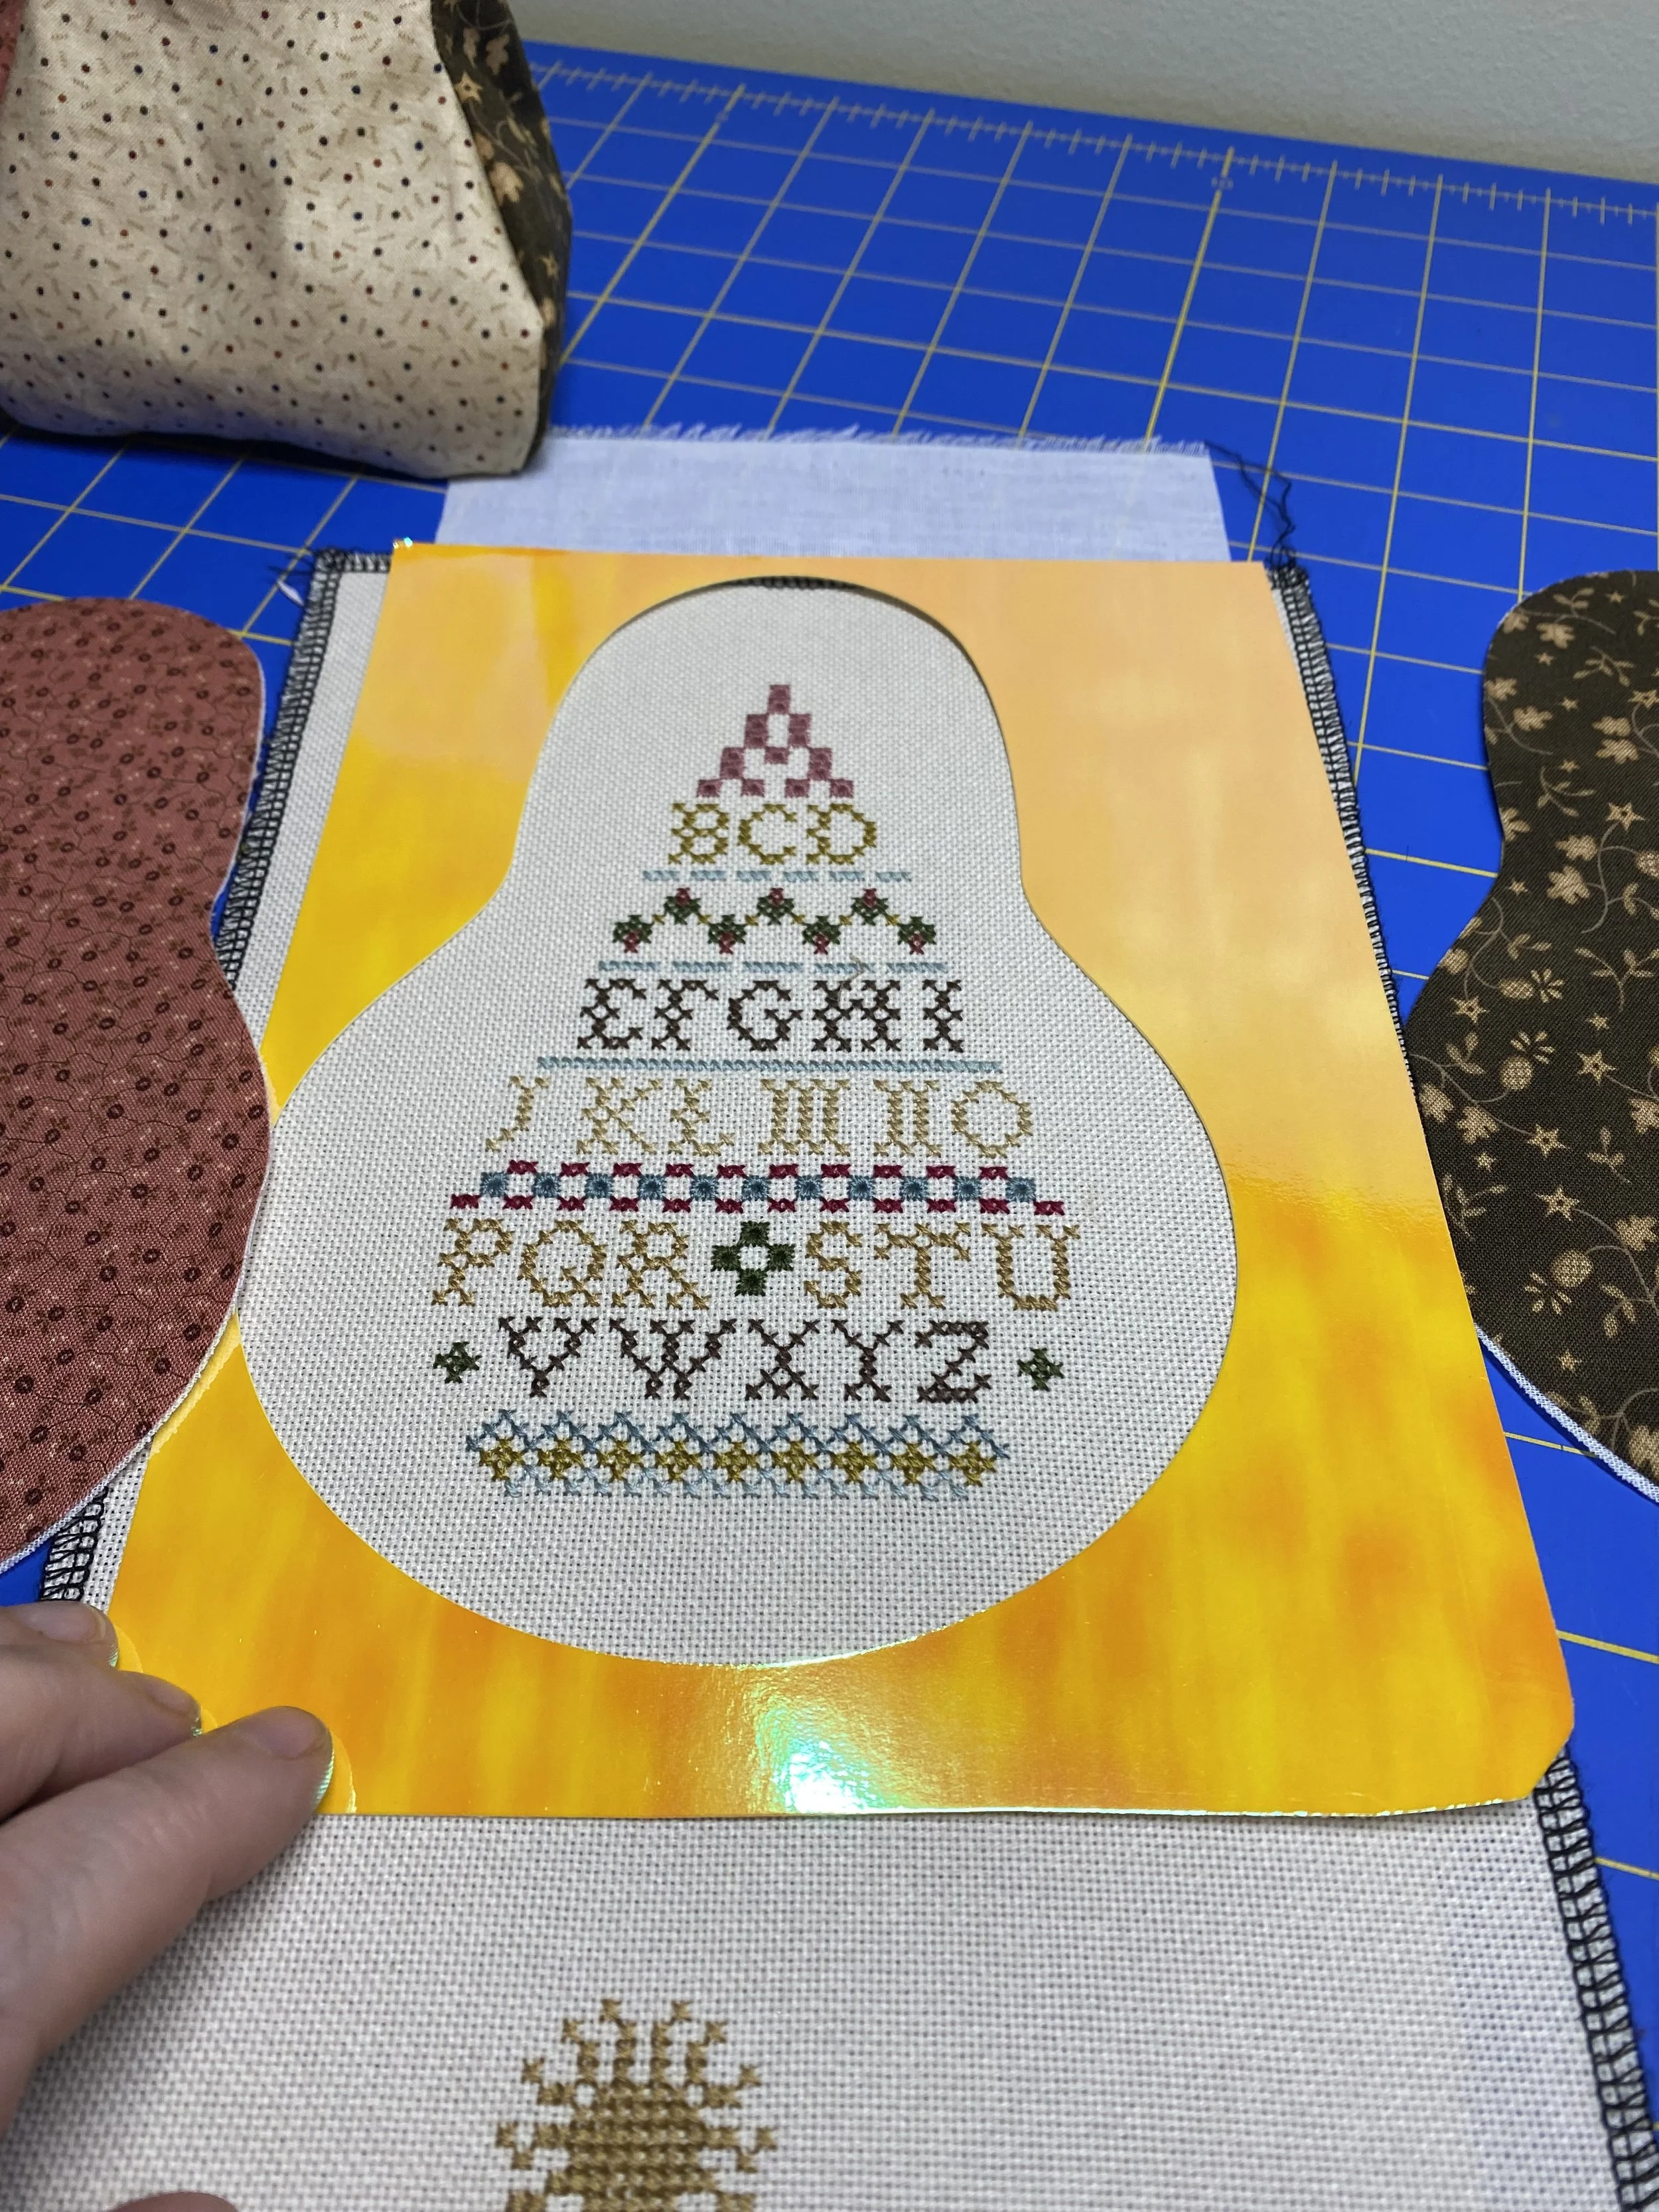
I am HORRIBLE at accurately cutting out shaped-fabric pieces, so I turned to my Cricut machine for the cutting. You do not need a cutting machine for this project - just make sure you cut all your pieces identically.
In my case, I created a pear design that gave me about a 1 inch border around my pear and first cut the image on cardstock to make a stencil for the actual cutting of my cross-stitched work. If you were cutting by hand, I would still make a stencil to use for all three of your pear pieces - the actual stitched fabric, and two complementary fabrics.
After I used my stencil to trace accuractly around the border of my stitched pear, I used my scissors to cut out my stitched pear. I used the Cricut to cut out the pear shapes from various fabrics I thought would complement the design well.
I also cut Pellon SF101 Interfacing into the same pear shape and ironed it onto the back each piece, including my stitched pear fabric. (You could also iron the SF 101 onto the back of your fabric before you cut). This interfacing gives the final pear a nice, smooth and structured feel, and I highly recommend using it.
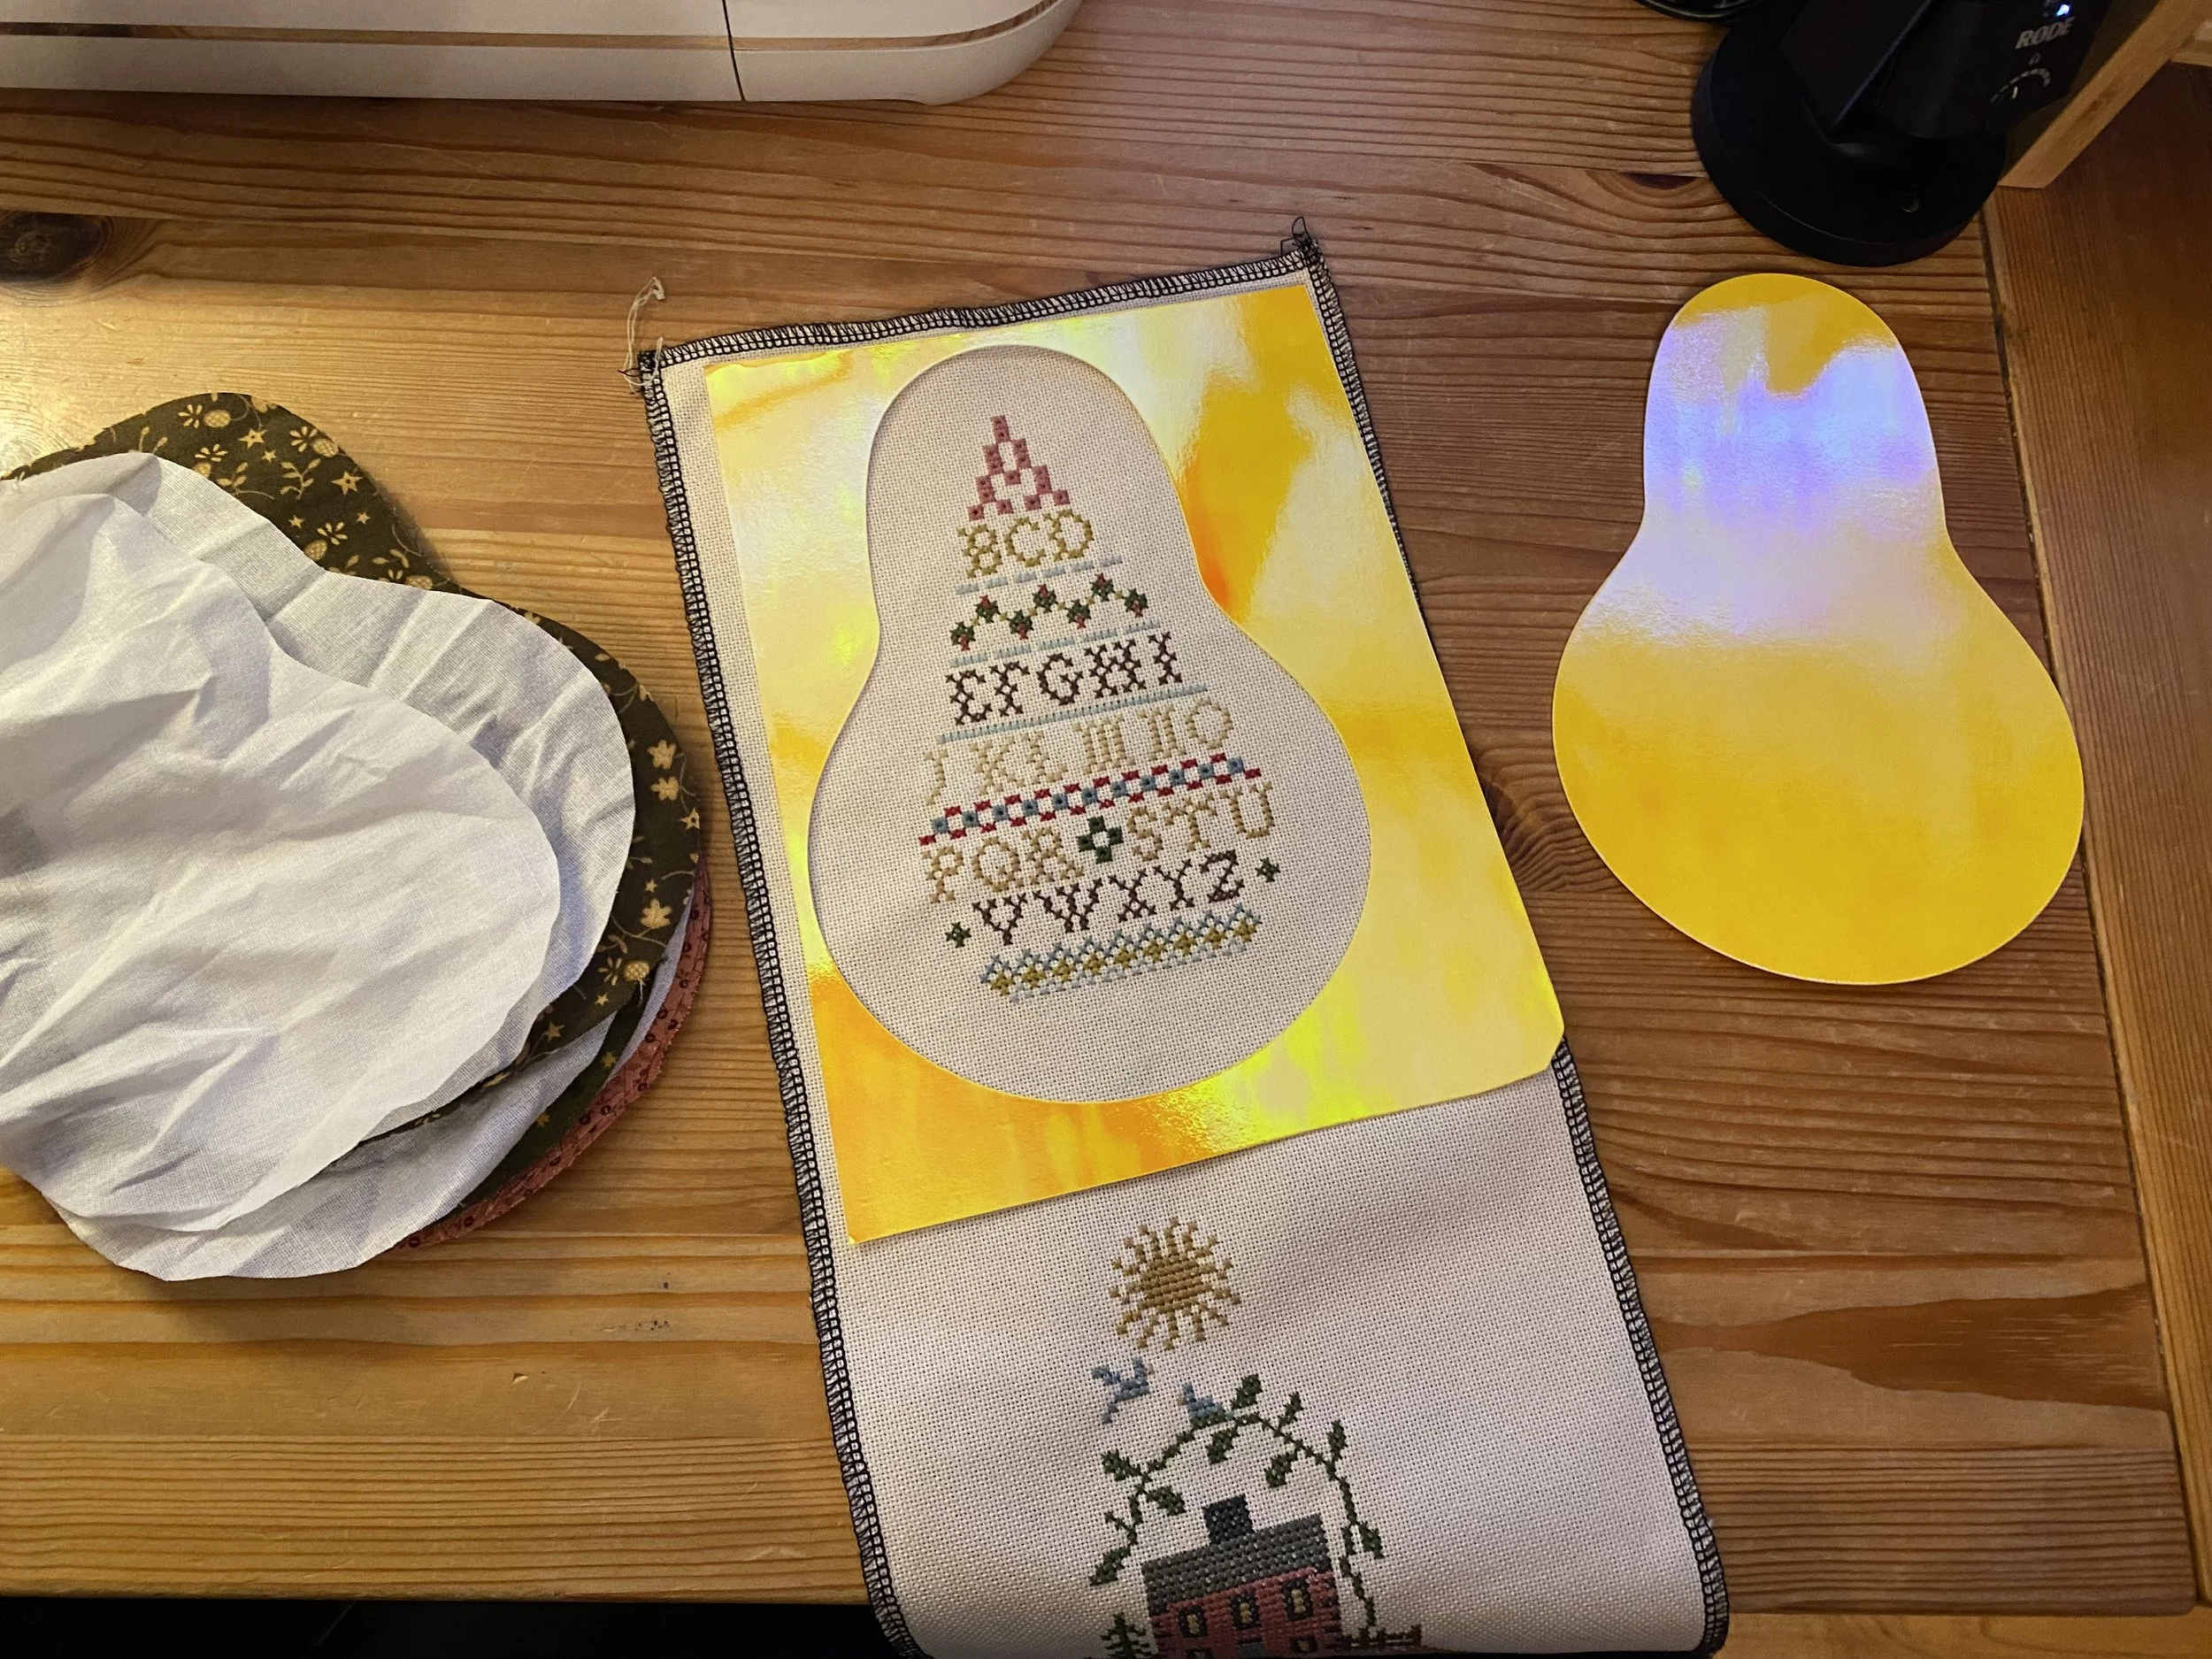
The Template

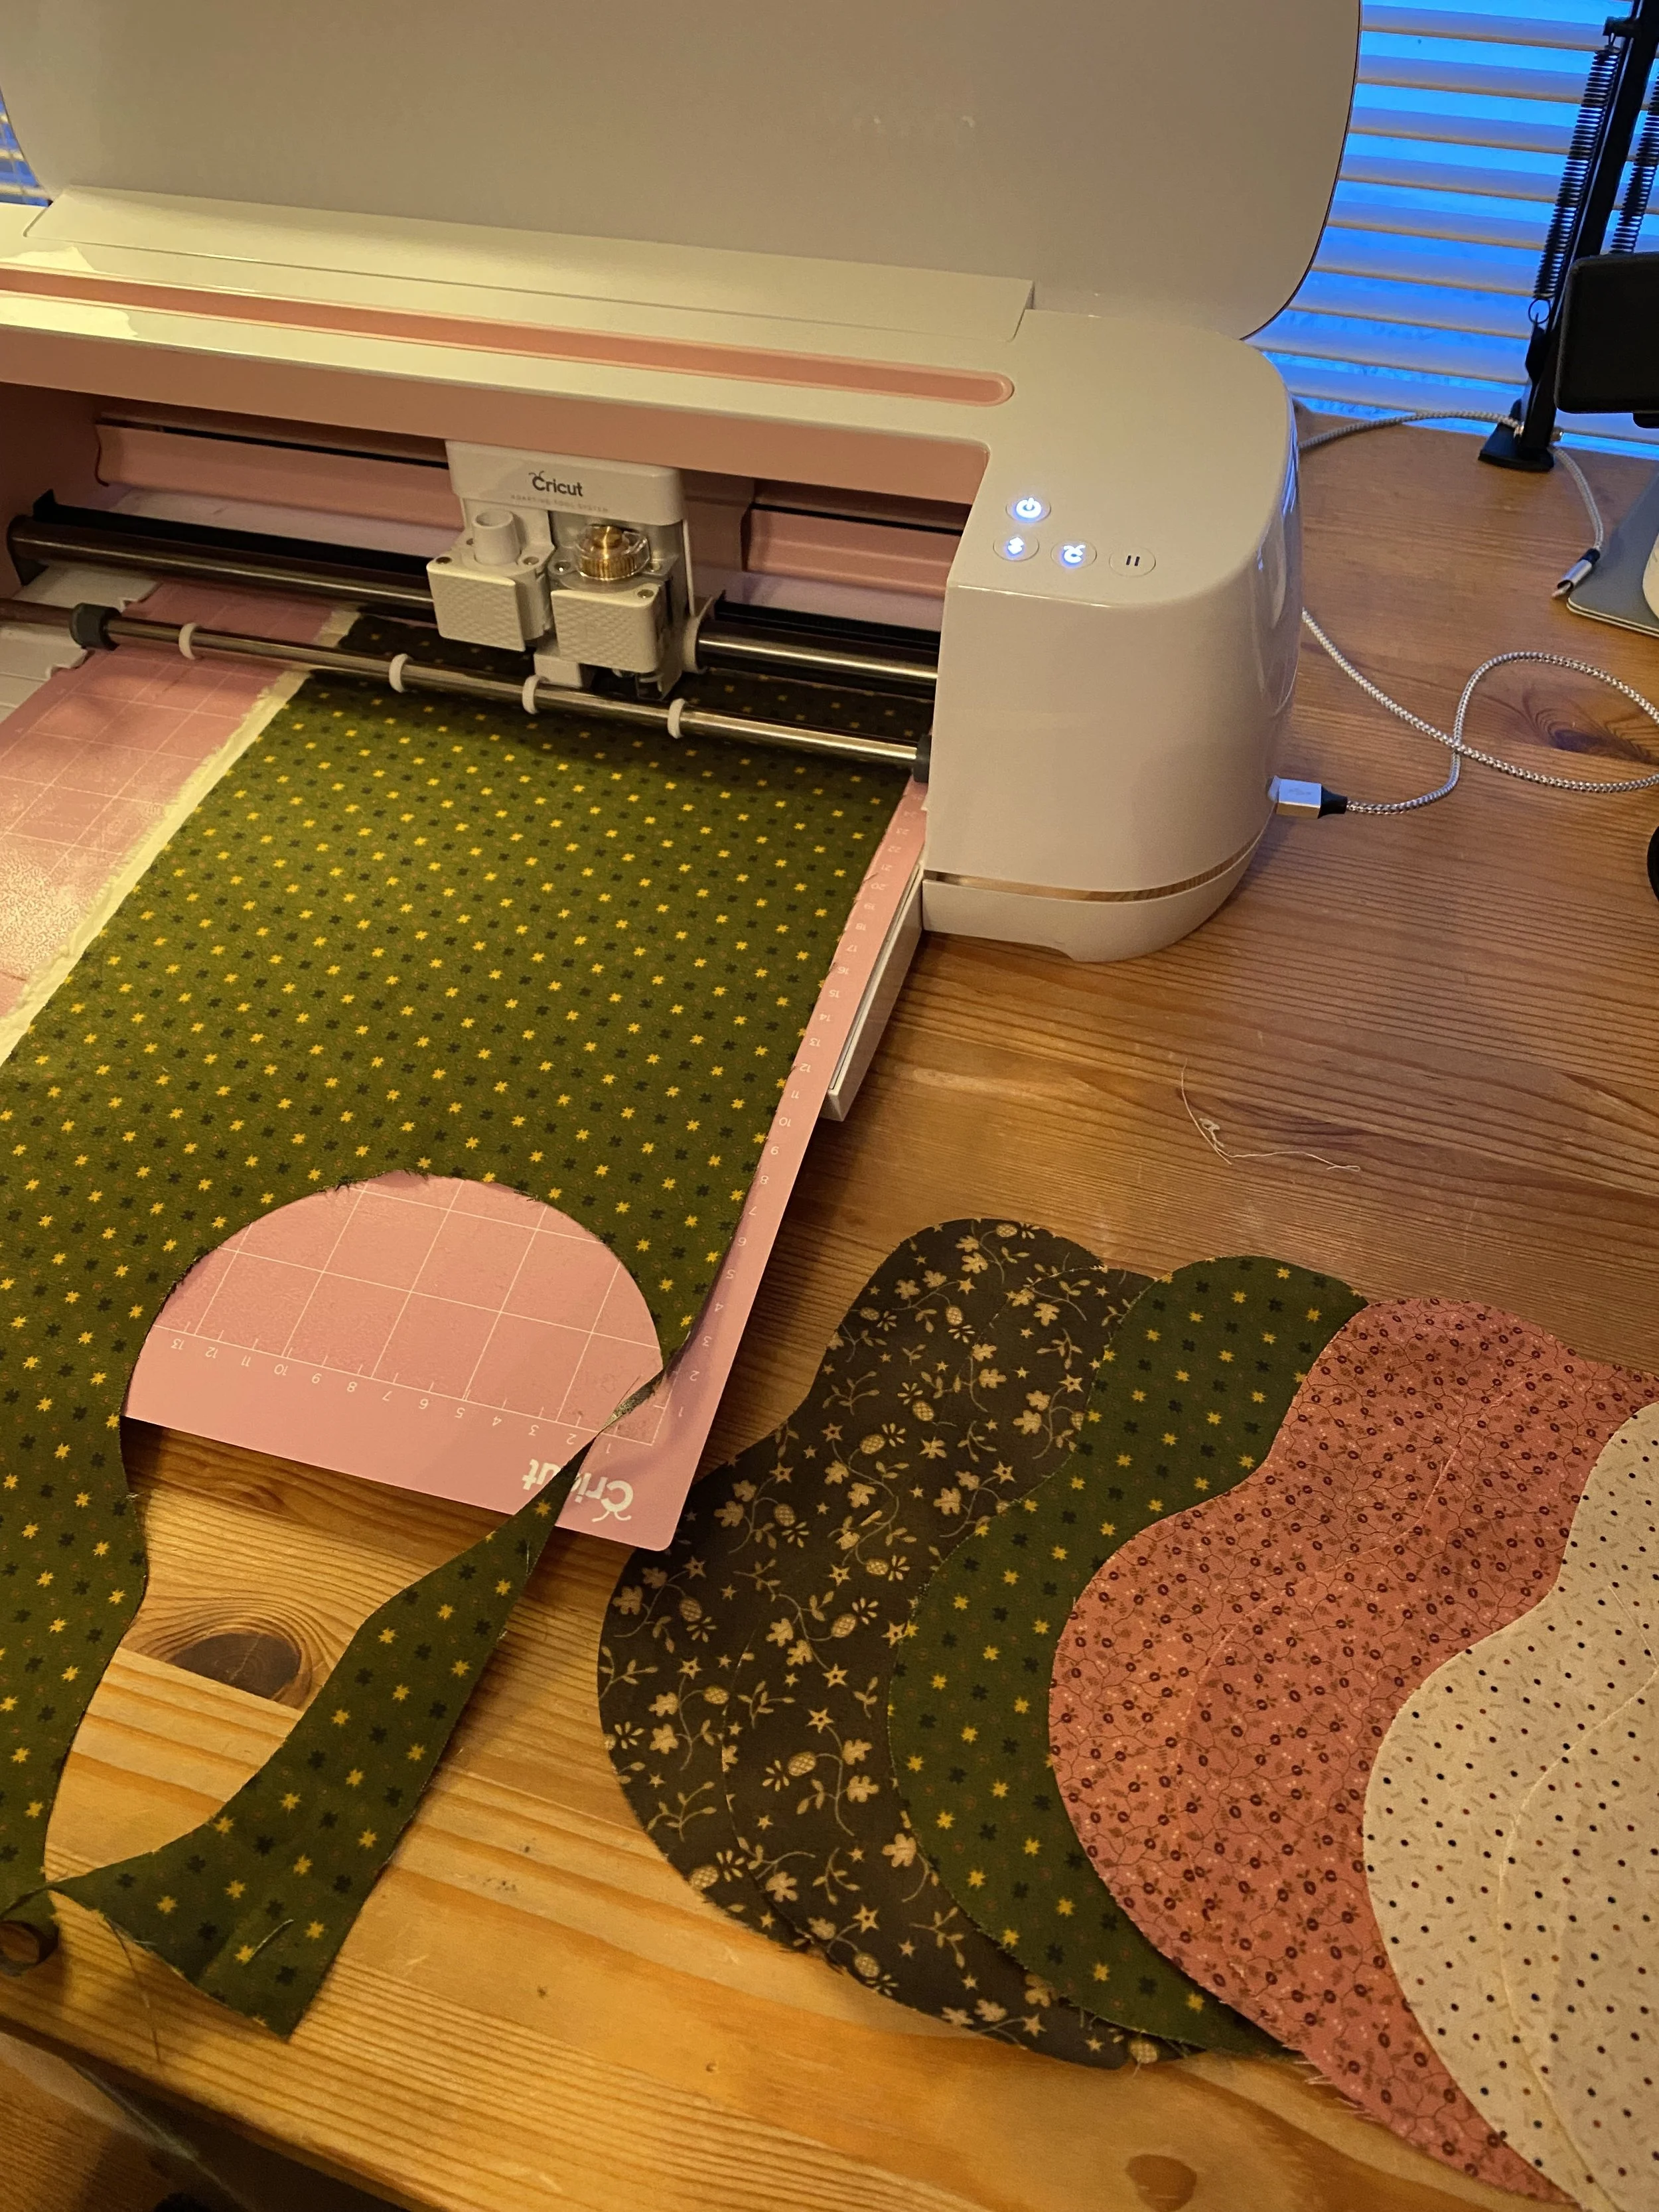

My three pieces, cut and fused with Pellon SF 101, ready to be sewn.
2. The Actual Sewing Begins!
First, I placed two pieces of the pear, right sides together, pinned them in place, and sewed a 1/4” seam from the middle top of the pear, down to the middle bottom of the pear.
Then, I pinned the third piece “right sides together” with one of the unsewn sides of the already sewn pieces. I sewed this is the same manner as above.
Finally, I pinned the two remaining sides and sewed them in the same manner as above.
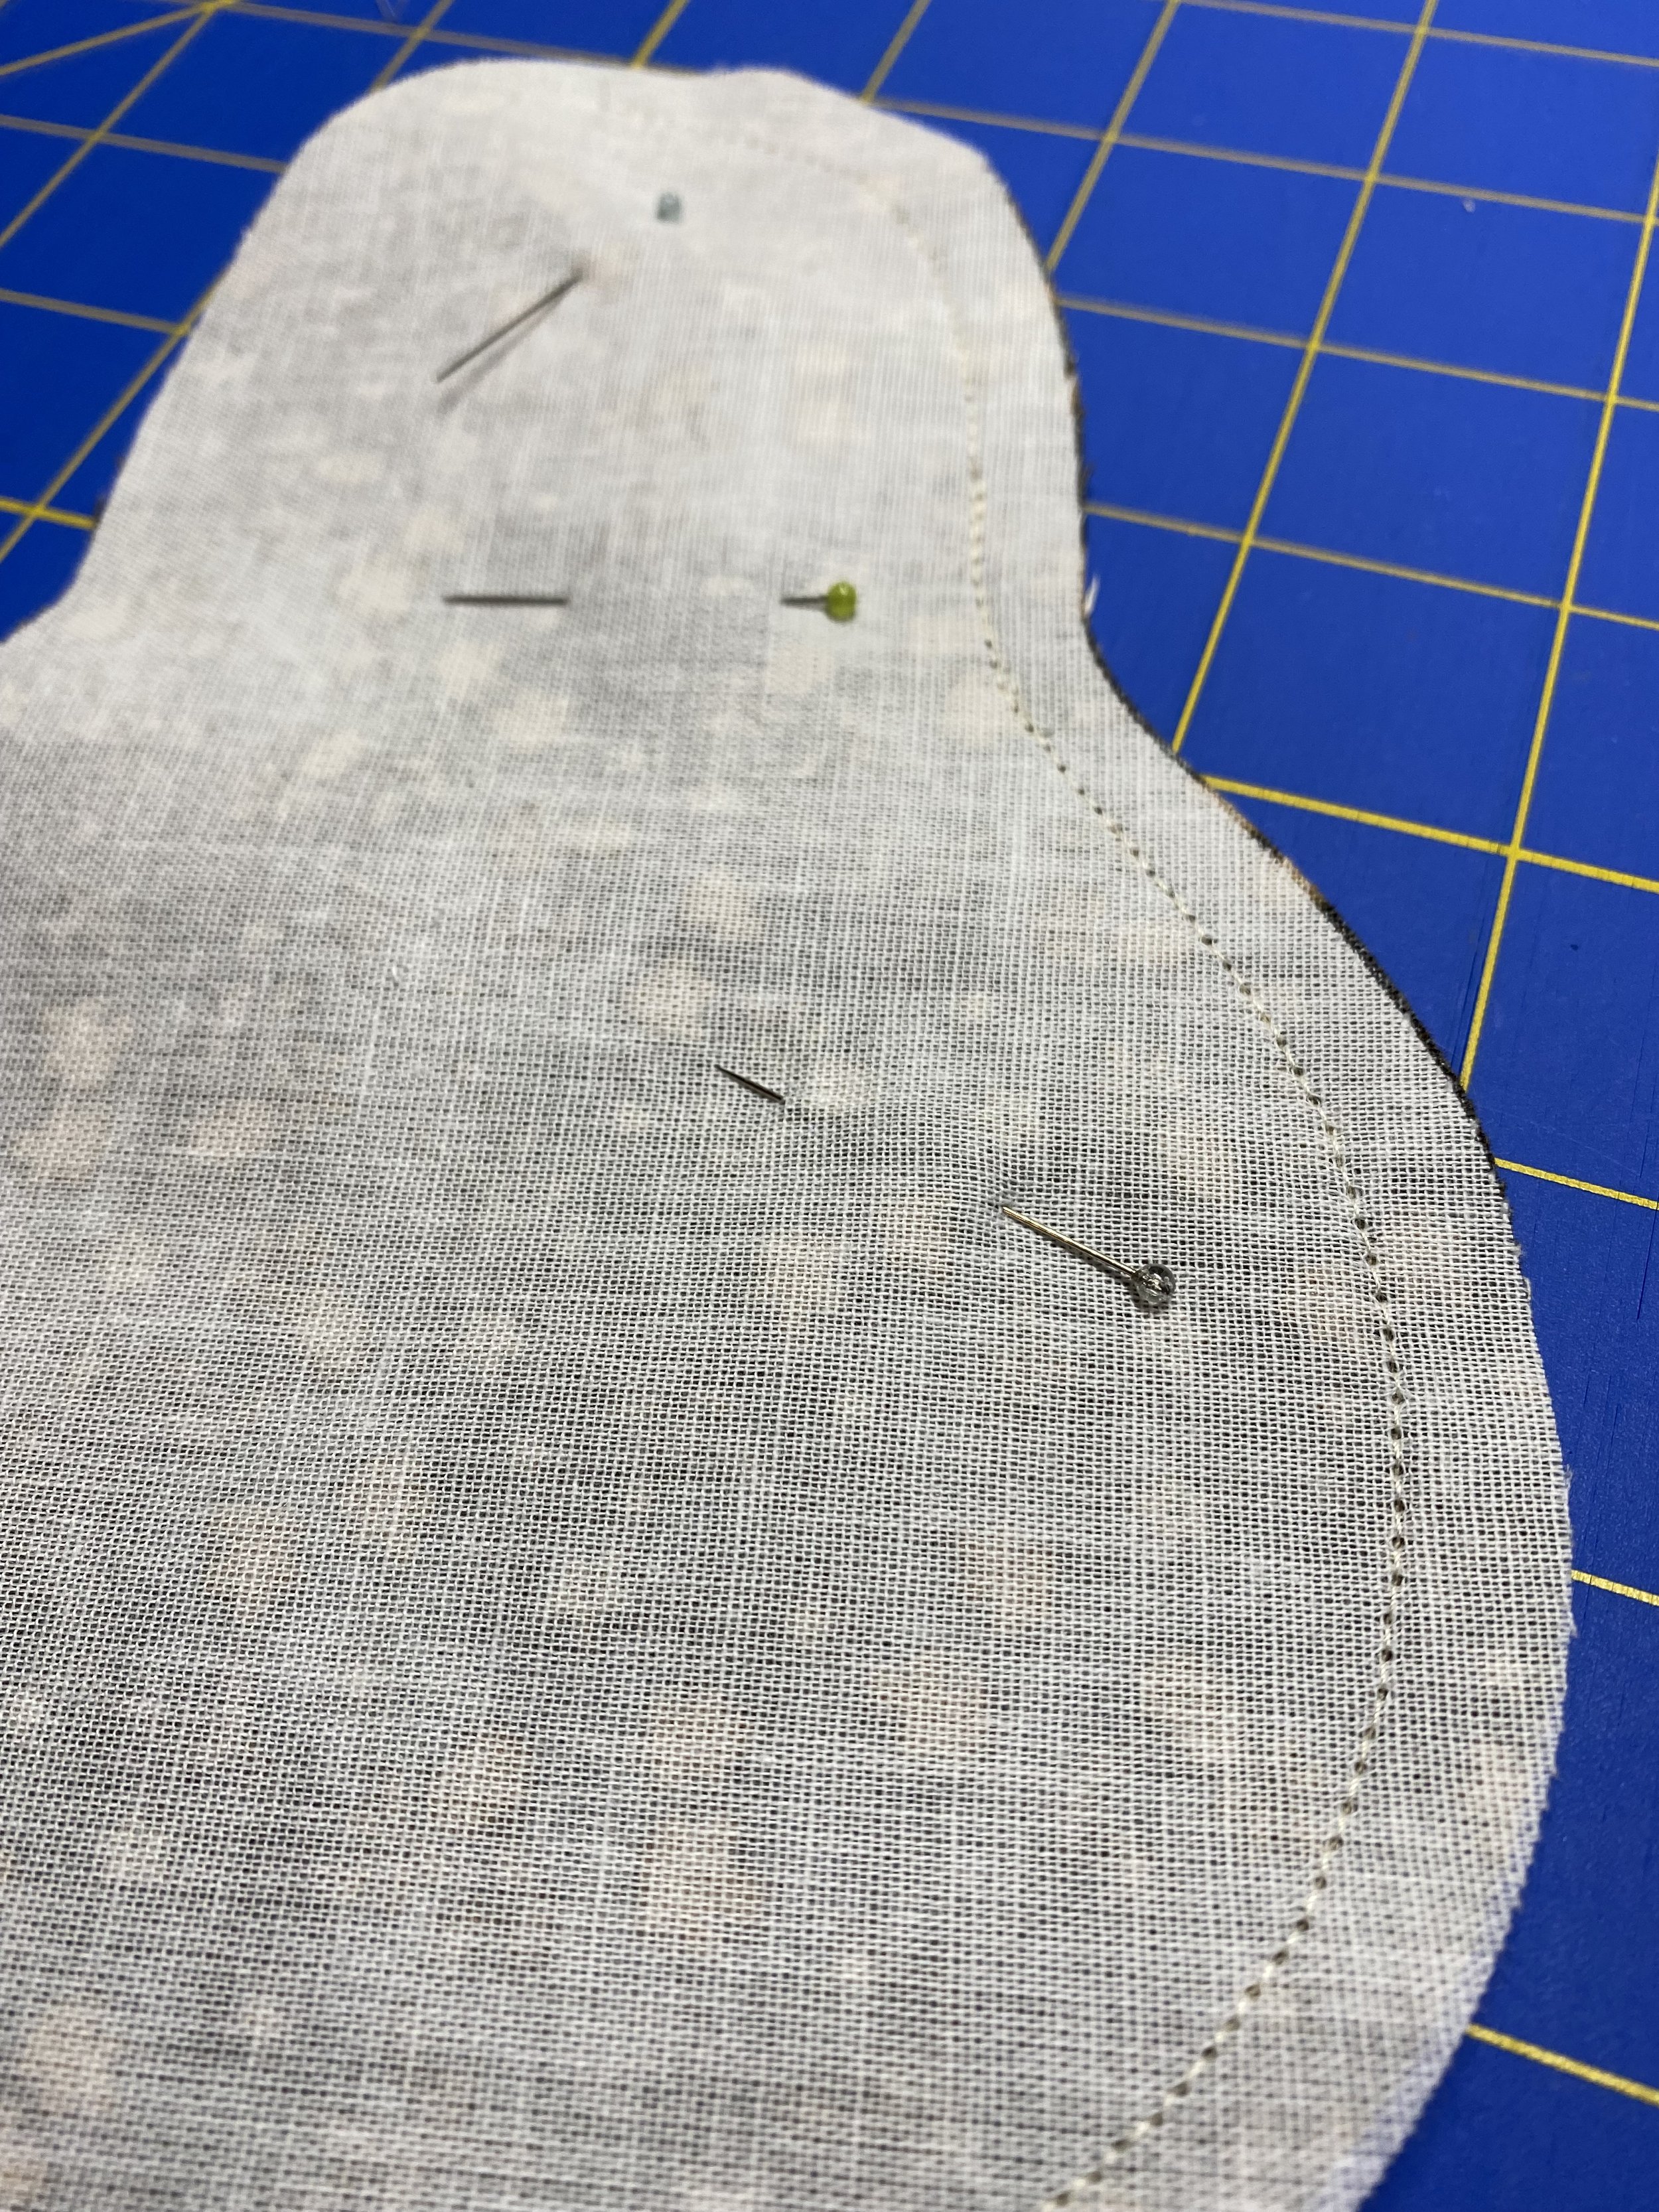


Take your time and go slowly with the sewing, being as accurate as you can with your starting and stopping points, going around the curves, and in keeping your 1/4” seam. It took me a bit of patience and practice. And some seam ripping. And some more seam ripping.


When I was done with the sewing, I trimmed off about another 1/8” to make the seams less bulky for the turning.
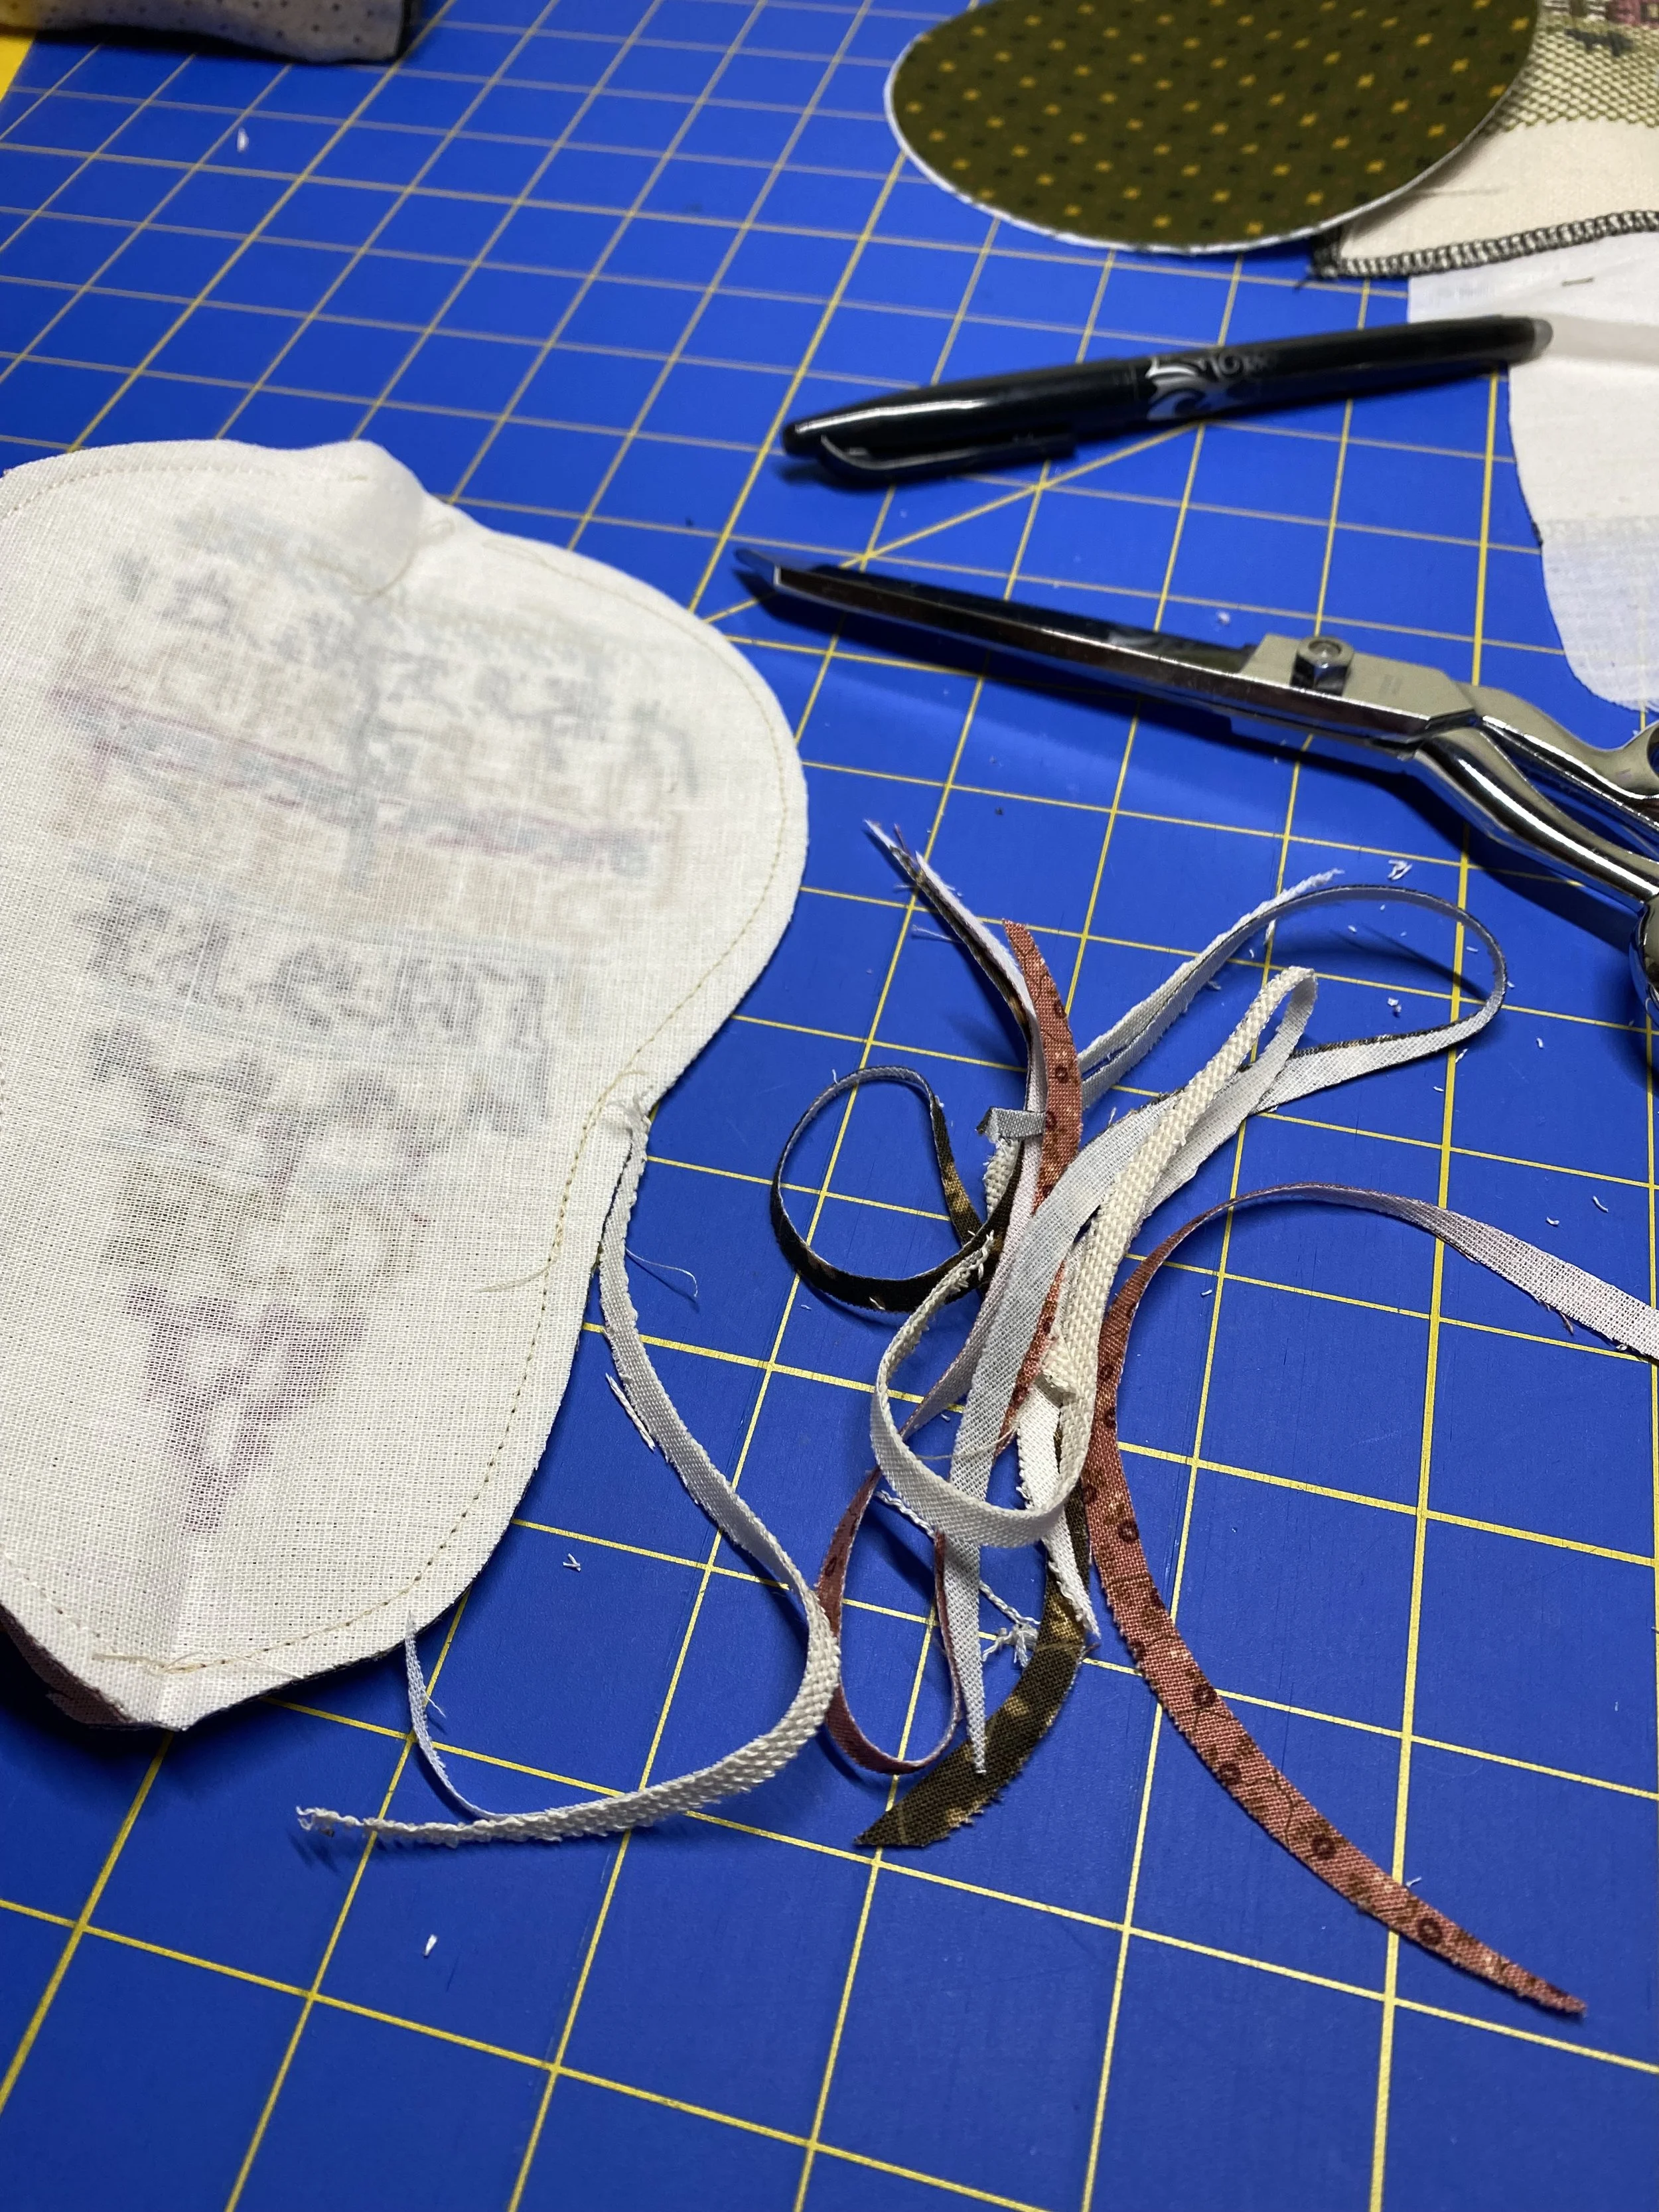
It was at this point, I realized that I hadn’t left an opening for turning! Not wanting to ruin the smooth curves of any side of my pear, I decided to rip out a few stitches from the bottom of the pear where the three fabrics meet. I knew I was going to cover the bottom with felt anyway, so my awkward hand-stitching (!) wouldn’t show in the final pear.
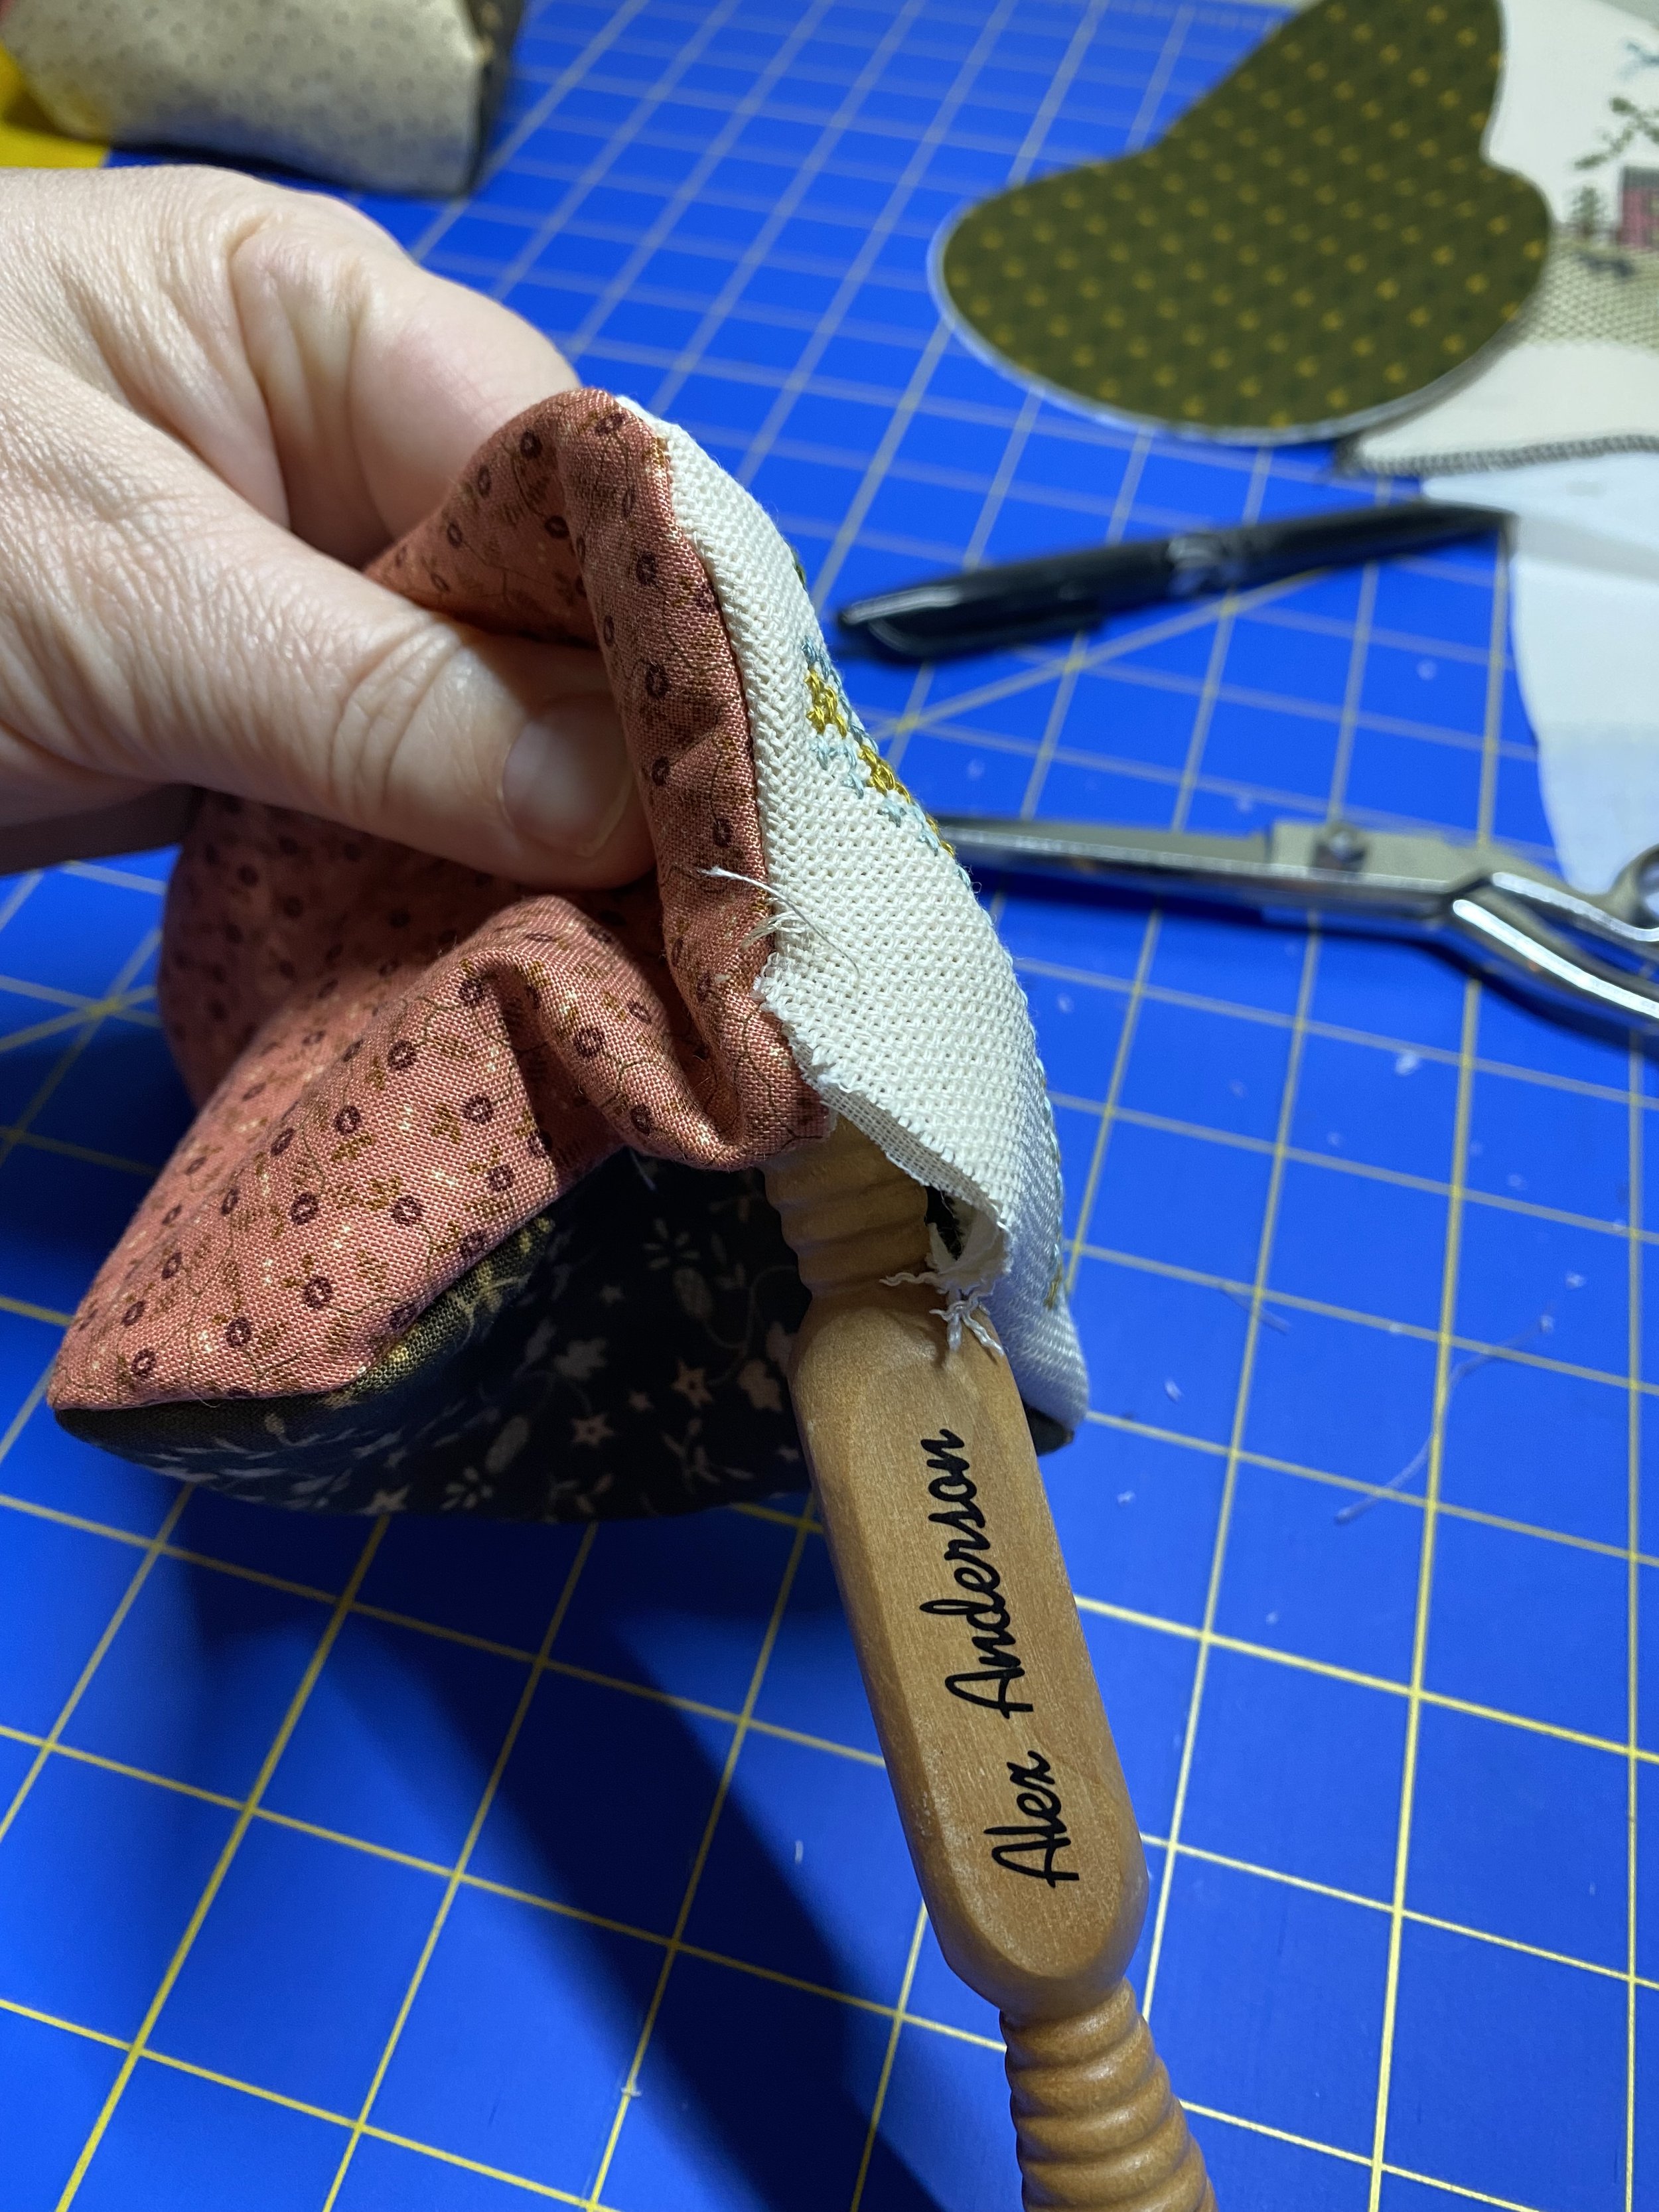
3. Turning the Pear
I always love this part of any sewing project. I used my “4 in 1 Essential Sewing Tool” by Alex Anderson. I think I picked it up in a quilting shop a while ago. It has a seam ripper on one end, a stilletto on the other, and the covers for the two ends are a corner tool and a smoothing tool. I love it for projects like this.
Once it passed my turning inspection, I gave it a gentle iron.

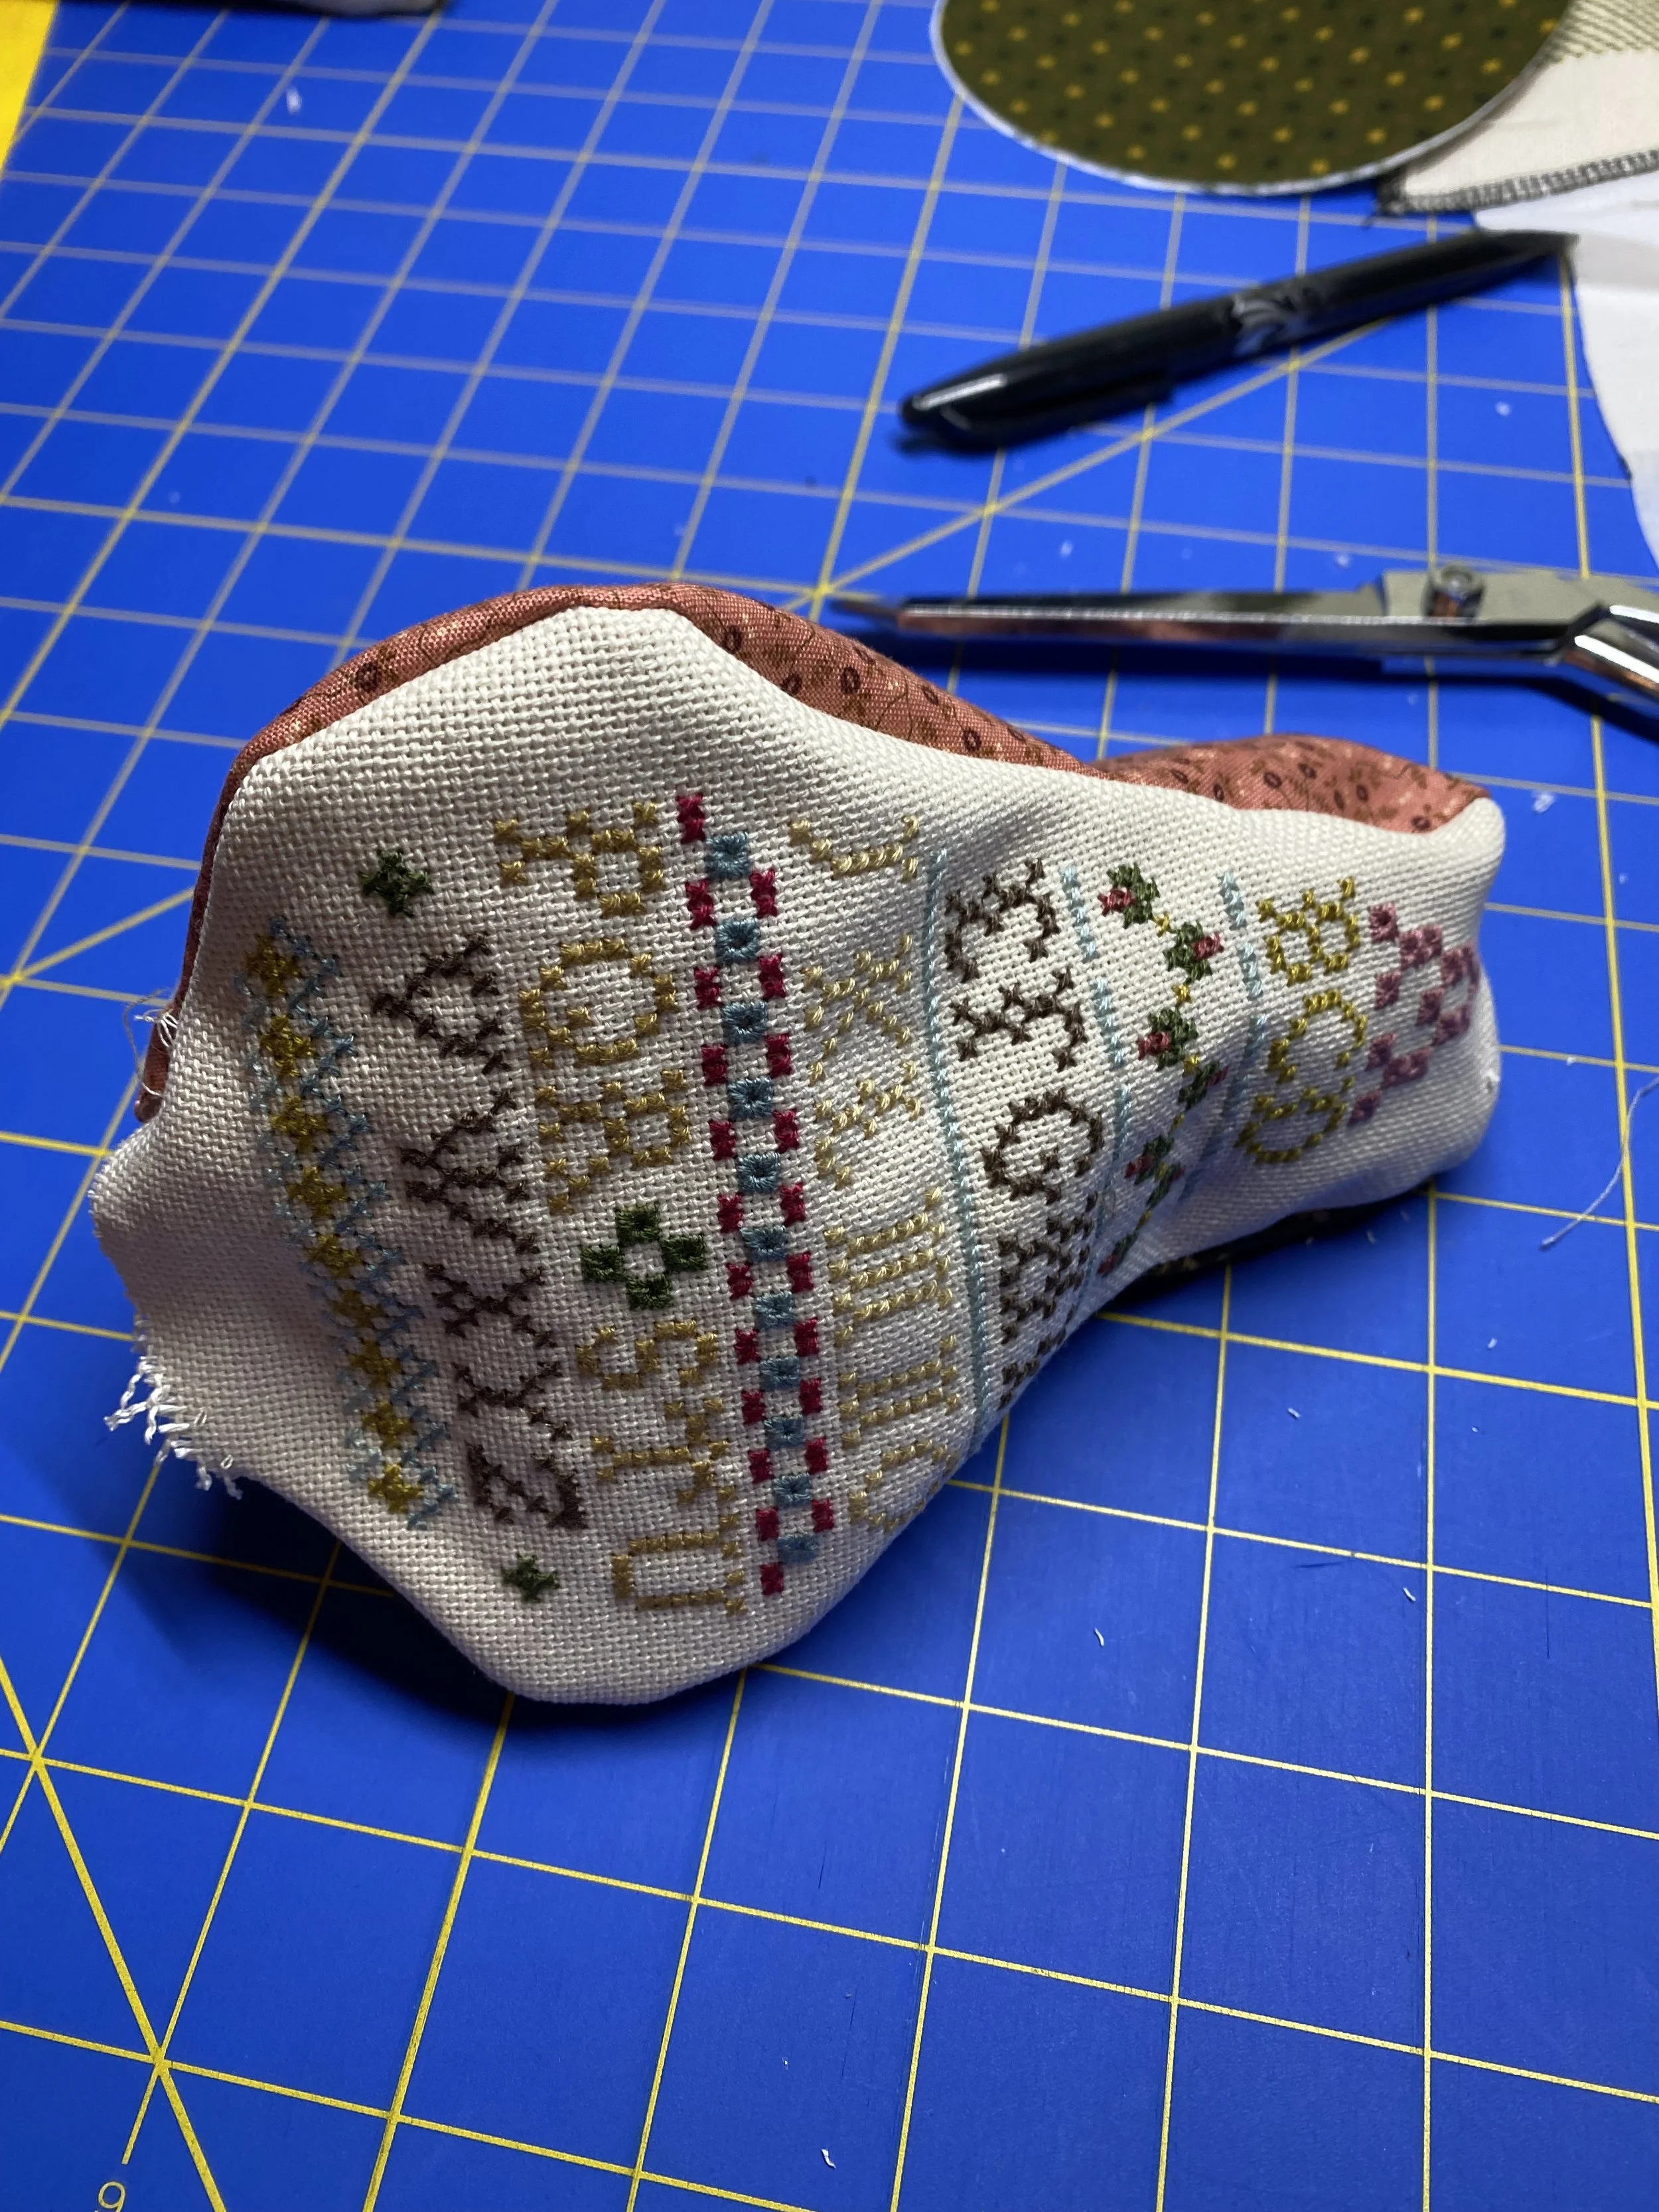

After Ironing

Here’s the other pear in process..
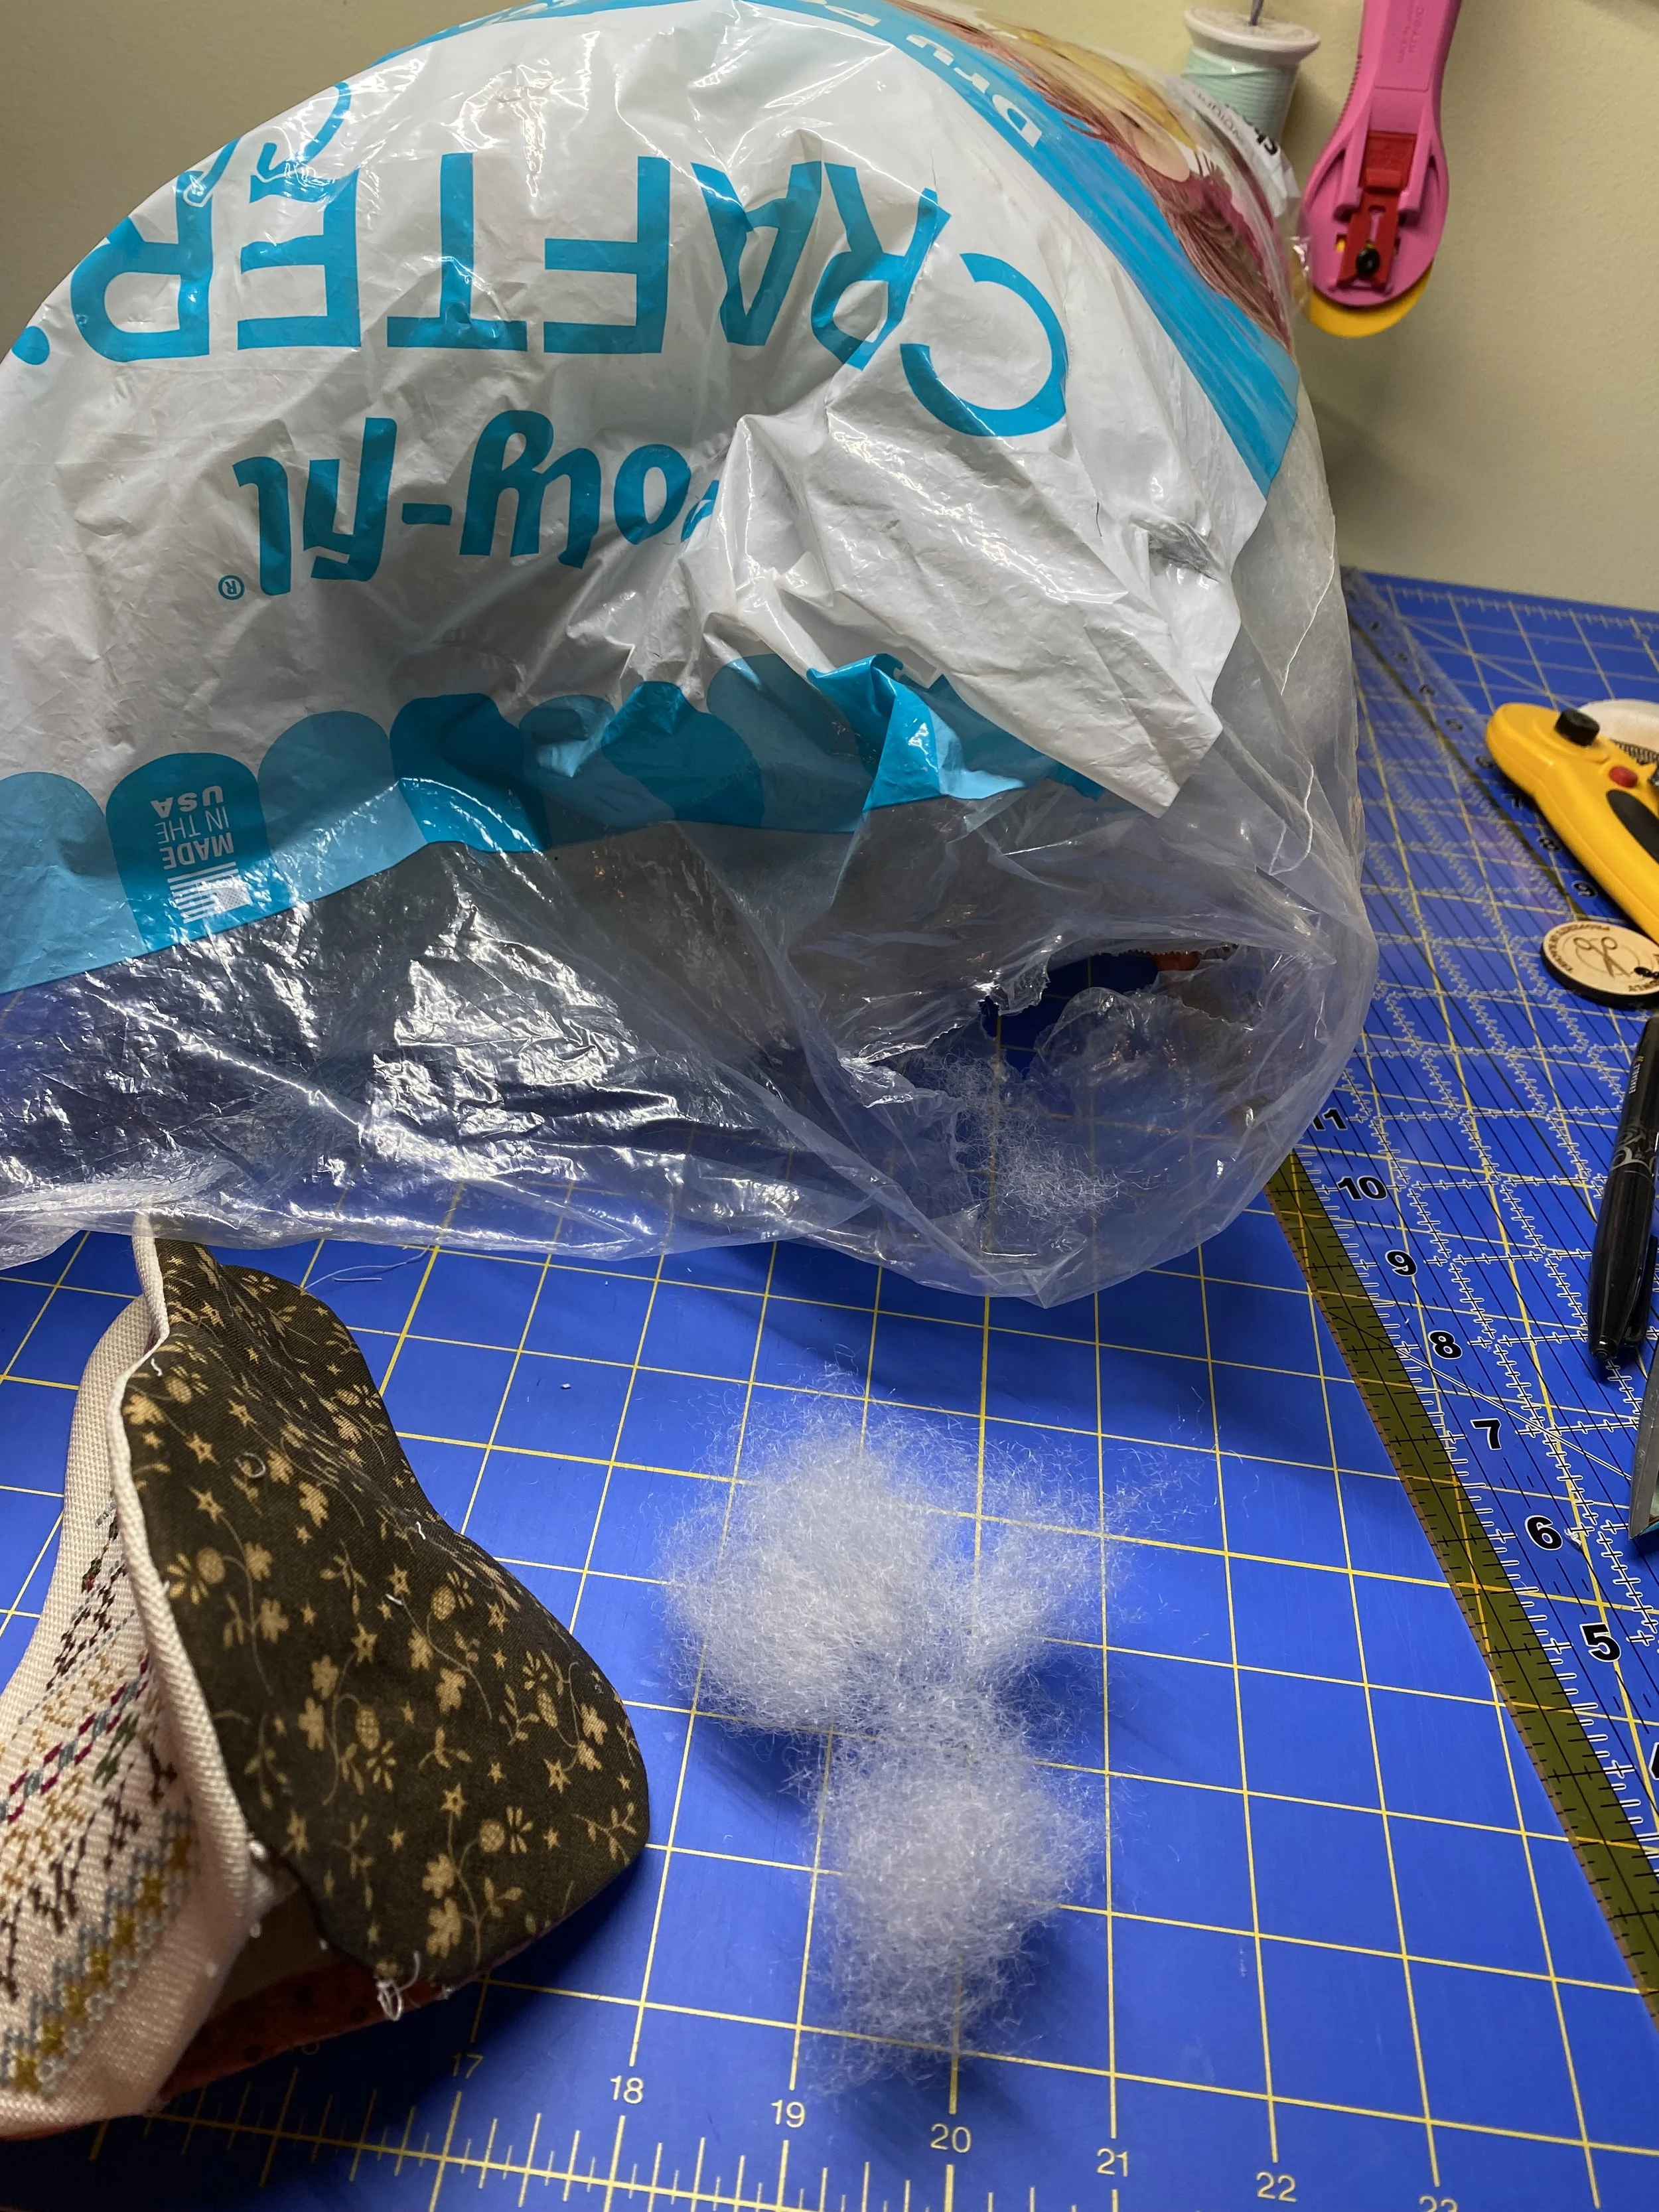
4. Time to Stuff!
I have a “loaves and fishes” never-ending bag of Poly-fill I used for the stuffing. I used way more stuffing than I thought I would, taking care to pop out every curve and section of the pear.
Once stuffed, I did my best to close my opening, but did have a small gap left that was covered by the felted bottom perfectly. No one will ever know. Except for you all. The ugly side of sharing. LOL.

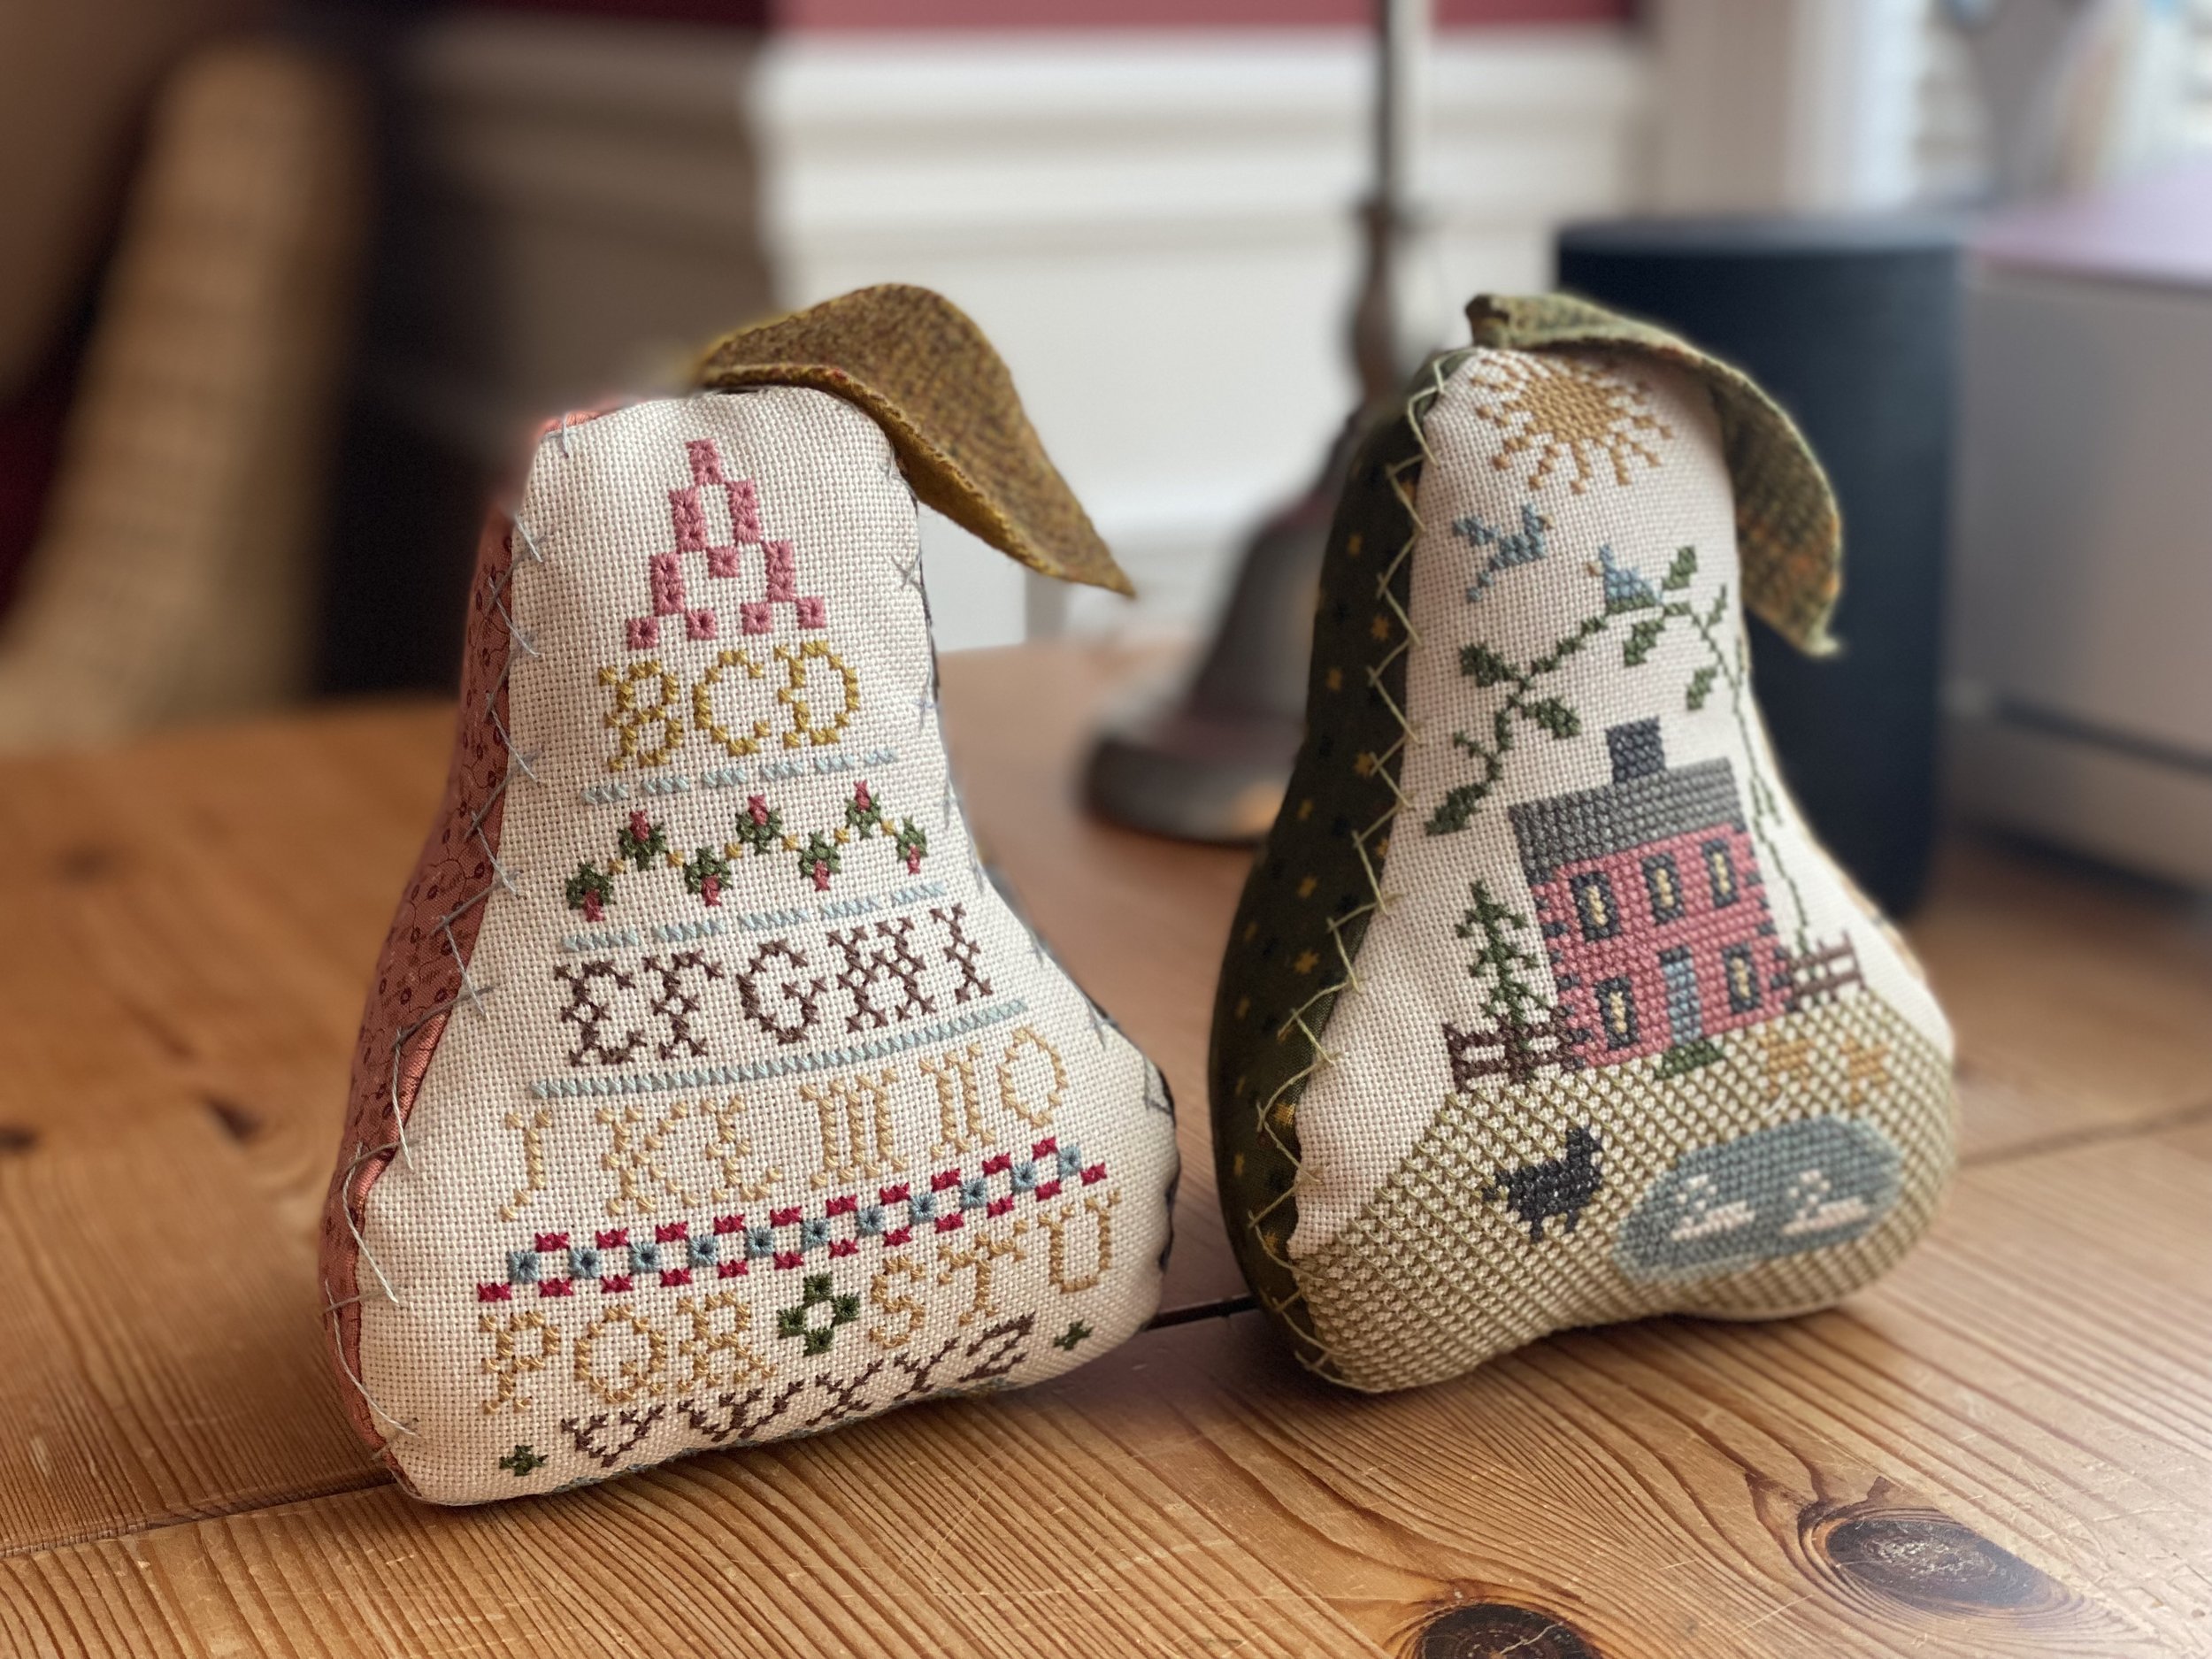
There she is, standing up straight and tall!
5. Final Finishing
Once my pears were stuffed, I selected some wools from my stash that I thought would make pretty leaves for the tops of each pear. I also selected some complementary pearl cotton that would match. In this case, I used some of my Valdani stash.


Googling “pear leaf” to get an idea of what an actual pear leaf looked like, I then cut out the leaves for each one.
First, I did some “x” stitching on the 3 seams - I love the extra texture and interest this stitching gave to the pears. I got that idea from seeing a pear design by Threadwork Primitives. Once all my Xs were stitched, I stitched on the leaves. I made the tips of the tops fold over a bit to get the leaf a real-life look instead of just flat.

Their backsides - see the x stitching on the seams?
The final cherry on top (or actual stem on top!) will be a couple of sticks from my yard. Its currently winter in Michigan, and I haven’t yet gone out to find some appropriate stick-stems.


Used Aleene’s Fast Grab Tacky Glue to tack down the bottoms cut from wool
I hope you enjoyed this! Let me know if you have any questions or if you’ve also made some pears (or other 3 d objects) with your stitching! I’m thinking my pears need some friends. Apples, maybe?