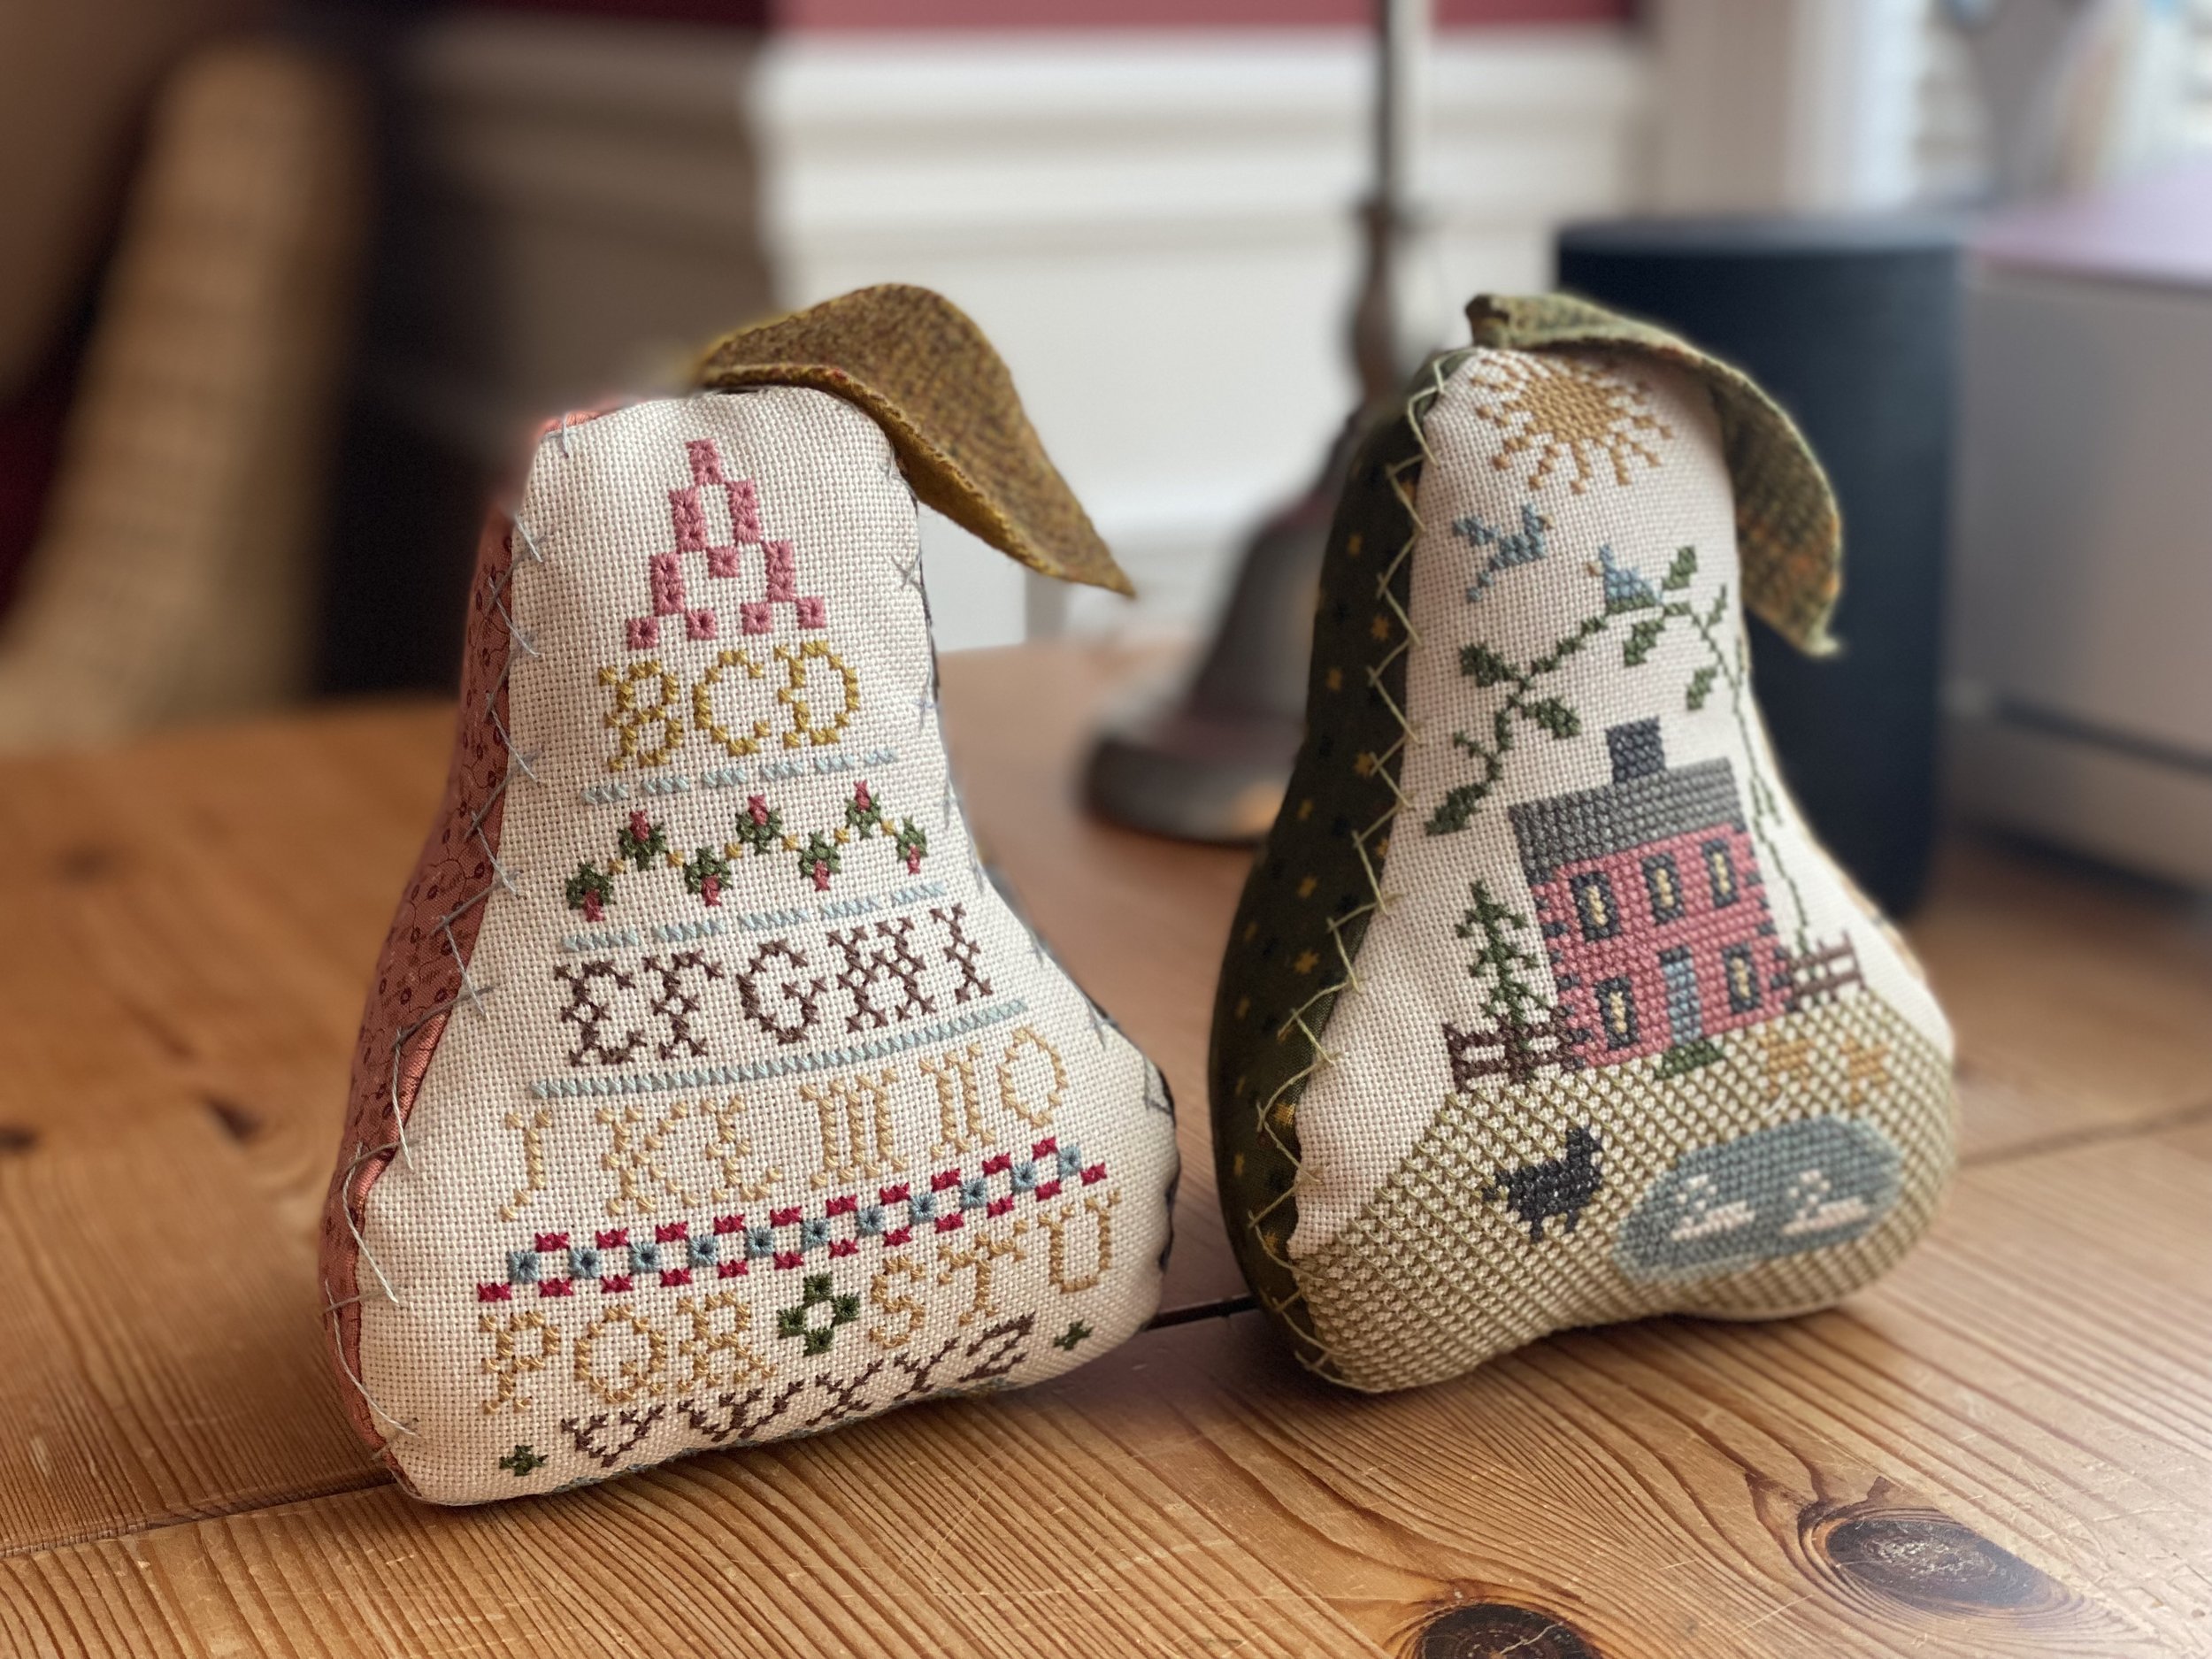
Fully Finishing the Cross-Stitched Pears

If you watch Floss Toss or follow me on Instagram, you may know about my pears project. I first learned about these beautiful 3-D cross-stitched pears from Katherine Adrian on her Floss Tube, “Stitching in Costume.” On one episode, she shared her own Pear “journey,” and I immediately went to the blog she mentioned to learn more.

Marly, of “Samplers and Santas Blog” generously shares several of her gorgeous pear designs on her blog. I downloaded my two favorite and stitched them up. I loved how fast the pears stitched up (I seem to only gravitate to huge designs - was so nice to wip this one out quickly!).

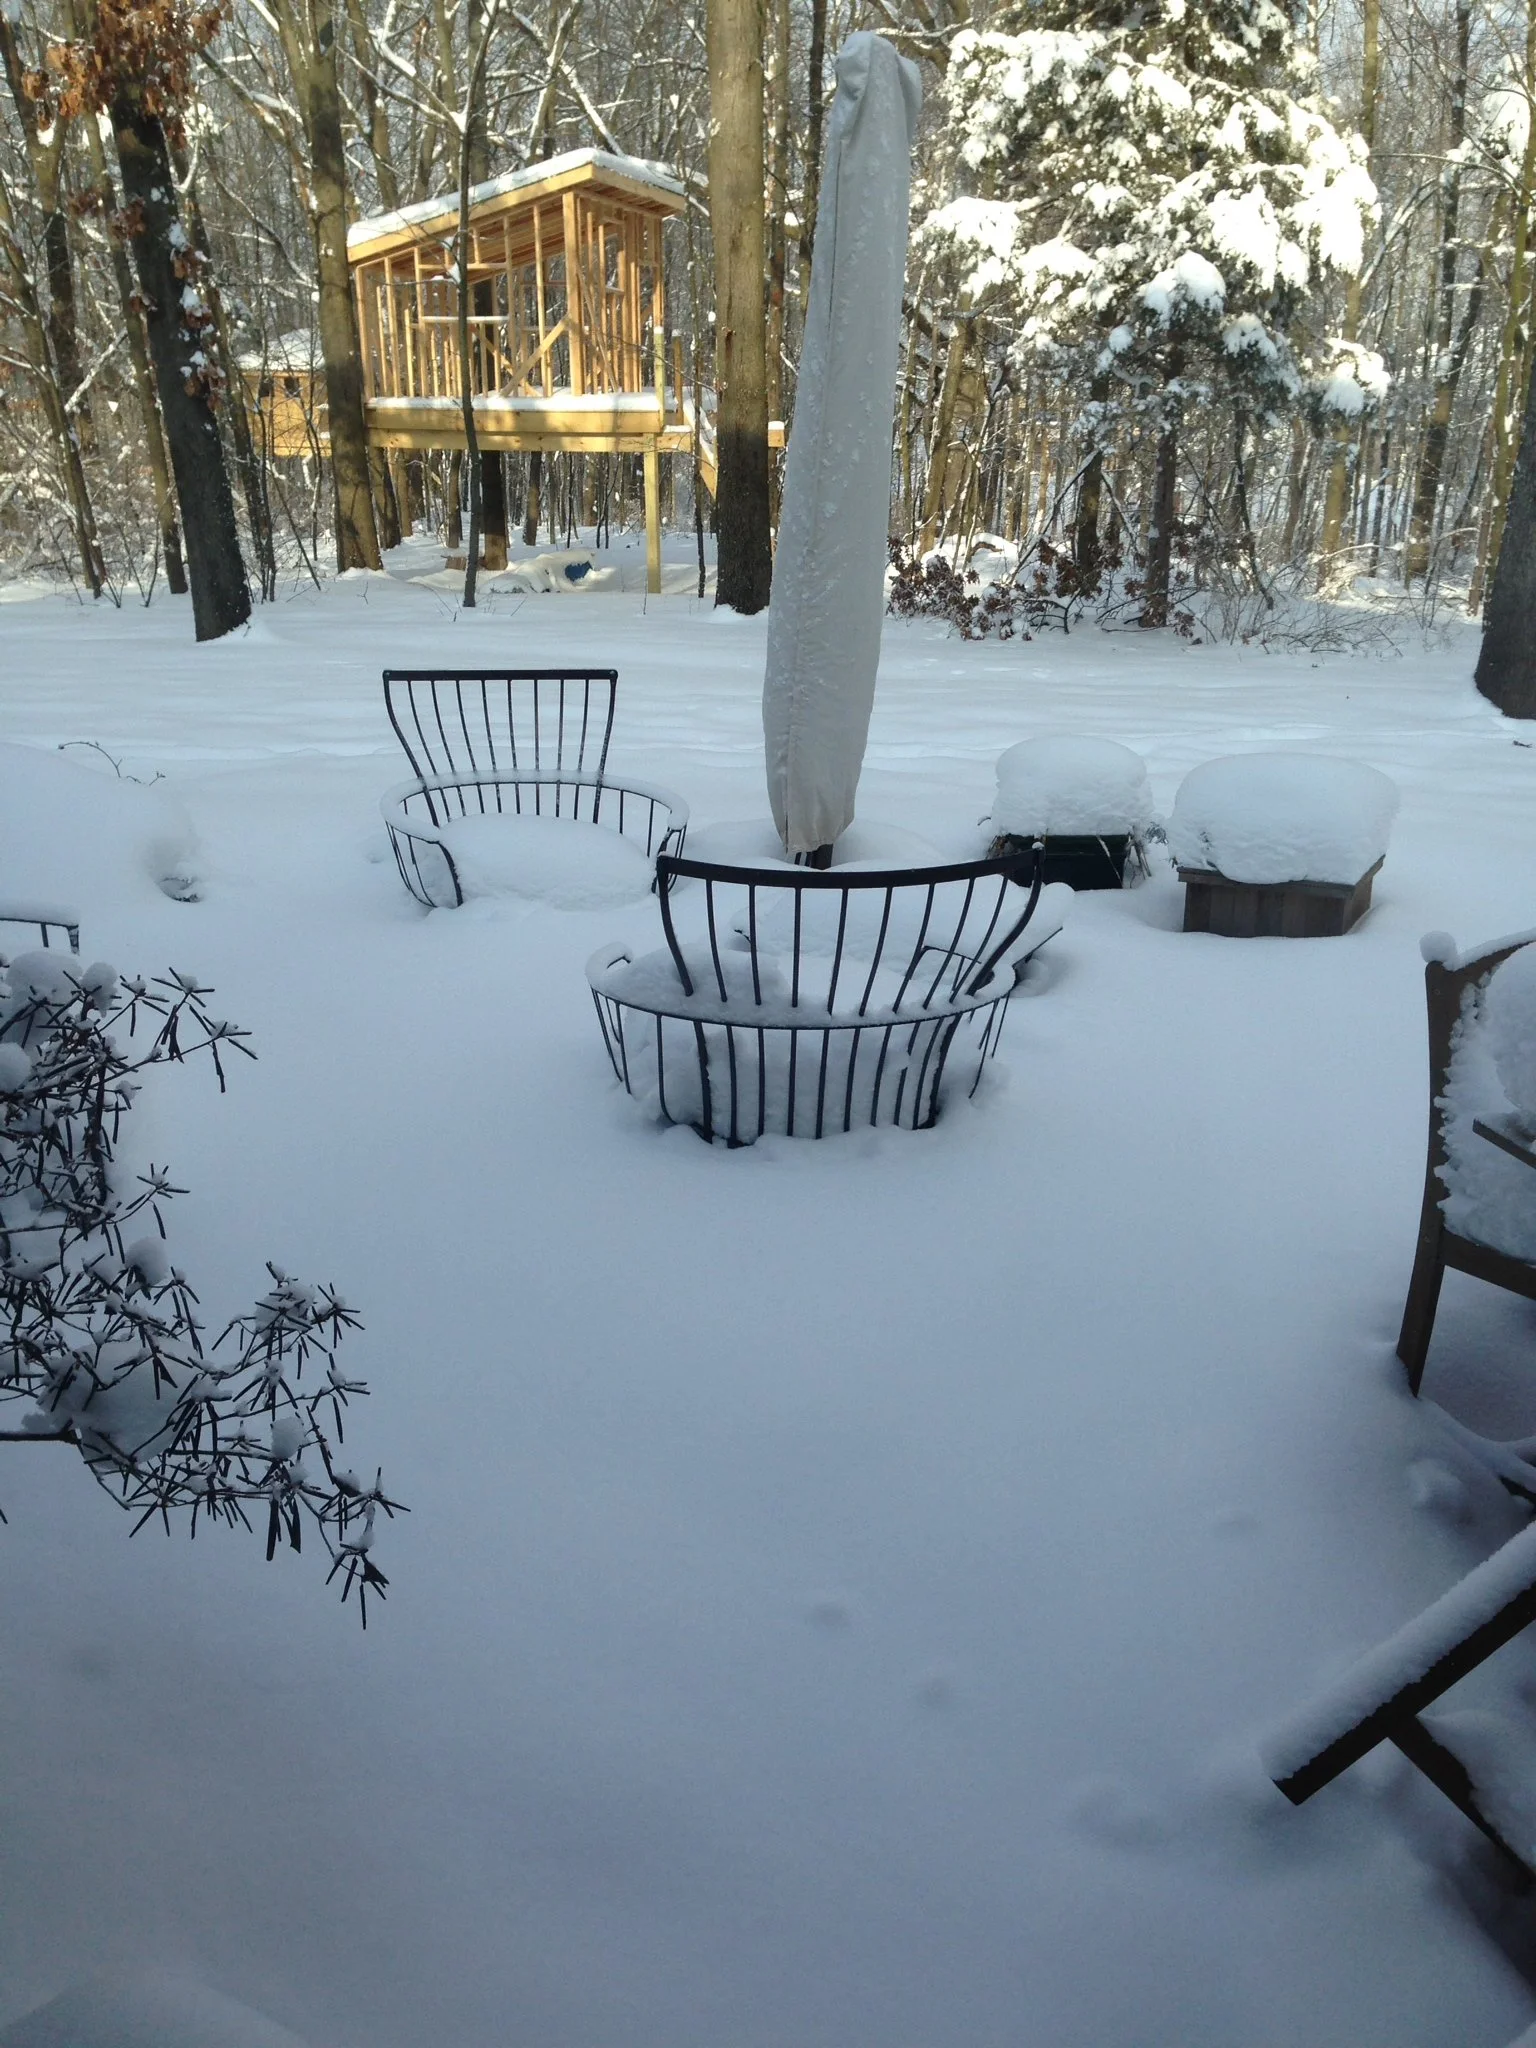
As is the case when I’m unsure about how do something, the project got set to the side for about a month. Finally, on one snowy Sunday, I mustered up my courage and dove right in. I couldn’t find much to help me on the internet, so I took pics along the way in hopes of helping others who are trying to finish their own pears.

My FO needing some FFO’ing


1. Cutting the Fabrics

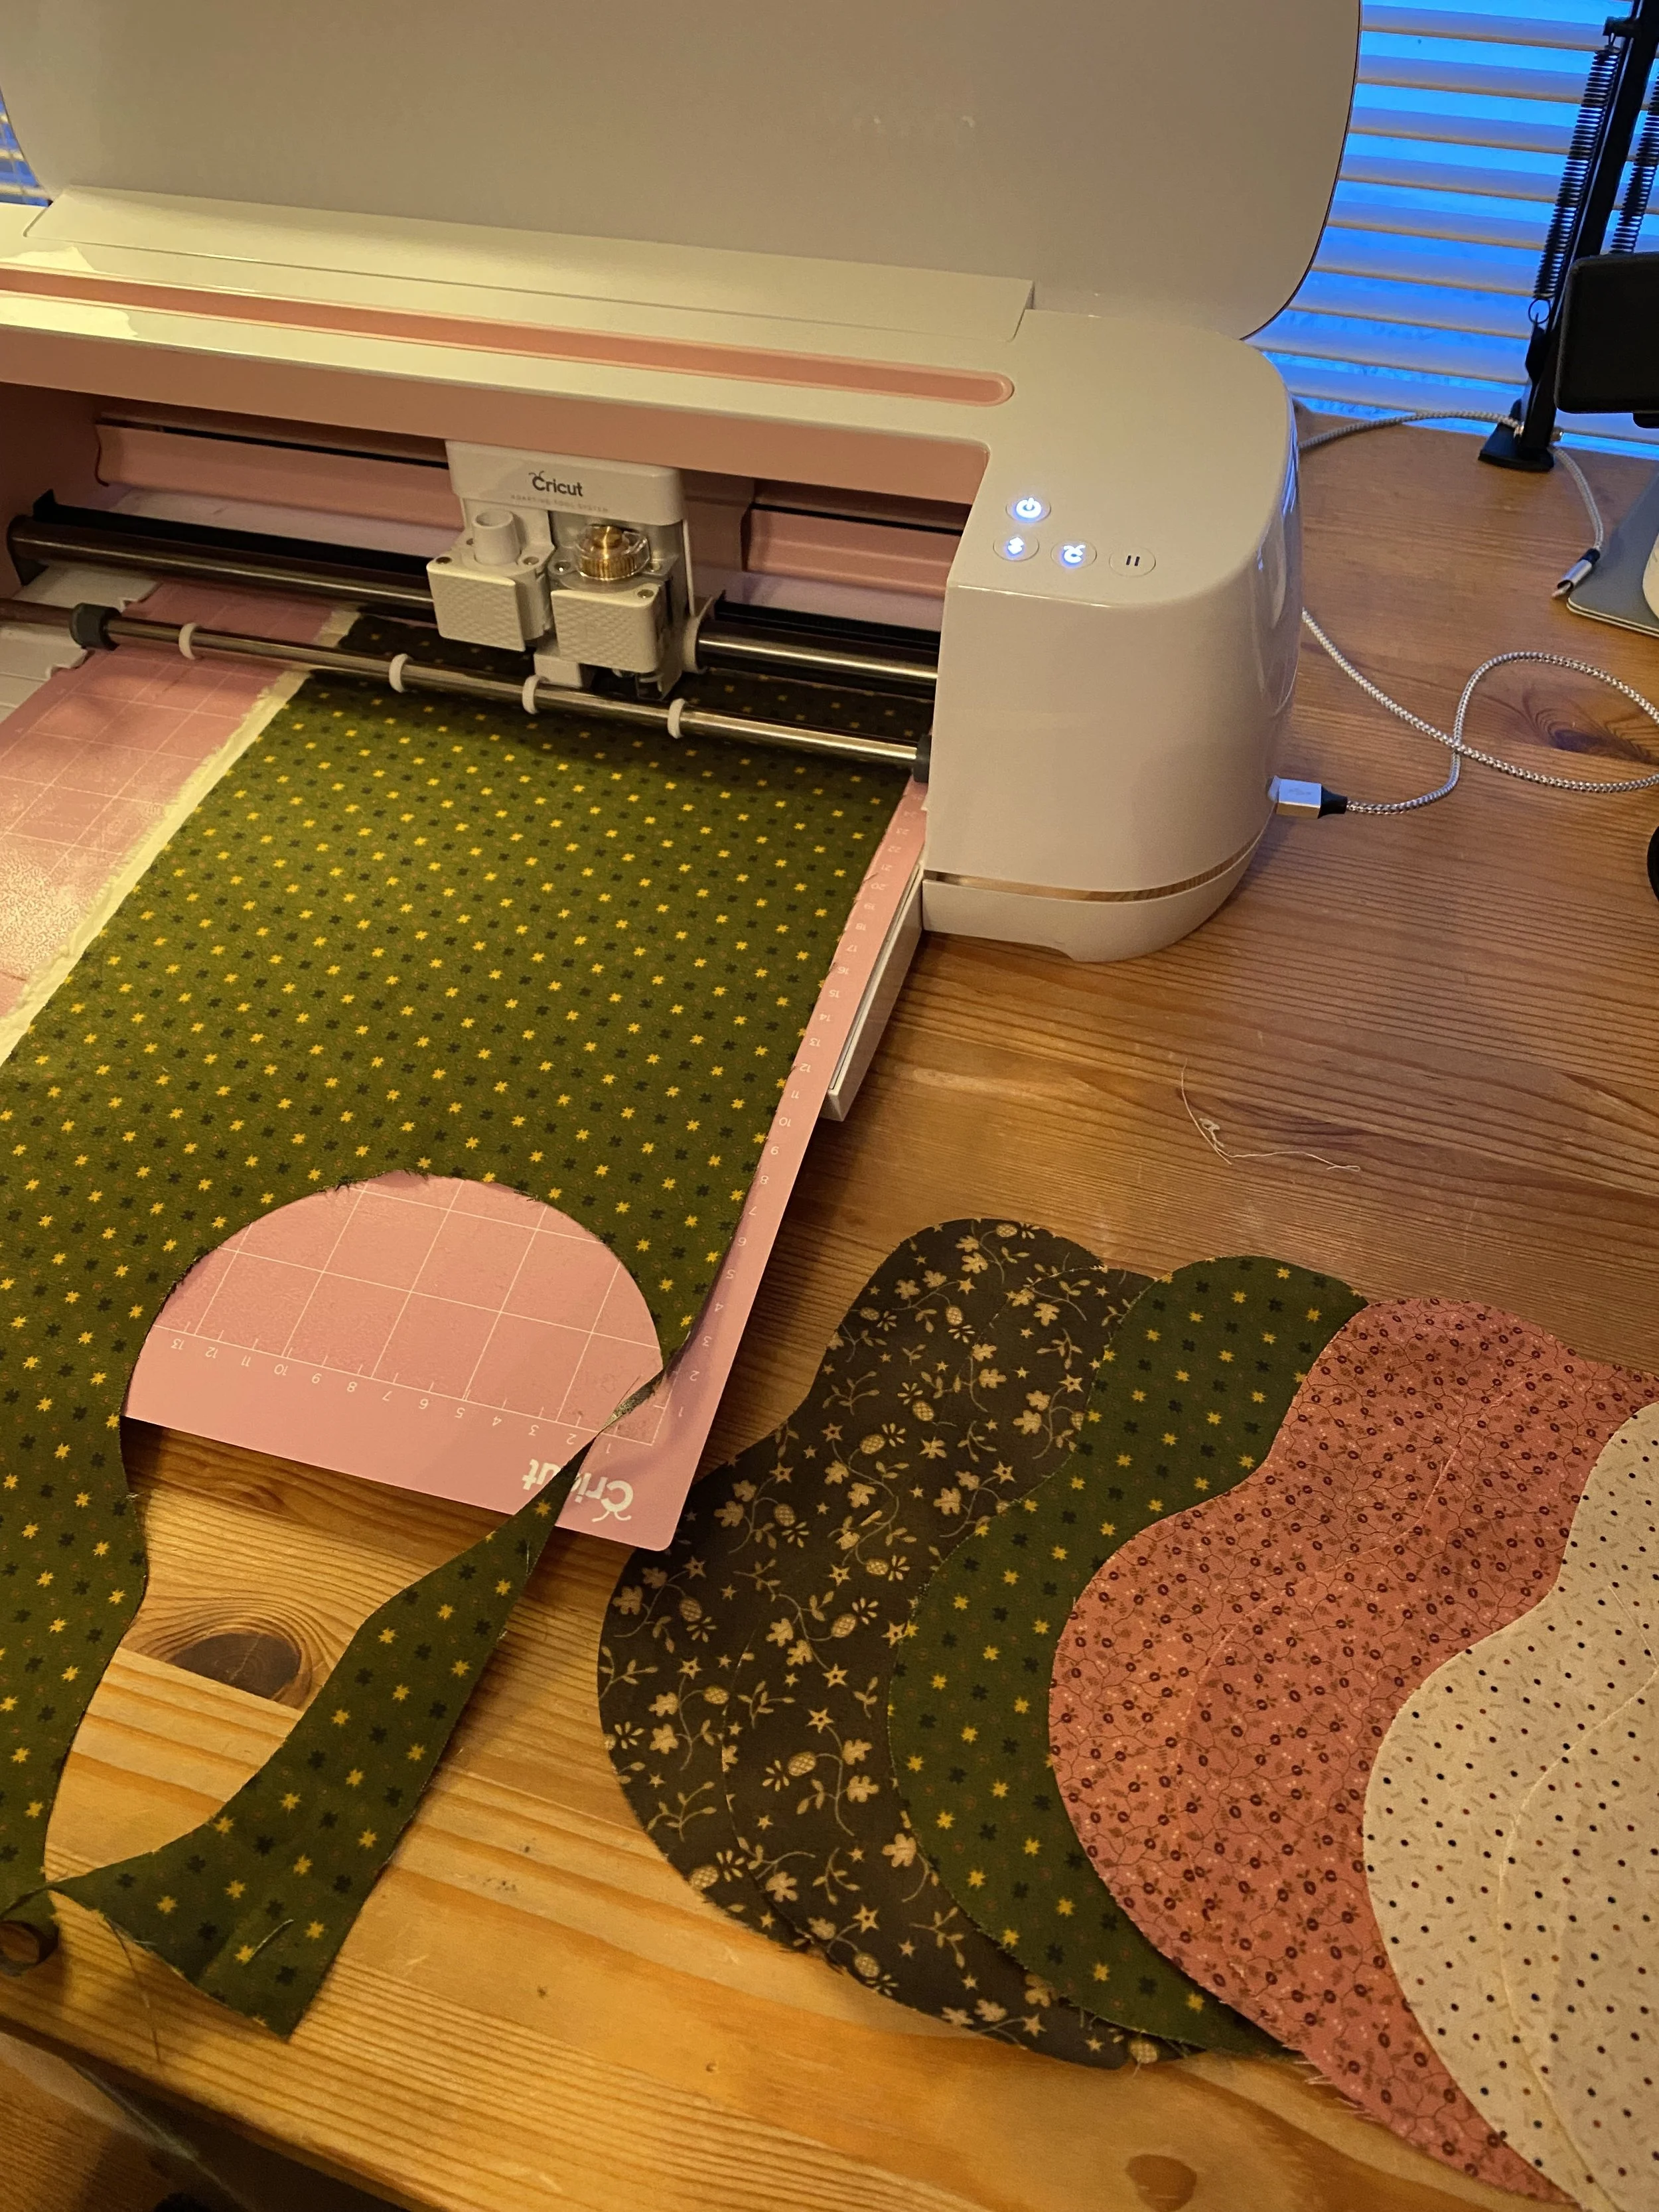
I am HORRIBLE at accurately cutting out shaped-fabric pieces, so I turned to my Cricut machine for the cutting. You do not need a cutting machine for this project - just make sure you cut all your pieces identically.

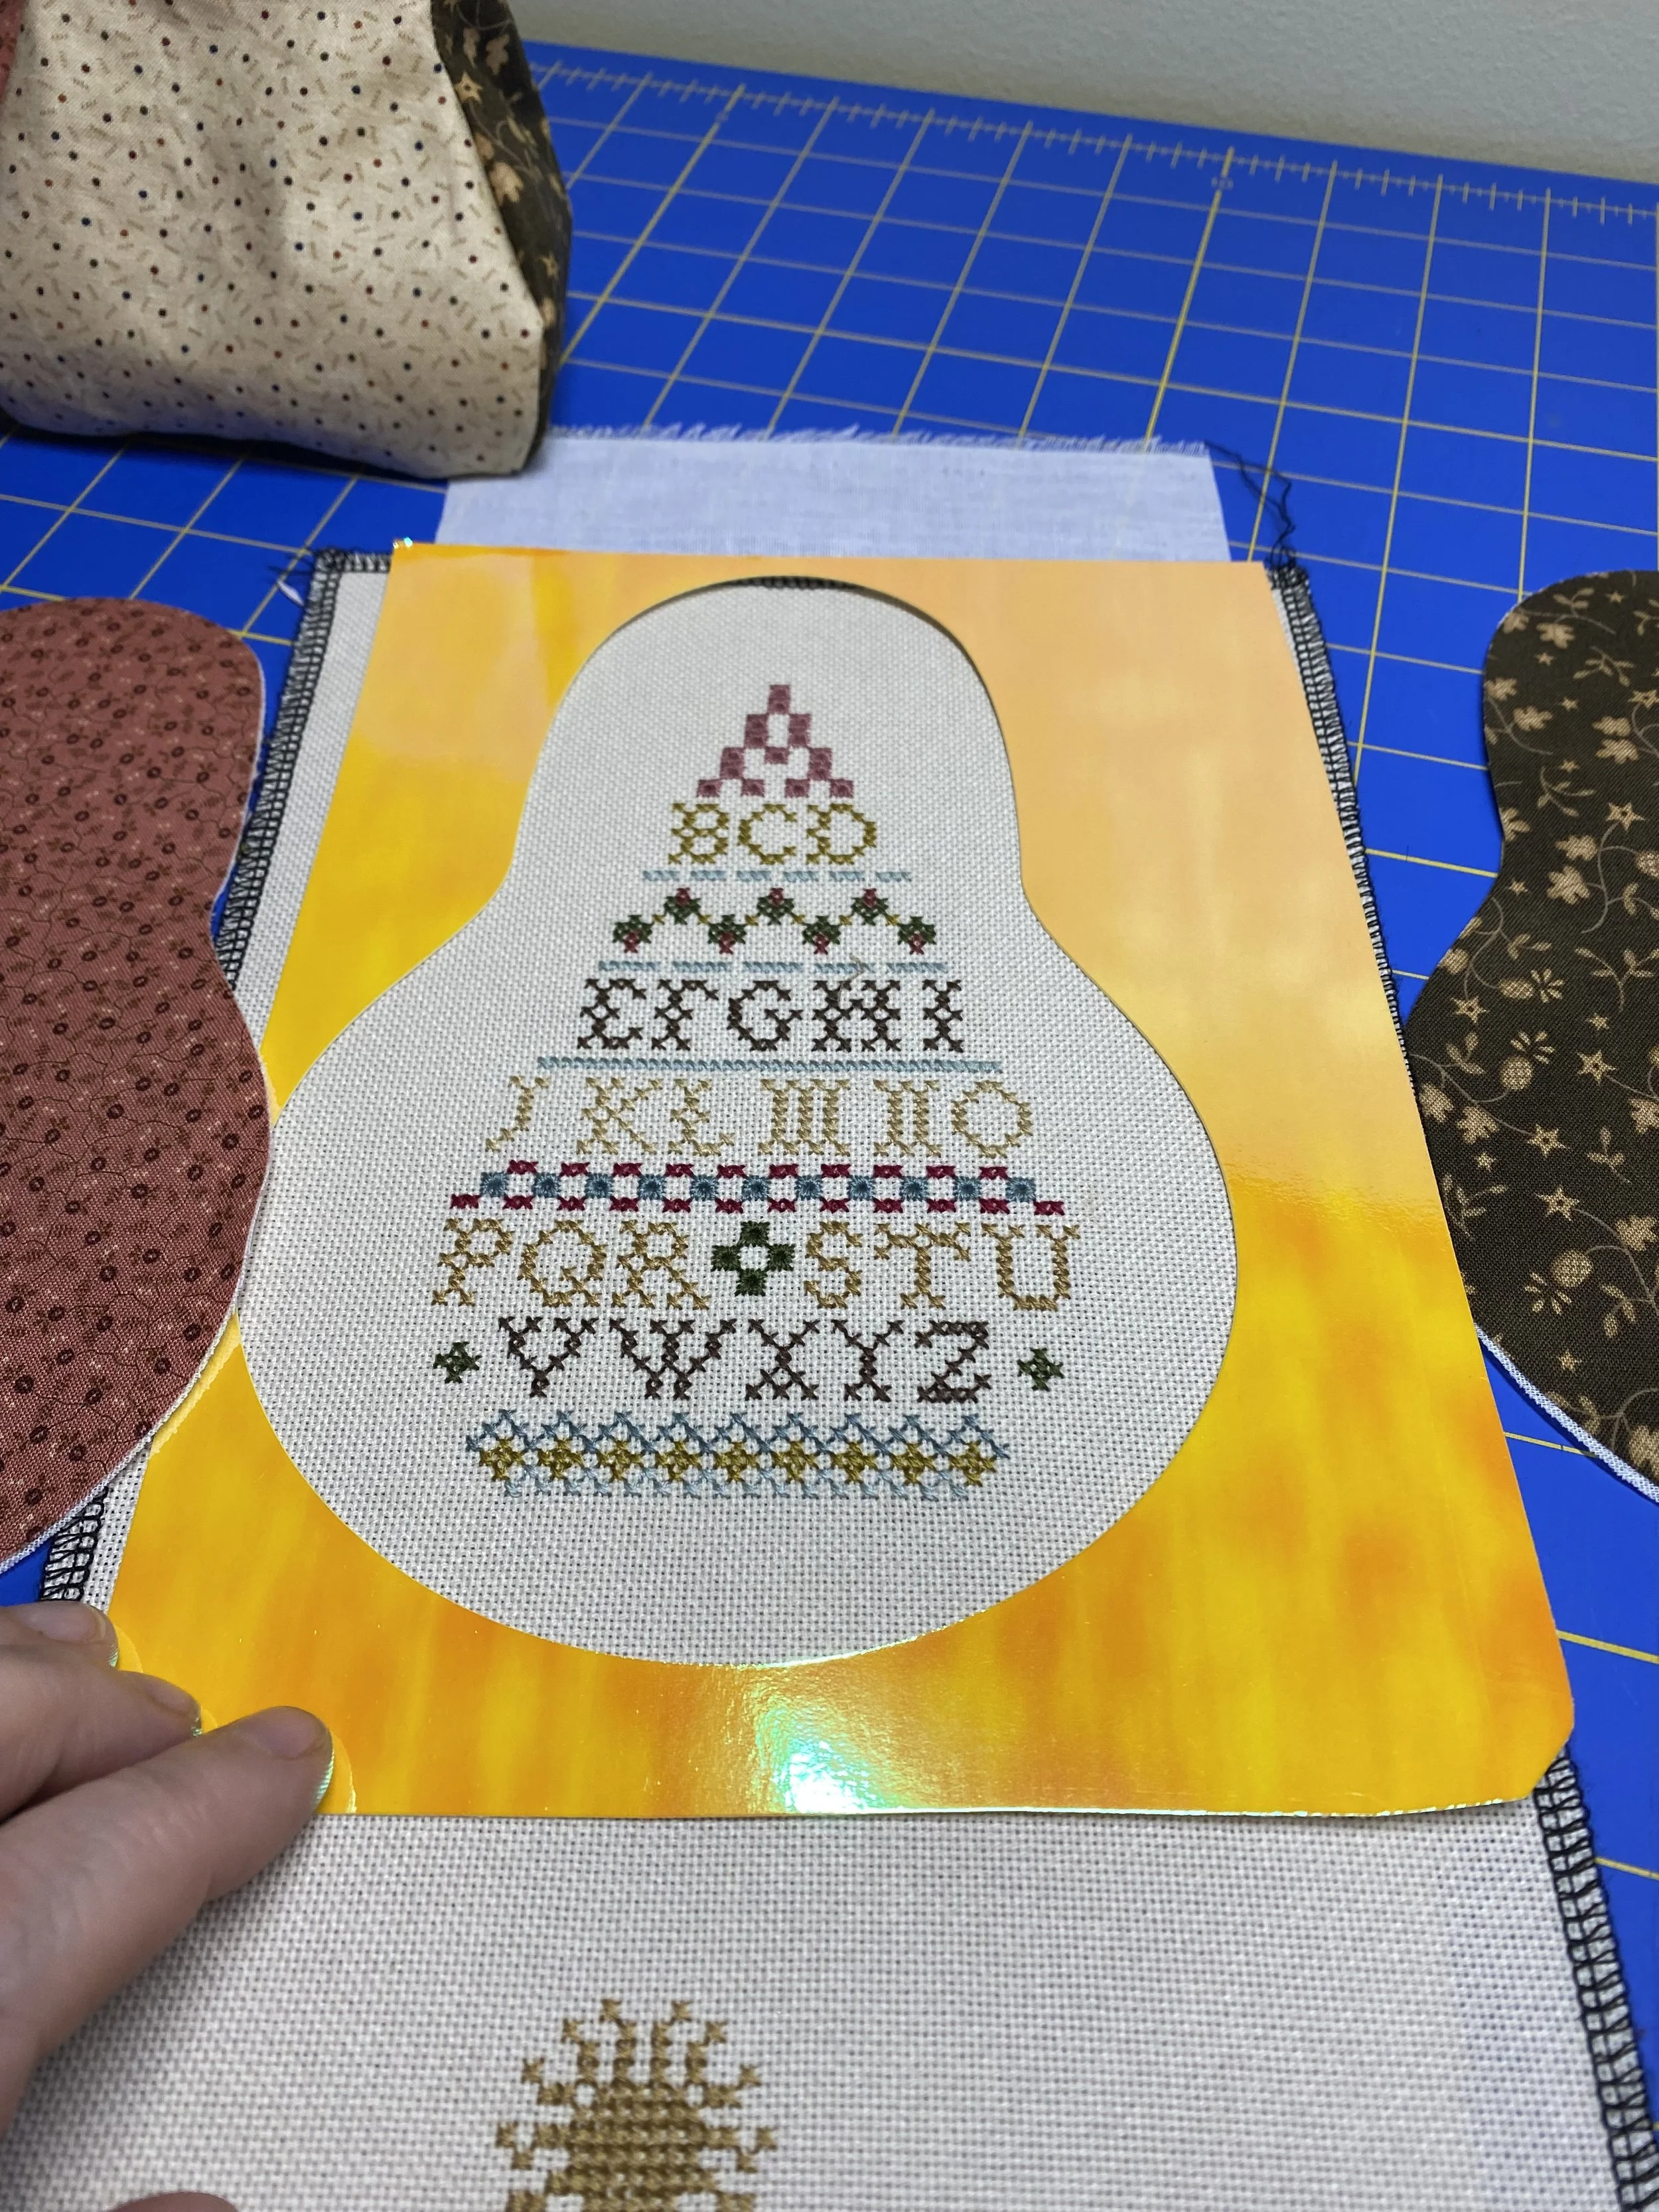
In my case, I created a pear design that gave me about a 1 inch border around my pear and first cut the image on cardstock to make a stencil for the actual cutting of my cross-stitched work. If you were cutting by hand, I would still make a stencil to use for all three of your pear pieces - the actual stitched fabric, and two complementary fabrics.

After I used my stencil to trace accuractly around the border of my stitched pear, I used my scissors to cut out my stitched pear. I used the Cricut to cut out the pear shapes from various fabrics I thought would complement the design well.

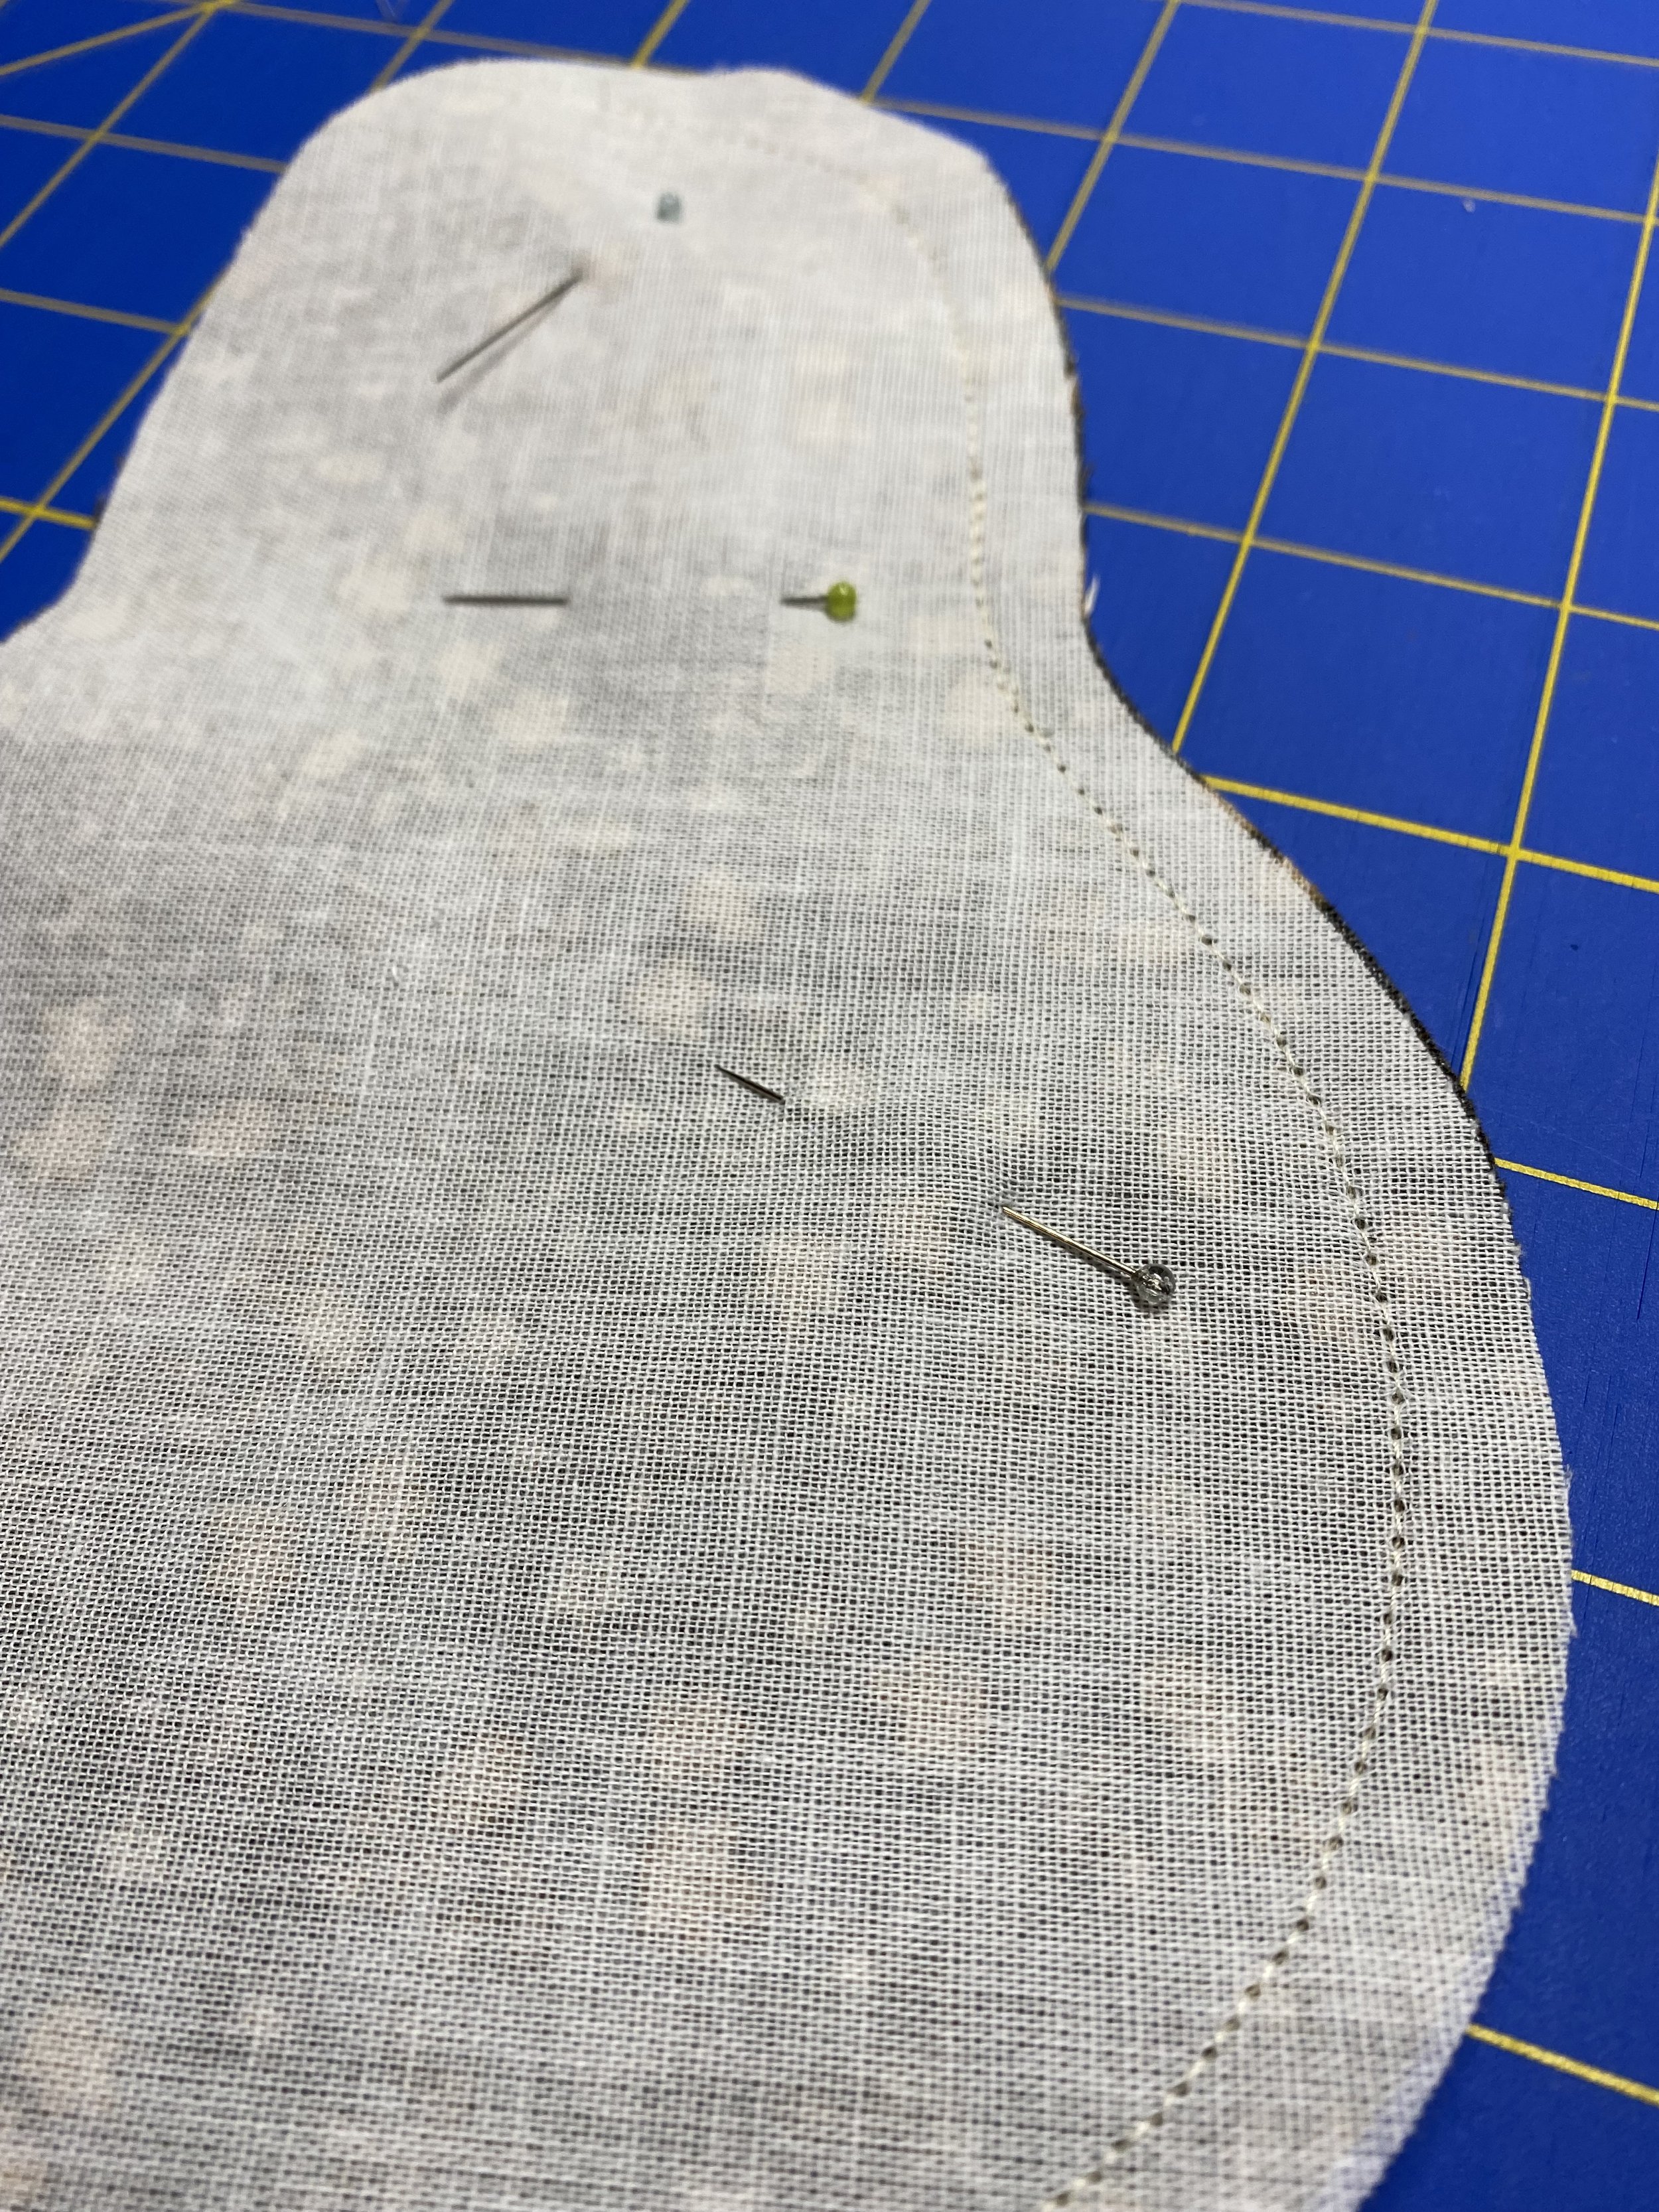
I also cut Pellon SF101 Interfacing into the same pear shape and ironed it onto the back each piece, including my stitched pear fabric. (You could also iron the SF 101 onto the back of your fabric before you cut). This interfacing gives the final pear a nice, smooth and structured feel, and I highly recommend using it.

The Template

My three pieces, cut and fused with Pellon SF 101, ready to be sewn.


2. The Actual Sewing Begins!

First, I placed two pieces of the pear, right sides together, pinned them in place, and sewed a 1/4” seam from the middle top of the pear, down to the middle bottom of the pear.

Then, I pinned the third piece “right sides together” with one of the unsewn sides of the already sewn pieces. I sewed this is the same manner as above.

Finally, I pinned the two remaining sides and sewed them in the same manner as above.

Take your time and go slowly with the sewing, being as accurate as you can with your starting and stopping points, going around the curves, and in keeping your 1/4” seam. It took me a bit of patience and practice. And some seam ripping. And some more seam ripping.

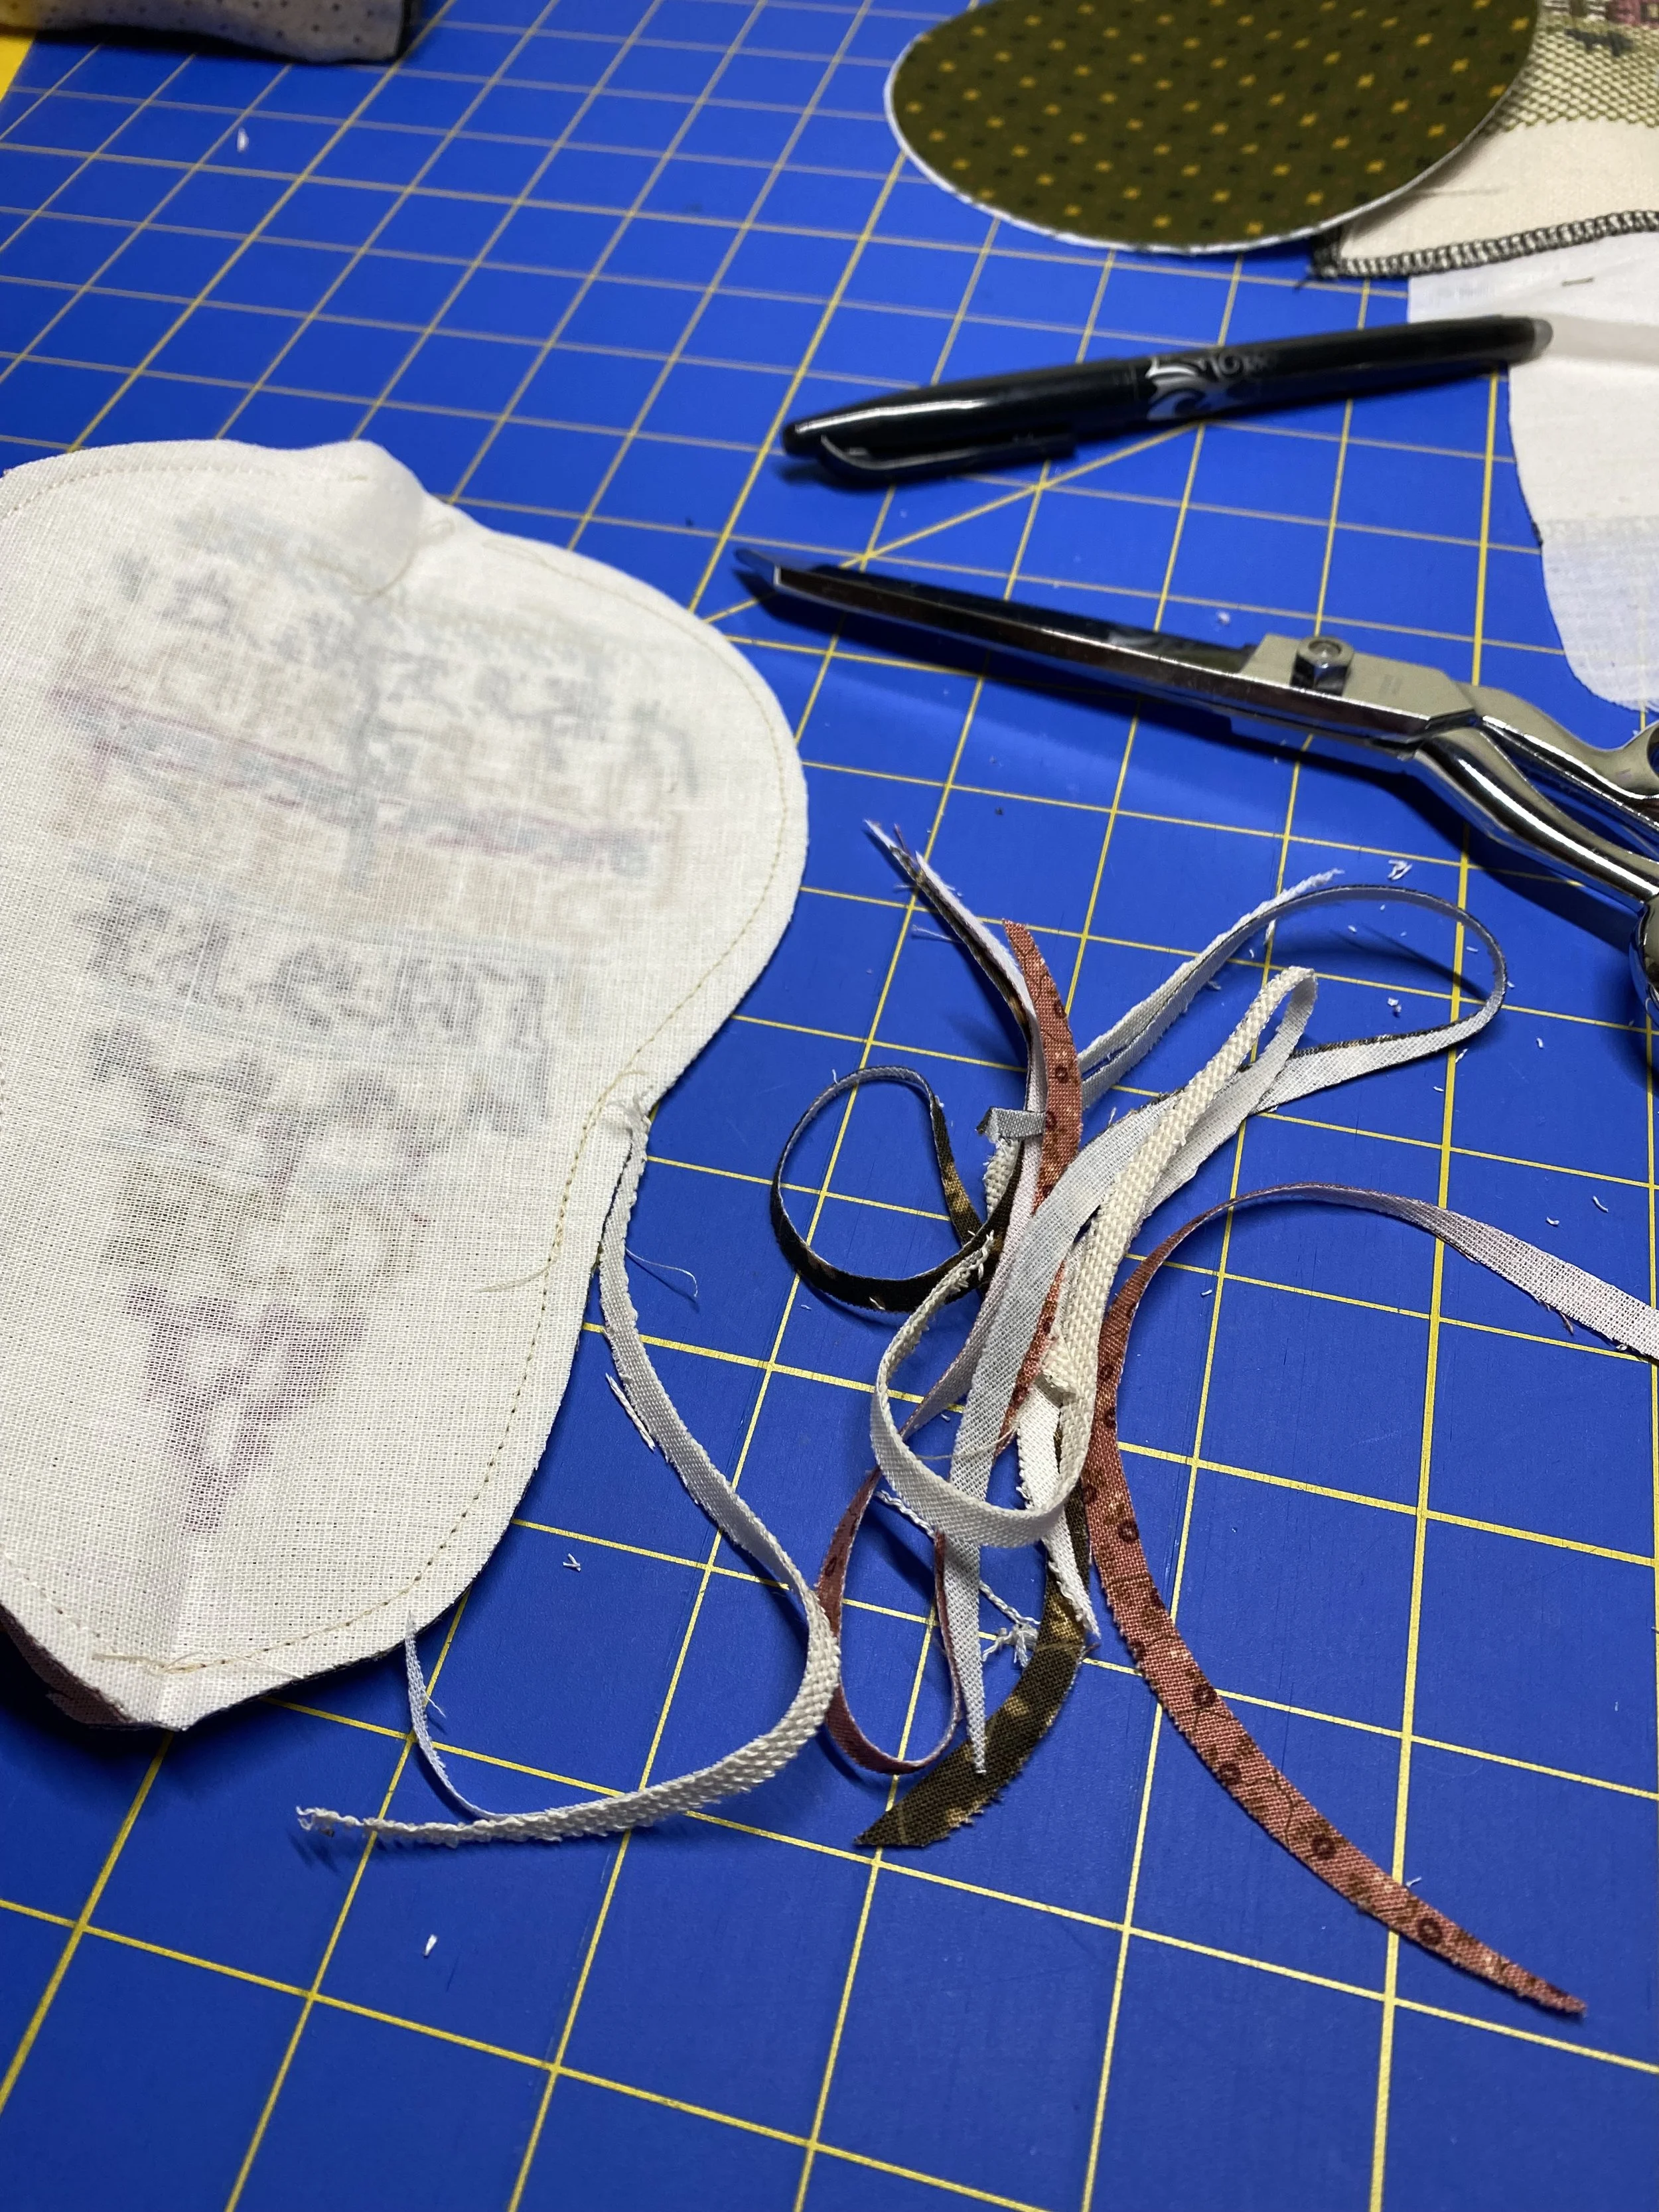
When I was done with the sewing, I trimmed off about another 1/8” to make the seams less bulky for the turning.

It was at this point, I realized that I hadn’t left an opening for turning! Not wanting to ruin the smooth curves of any side of my pear, I decided to rip out a few stitches from the bottom of the pear where the three fabrics meet. I knew I was going to cover the bottom with felt anyway, so my awkward hand-stitching (!) wouldn’t show in the final pear.


3. Turning the Pear

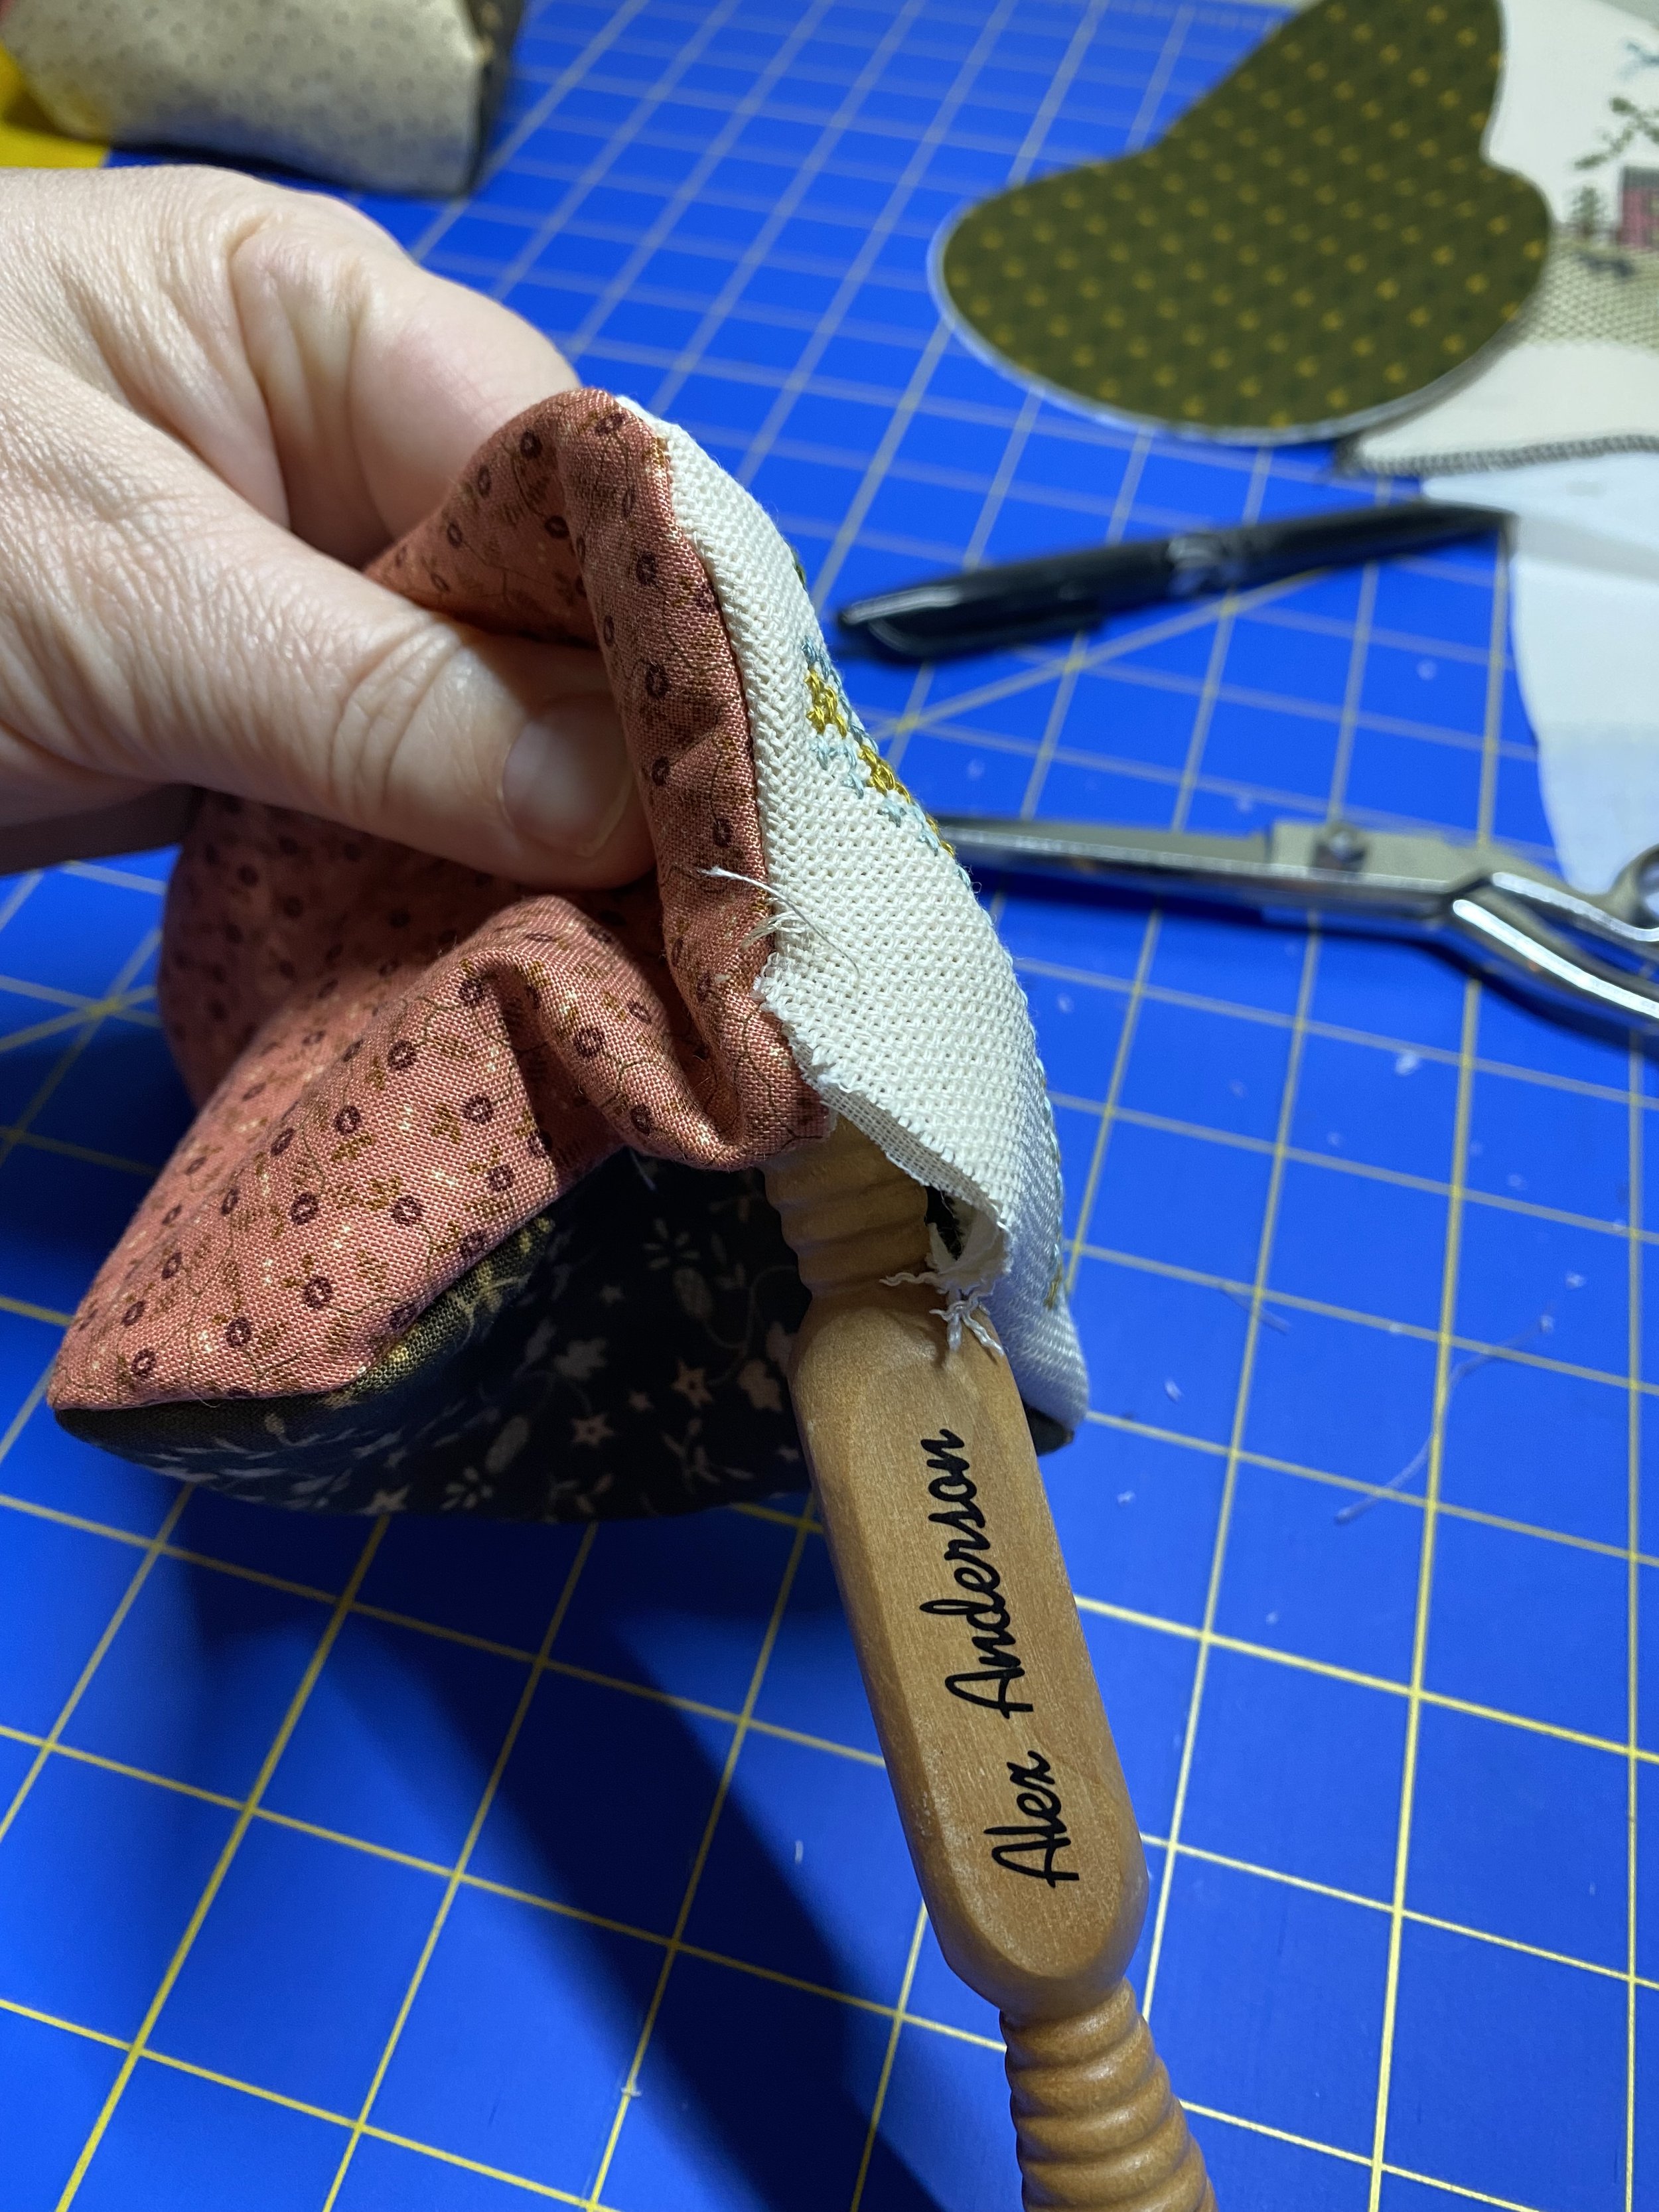
I always love this part of any sewing project. I used my “4 in 1 Essential Sewing Tool” by Alex Anderson. I think I picked it up in a quilting shop a while ago. It has a seam ripper on one end, a stilletto on the other, and the covers for the two ends are a corner tool and a smoothing tool. I love it for projects like this.

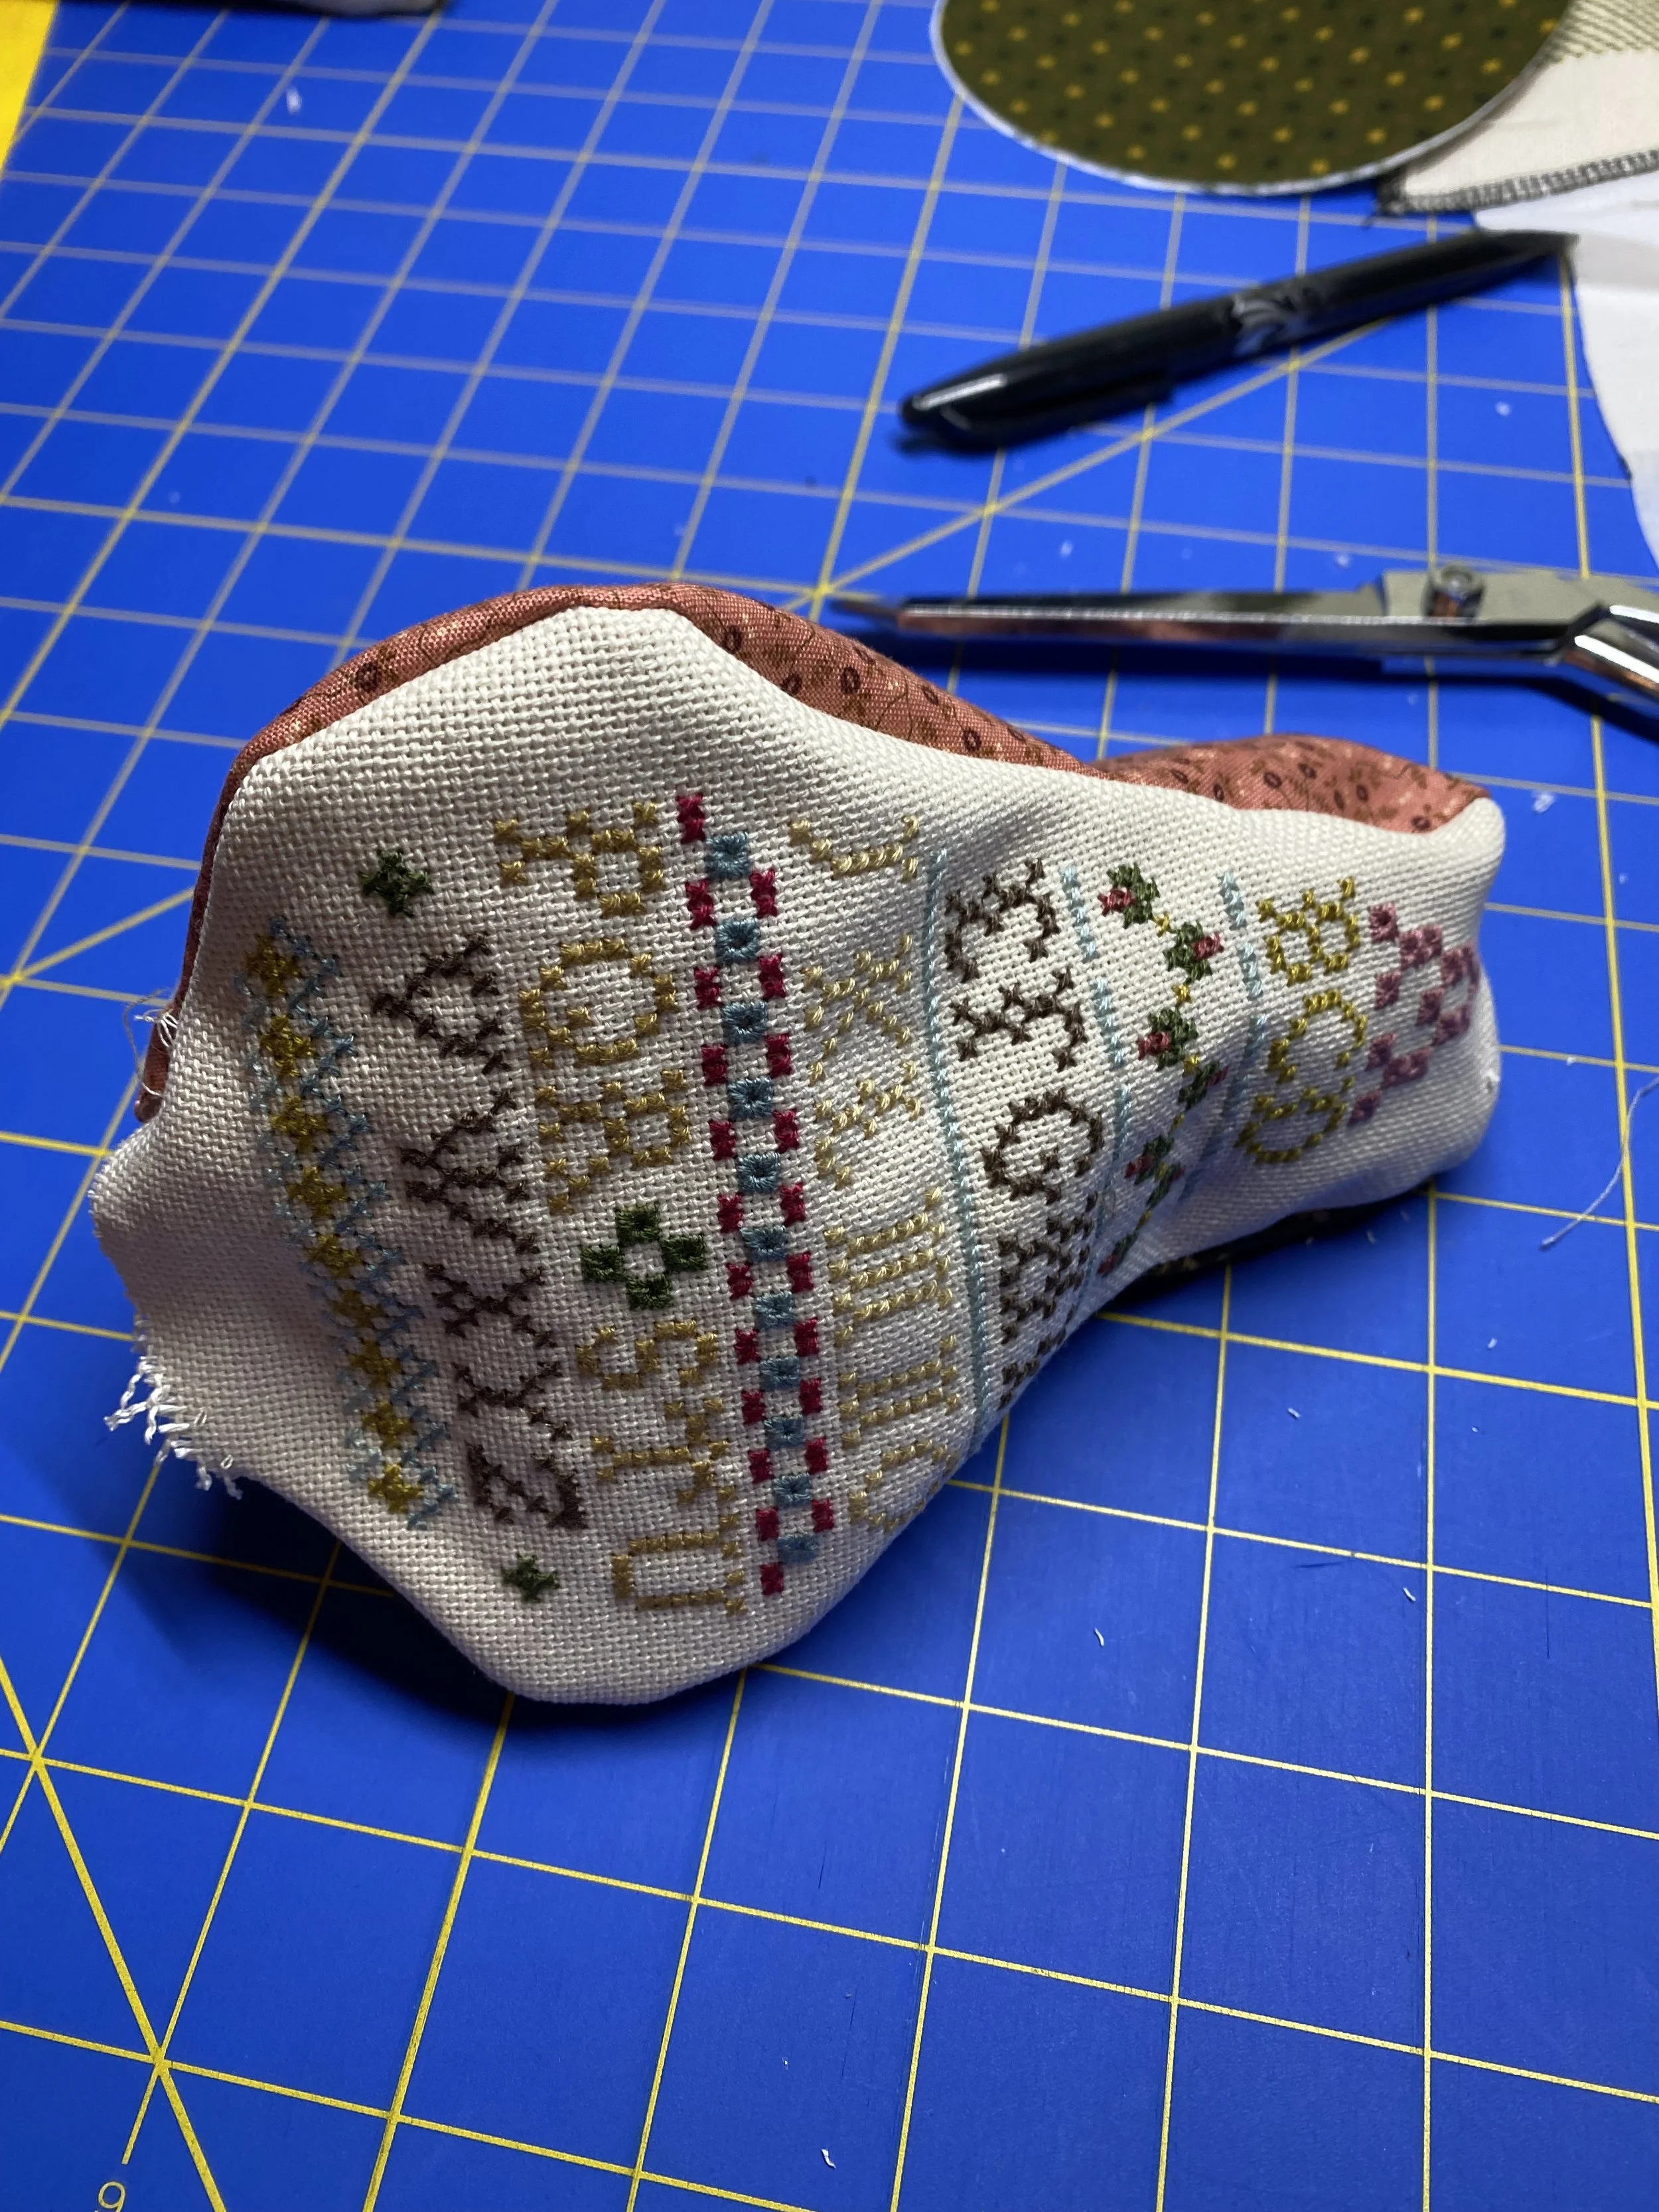
Once it passed my turning inspection, I gave it a gentle iron.

After Ironing

Here’s the other pear in process..

4. Time to Stuff!

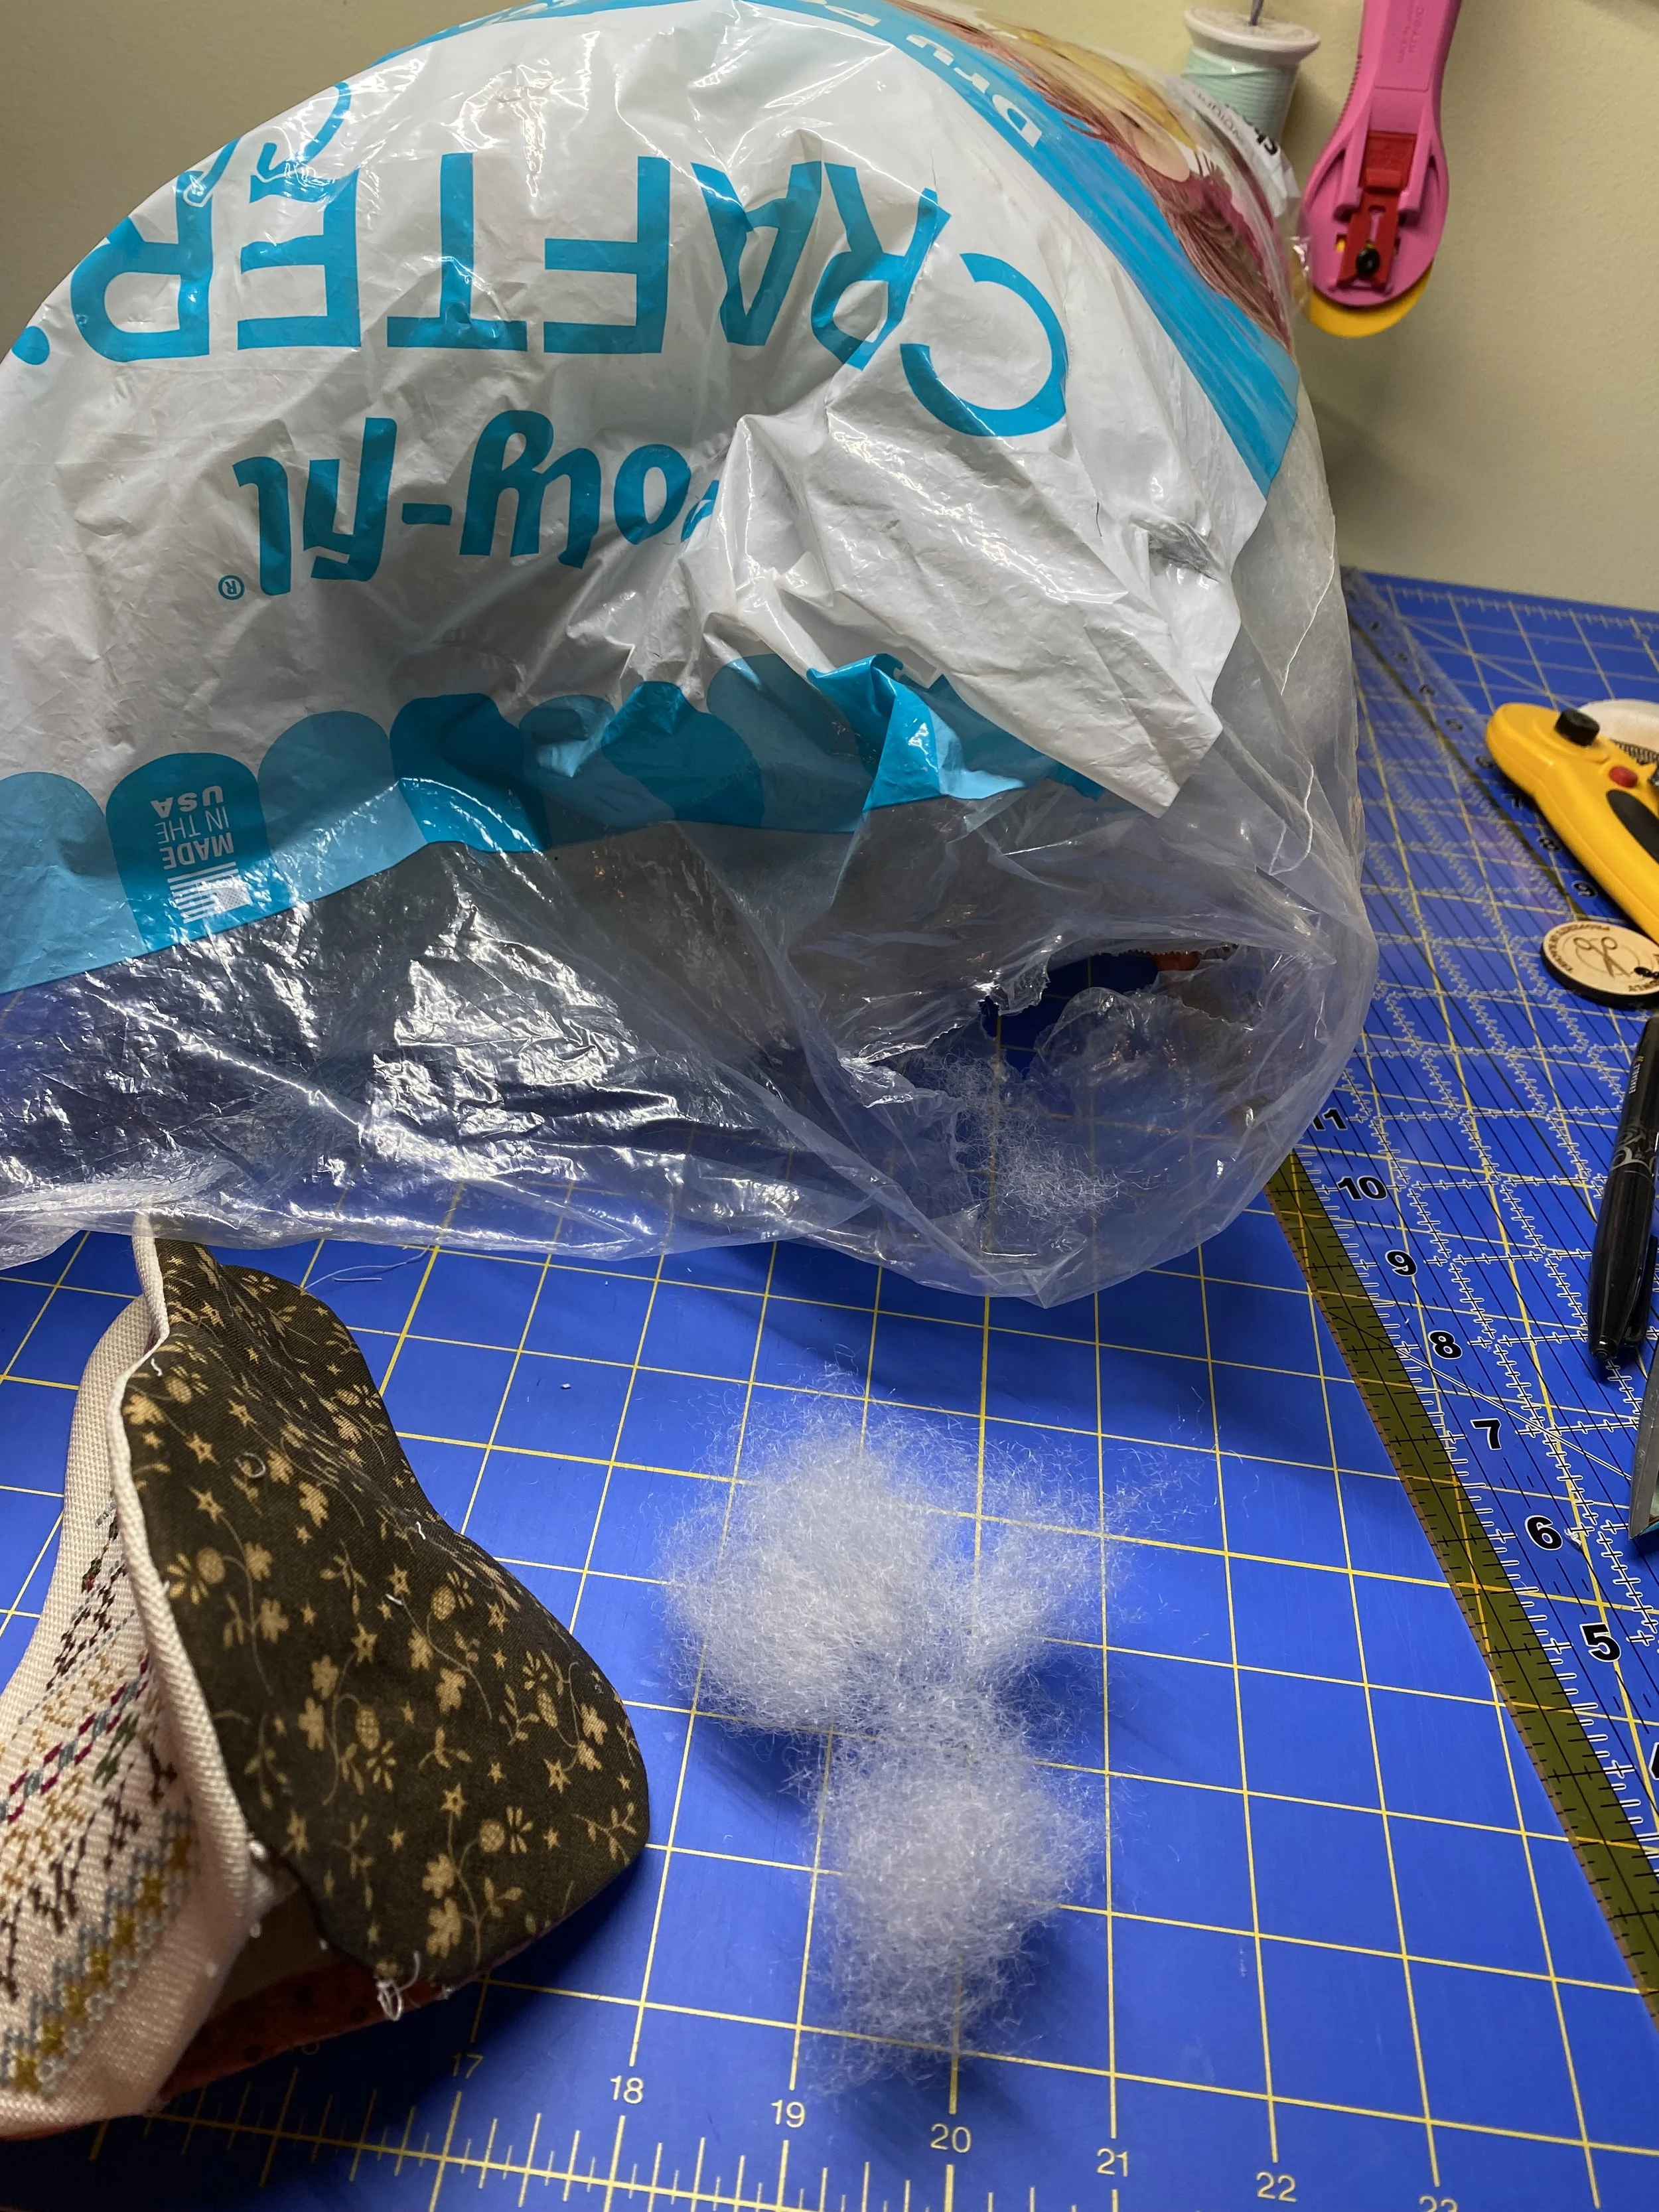
I have a “loaves and fishes” never-ending bag of Poly-fill I used for the stuffing. I used way more stuffing than I thought I would, taking care to pop out every curve and section of the pear.

Once stuffed, I did my best to close my opening, but did have a small gap left that was covered by the felted bottom perfectly. No one will ever know. Except for you all. The ugly side of sharing. LOL.

There she is, standing up straight and tall!


5. Final Finishing

Once my pears were stuffed, I selected some wools from my stash that I thought would make pretty leaves for the tops of each pear. I also selected some complementary pearl cotton that would match. In this case, I used some of my Valdani stash.

Googling “pear leaf” to get an idea of what an actual pear leaf looked like, I then cut out the leaves for each one.

First, I did some “x” stitching on the 3 seams - I love the extra texture and interest this stitching gave to the pears. I got that idea from seeing a pear design by Threadwork Primitives. Once all my Xs were stitched, I stitched on the leaves. I made the tips of the tops fold over a bit to get the leaf a real-life look instead of just flat.

Their backsides - see the x stitching on the seams?

The final cherry on top (or actual stem on top!) will be a couple of sticks from my yard. Its currently winter in Michigan, and I haven’t yet gone out to find some appropriate stick-stems.

Used Aleene’s Fast Grab Tacky Glue to tack down the bottoms cut from wool

I hope you enjoyed this! Let me know if you have any questions or if you’ve also made some pears (or other 3 d objects) with your stitching! I’m thinking my pears need some friends. Apples, maybe?
The Olden Days…And the Start of “Rachel Digs Deeper”

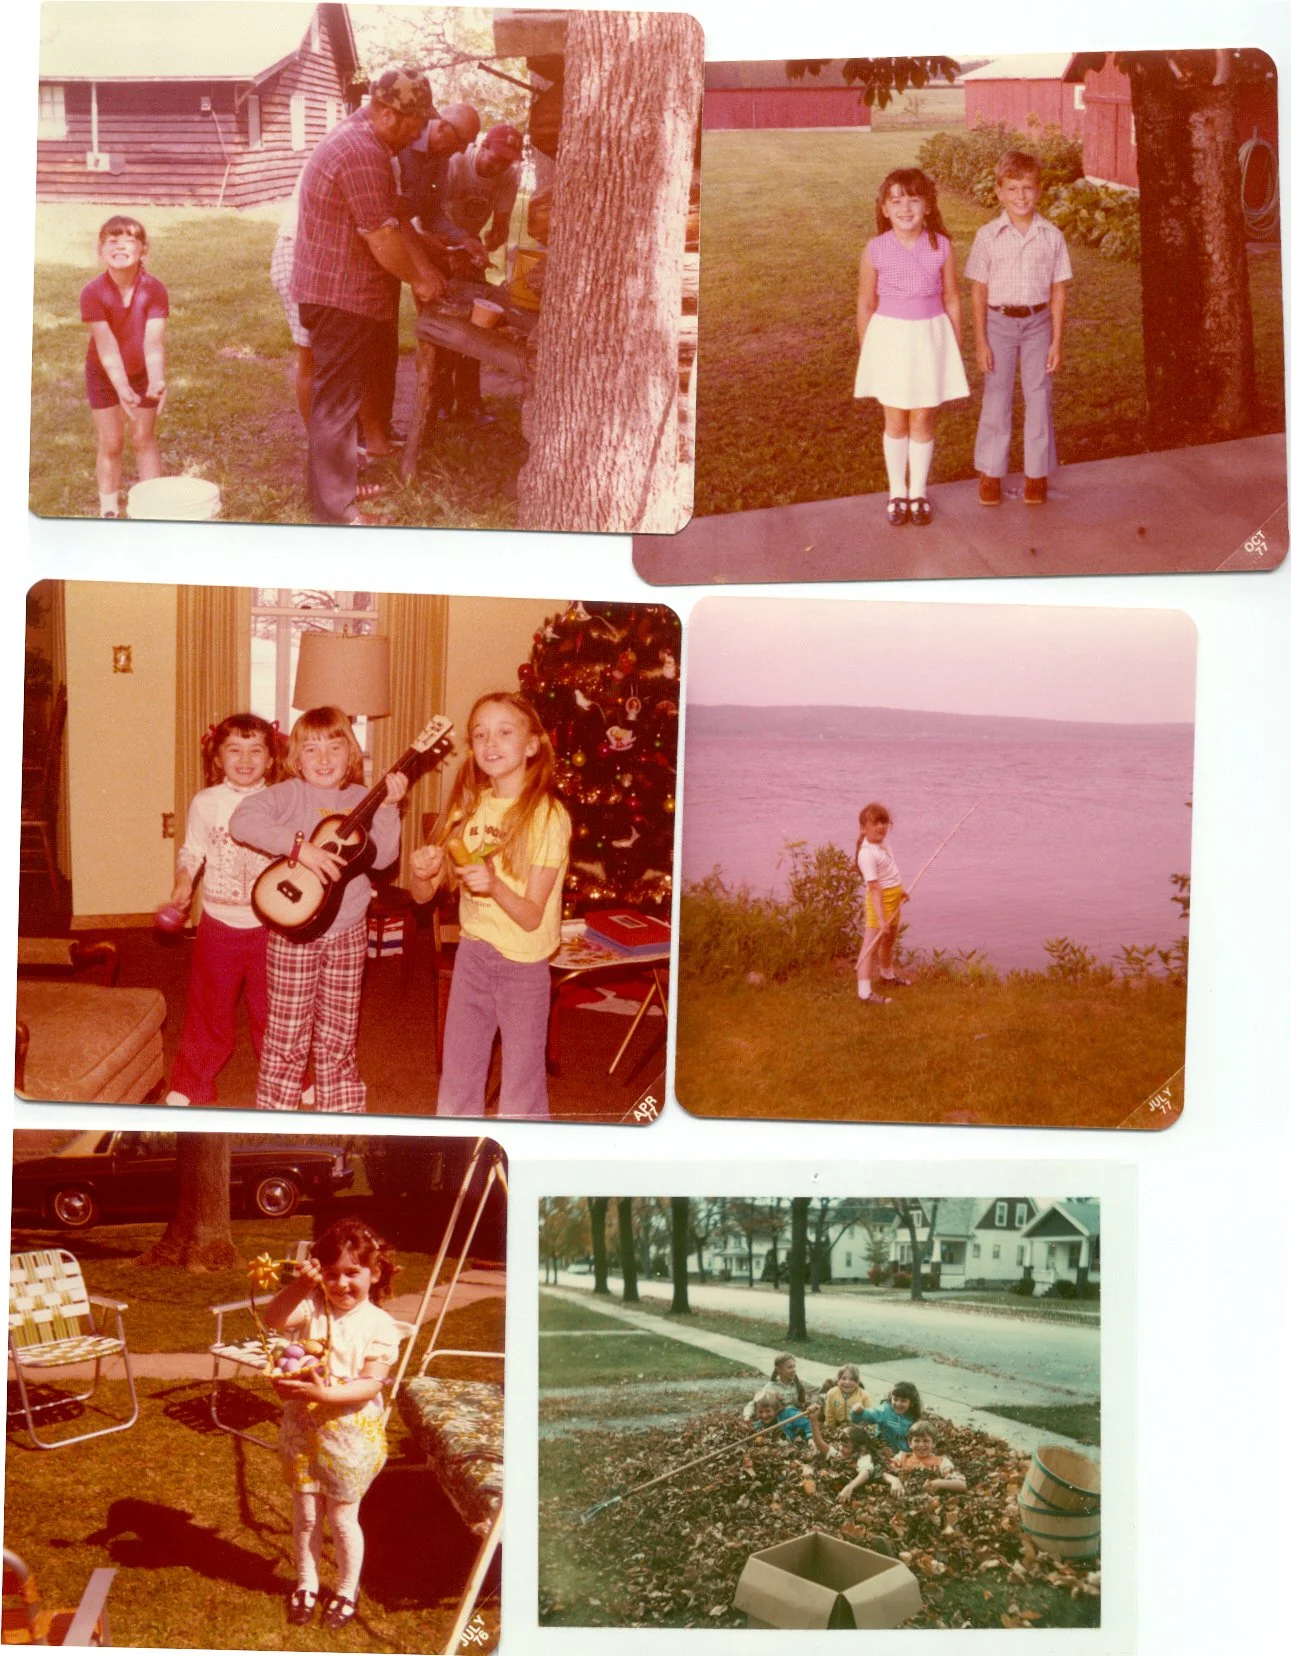
My Great Grandma Emma and I probably talking about her Olden Days…

Some of my own Olden Days…

I have always loved history. History of individuals, crafts, everyday items, communities, places. My Great Grandmother Emma used to tell me about her Olden Days. “In the Olden Days….” It was usually something about how they did it better, people were better, the world was a better place “in the olden days.” One of my earliest memories is of me feeling very sad, crying, wishing that I had olden days. You see, at age 4, a person does not really have many olden days. I could not wait to have Olden Days.

Fast forward 46 years… my “Olden Days” are too many to number, and more are coming at me fast. And now my kids get to hear all about my own Olden Days. When we did it better, people were better, and the world was a better place lol. And God-willing the grand kids, and great grandkids will hear me talk about them, too.

My curiosity and interest in the “Olden Days” makes me dig deeper into so many things. Especially now that I’m an online shop owner with items coming into my studio. Usually, I read about the history of whatever, and then move on. I thought it would be fun to occasionally share a bit of what I find out. Look for my next post where we will dig deeper into Stork Scissors!

Some of my Olden Days….

Why The Name, "Treehouse Fiber Arts?"

Why The Name "Treehouse Fiber Arts?" 

This story begins with a dream of a treehouse.  My hubby is the dreamer of the family, and I tend to be the realist.  I learned this difference about us very early on in the relationship. So when he told me he had a dream of building a big treehouse someday for his kids (aka, "his kids and him"), realist-Rachel laughed at the thought.  Probably even rolled my eyes. At the time, we lived on a treeless street in a condo in downtown Chicago. We didn't have any children, and he worked 80 hour work weeks. Suuure, we can build a treehouse someday...

Then came the blessed addition of two boys.  A move to suburbs. And a yard with trees! A forest of trees. Amazon started delivering books on treehouse building.  Essential power tools for building a treehouse were procured.  Graph paper with various sketches of treehouses began appearing on the desks and coffee tables around the house. Our DVR (remember those?) recorded treehouse-building reality shows. Still the skeptic, given our life responsibilities of the time, I didn’t believe a treehouse project could ever "get off the ground." (sorry)

Actual construction began with the help of some friendly neighborhood competition (to my husband’s delight, our neighbor also had similar "dreams"), and then a visit from two of my husband's "Obi-Wans" of construction and all things home maintenance -- the grandpas.  With their additional wisdom and manpower, the treehouse project began. Posts were dug, brackets were screwed into trees, decking was laid, walls put up, roof nailed on, side railing attached, pail with a pulley system installed, staircase lovingly built.

The first time I went up into the treehouse, I immediately visualized myself knitting on it's deck.  Next came the visions of me spinning on my spinning wheel (I didn’t have a spinning wheel), hearing the whirl of the wheel and the tap tap of the treadle against a back drop of wind through the trees and melodic birdsong. Or up there with my loom (I didn’t have a loom), beating my handspun yarn into my newly woven fabric as I passed the shuttle back and forth. I felt inspired and relaxed up in the trees. All cares, worries and concerns were left at the bottom of the stairs. All inspiration, creativity, and dreaming were at the top.

Fast forward to now. The boys’ treehouse days are over (and that price/playtime use ratio is still a bit low for me - hi again, realist-Rachel), but I now have great memories (I have Olden Days!) of the bulding of it (3 generations of men having their hand in it), nerf gun wars off the railings, the boys laughter coming from it up the trees. And even that first time I realized that my tween son was up there innocently with the neighbor girl. I think. Despite naysayers and realists, my husband’s dream became a reality.

I always had a great desire to run a business, but realist-Rachel assumed that was not in the future for her once shen got married and had the kids. When I nervously jumped into the YouTube podcasting world in 2016 I called my channel “Treehouse Knits” to inspire me to be brave, sharing my knitting (and myself) on video with other knitters, and standing up to that “naysayer” voice that tends to pop up into my realist-head. The Treehouse Knits channel opened up the big beautiful world of Fiber Arts for me - and friendships, trips (Norway being the highlight!!), retreats, and so much more.

In 2018, realist-Rachel embraced her dreamer-side and created Treehouse Fiber Arts, LLC. The business has followed my own creative journey, starting with selling hand-sewn project bags and my own handspun to knitters, to now selling cross-stitch and punch needle kits, notions and even a collaboration with a knitting friend (yay Treehouse Knits!) running a hand-dyed linen and Aida Club.

While being realistic can keep you from making some major mistakes in life, "dreaming" is the necessary start for anything big and exciting!   Did I tell you that I now I own a double treadle spinning wheel? And a couple electric wheels? And a rigid heddle loom? Three of them? Dreams can be expensive…but that’s another blog.

Stork Scissors - Why the Stork?

Stork Scissors have been around for a very long time. I remember discovering my grandmother’s pair when I was younger and thinking they were very fun. When I started an online Needlework shop, I knew that I had to have stork scissors in my inventory.

As I was adding them to my shelves next to the other scissors I carry, a question popped into my head. Why storks on scissors? Why not giraffes, monkeys, crocodiles, or the mighty eagle? So I dug deeper.

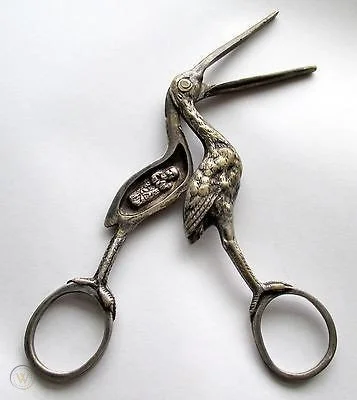
Antique umbilical cord scissors

The National Museum of American History has uncovered a very specific pair of stork scissors, once belonging to midwife Rosa Bonfante from Sicily, Italy. The stork scissors, a part of her midwifery kit, were not actually scissors, but a clamp for the umbilical cord of the baby.

A Pair of Antique German Sewing Stork Scissors

A quick Google search led me to learn that originally, storks scissors were actually stork umbilical clamps, and part of the midwife’s toolkit in the 1700 and 1800s! Stork clamps (in folklore storks deliver the babies, remember!?) were used to tie off the umbilical cord. Some even had a baby that popped out when the clamp was opened. I am always fascinated by our need as humans to add our creativity to even the most mundane objects.

See the baby when you open the scissors?

So how did they get into our needlework? According to several sources, including the Smithsonian website, childbirth involved a lot of waiting, and when ladies wait, they sew. Because of this, midwives would often keep their birthing kit in their embroidery basket so they'd always have both on hand. Over time, the clamps began to change in shape and size, moving from the midwife side of the basket over to the embroidery side. Interesting, right? I bet you’ll never look at your stork scissors in the same way again.

If you have an antique pair of stork scissors, I would love to hear. Drop me a comment below and share their story.